Blogging is balancing between living a normal life and creating interesting content.
In a way I want to entertain you with funny and relevant posts and make you want to come back again. But on the other hand I want to give more of myself to this blog, than someone else. I want the secret recipe to my blog being my humanity – the irreplaceable me. So do I write about my dirty socks or about the new way to apply makeup?
I got plenty of dirty socks. In the Summer I take up my pastel colored ankle socks and walk around proudly thinking that I’m super colorful in my otherwise black clothes. Too bad you can see all the dirt in those socks almost instantly, and I never have the patience to not check out the day’s dust catch: this is how many steps I got to pace in this life today.
If I wrote about my life in a diary-kinda-way, there would be a lot of the same things, my every day life.
The morning starts by hitting the snooze button and curling up to my man. He always has the energy to smile and say the things, that carry me on. Sometimes I wake up bravely to make some coffee, smile at my reflection and start A Good Day. But other times I stay in bed. I keep sleeping, and there’s a chance I don’t wake up properly for the entire day. I forget to put on socks and there’s a girl staring at me in the mirror, that just wants to write poems about life – the real life behind the screen, where the dishes are left dirty in the sink and the eye lashes stay on the drawer.

I work just like anybody else, I eat lunch and I stare out the window. My lunch isn’t any prettier than the neighbor’s – not in my stomach anyway. My work isn’t better – sometimes the tasks get done with a blink of an eye and sometimes I have to chase them like fruit flies after buying organic fruits home. The workaholic in me isn’t satisfied until at the very finish line. Then it’s a relief to close my laptop and relax on a sofa. But sometimes it’s hard to leave work, when you feel like you never left your home at the first place. Every now and then I have ran out of all my powers, but I have an entry ban to the sofa in my head.
It would be nice, if everything was nice. On A Good Day I take a photo of my beautiful dinner and say cheers to my Thursday – I am Charlotta after all and there is nothing I can’t do. But other times I crash on the bed on top of the clean laundry, that are waiting to get folded. They never get folded by themselves, but sometimes, just sometimes, they seem to disappear to the closet in a perfect order – if you just have patience to fall asleep and wake up to another tomorrow.
I’ve never liked mathematics, but the probabilities to a Good Day are pretty good then.
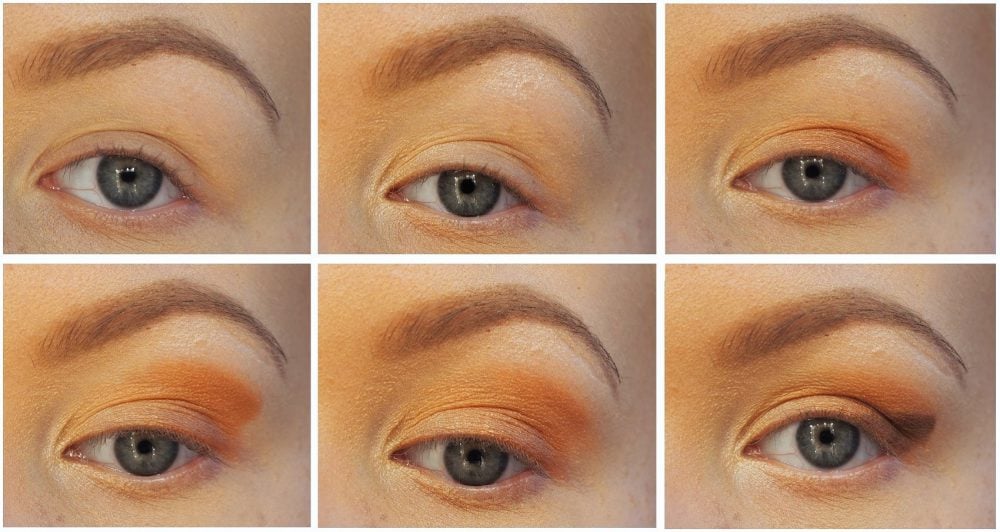
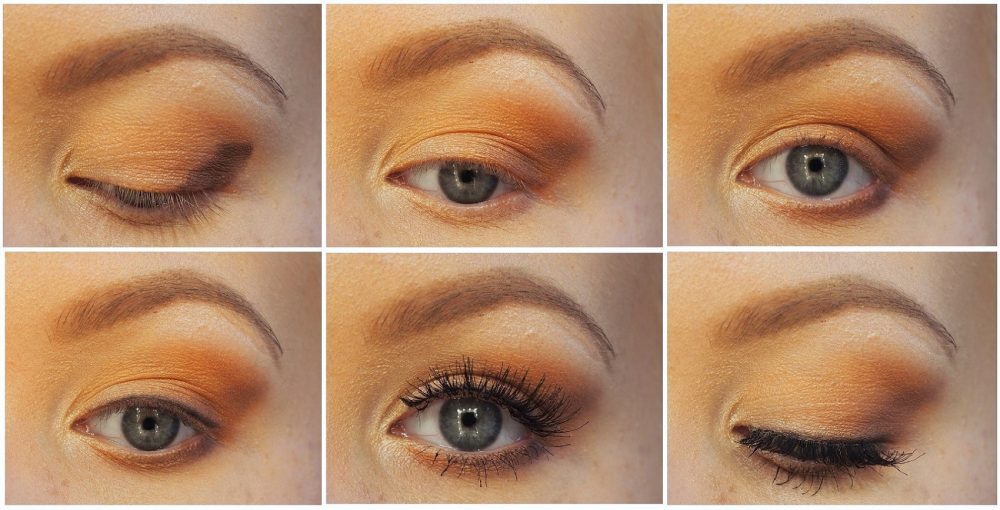
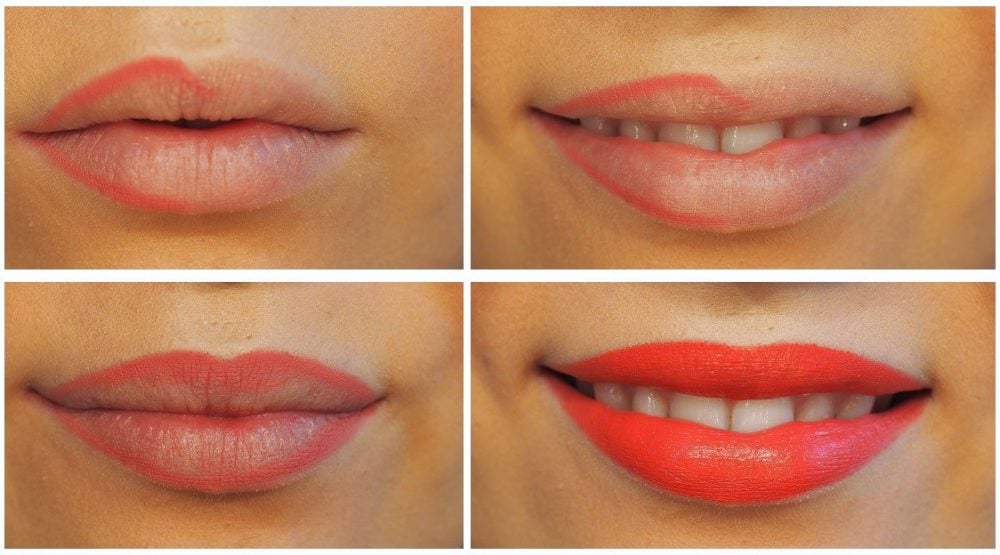
And as to the new way to apply makeup – forget about it. Use makeup brushes and a beautyblender.
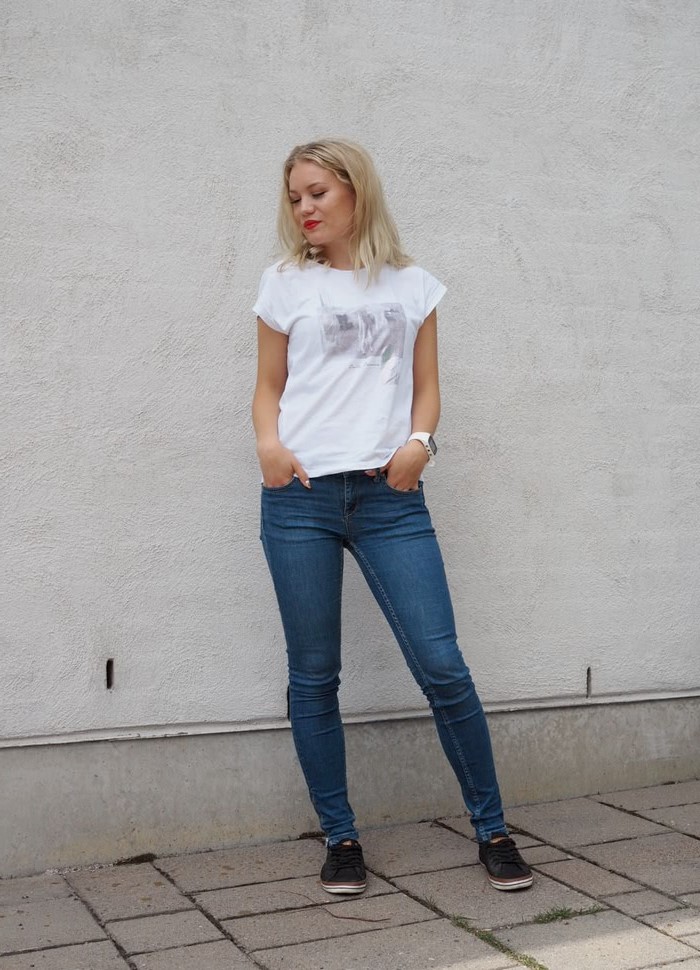
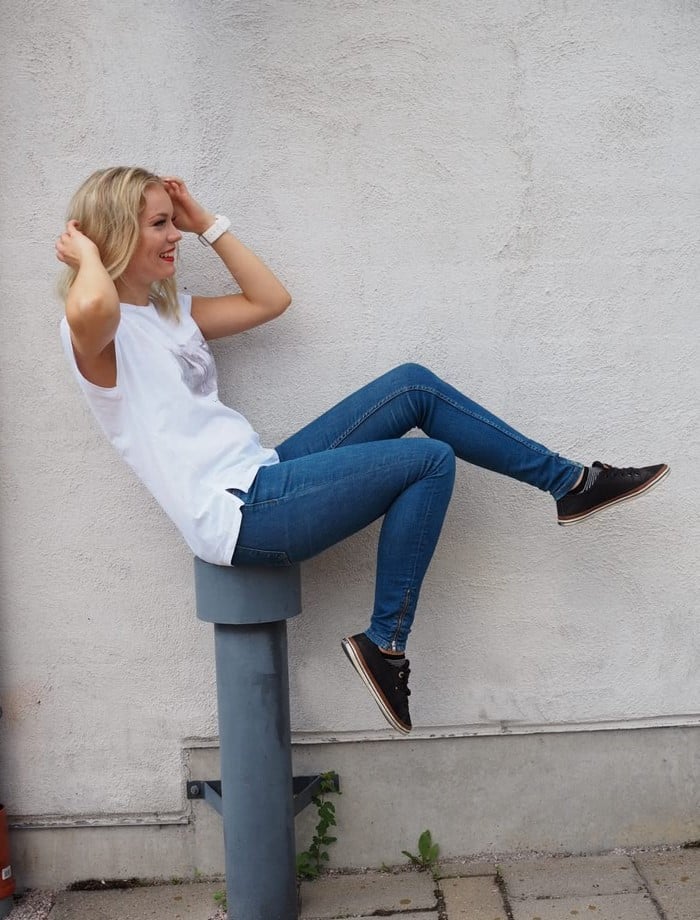
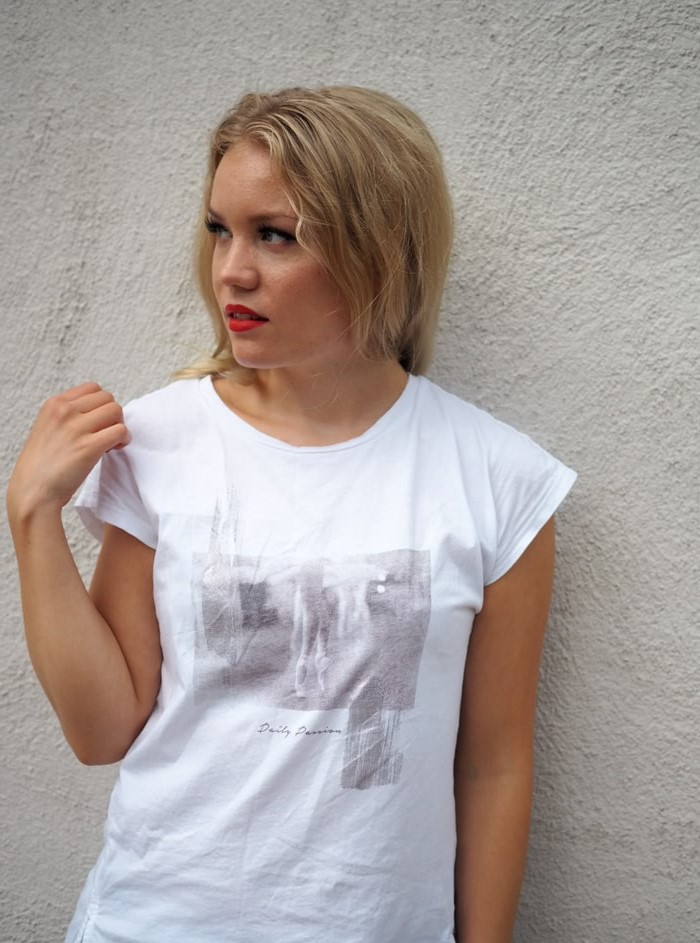
white t-shirt – Esprit
jeans – gina tricot (Zadaa second hand app)
sneakers – Tommy Hilfiger
watch – Polar M400
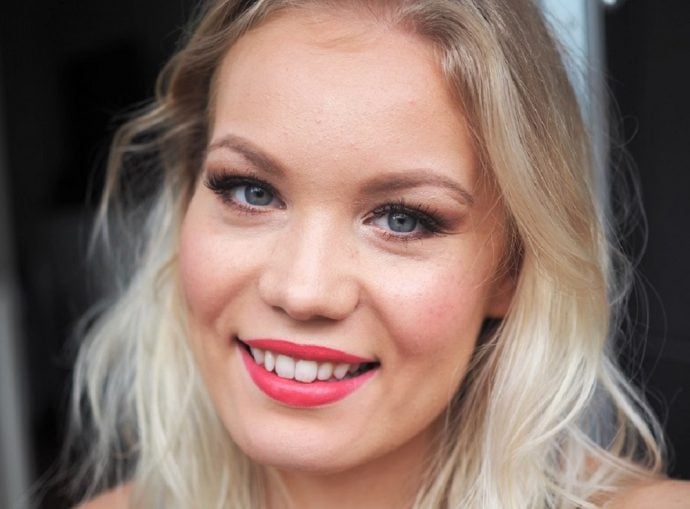
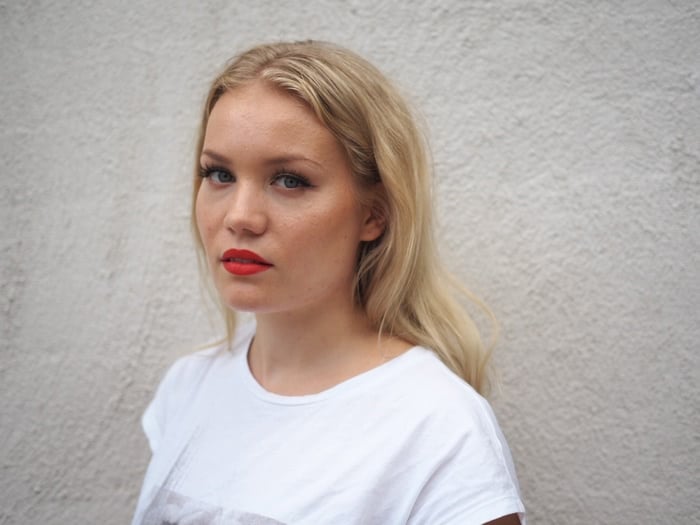
lipstick – Kiko Milano Creamy Lipstick in 116
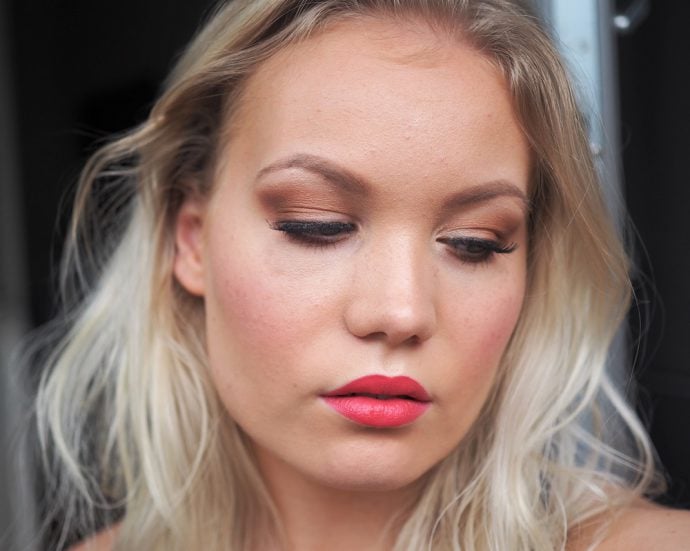
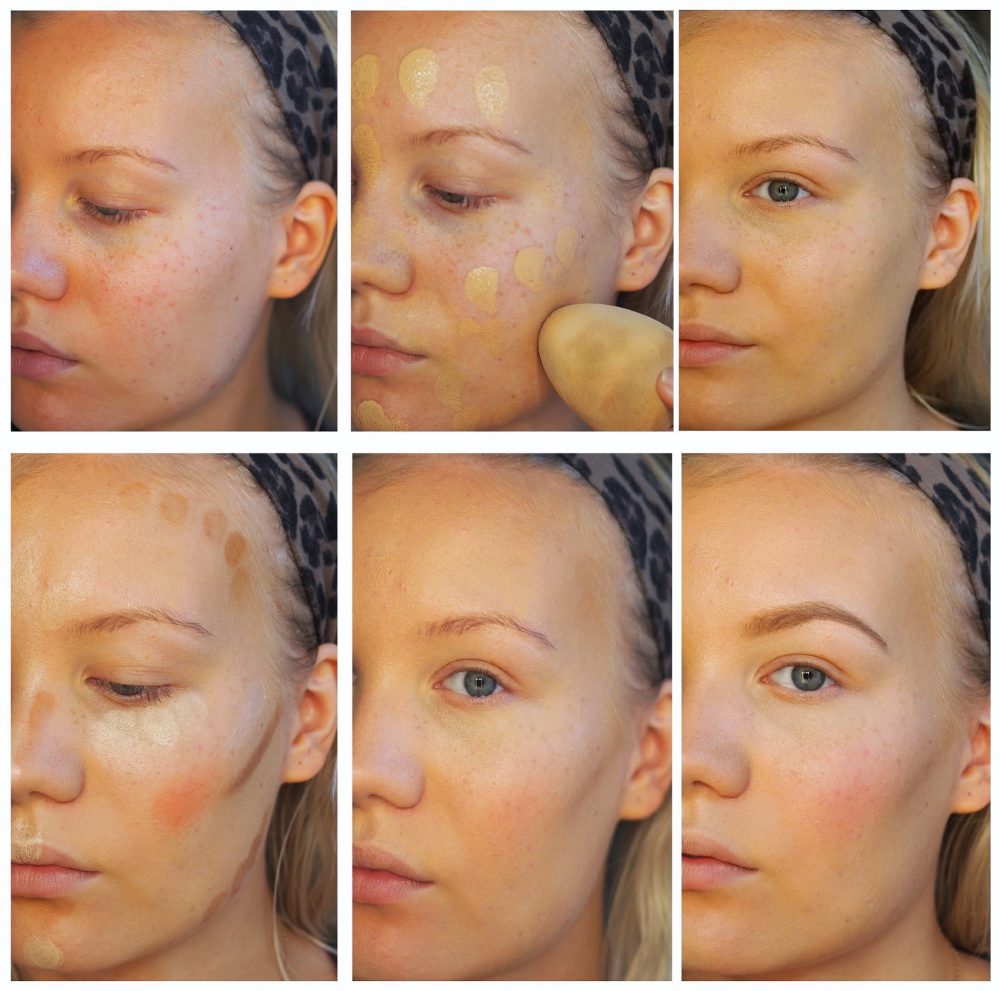 FACE/BROWS – RVB Lab The Makeup Smoothing Primer/ MUFE Ultra HD Foundation in 140 / MUFE Pro Sculpting Kit in 30 / Everyday Minerals Multitasking Concealer& Finishing Powder / KikoMilano Desert Dunes trio Baked Blush in Gypsy Pink / Guerlain Brow Pencil in Blonde / Maybelline Browdrama in Medium Brown