Everyday makeup from Clarins – Natural Lip Perfector & Joli Blush review + swatches

*adlink

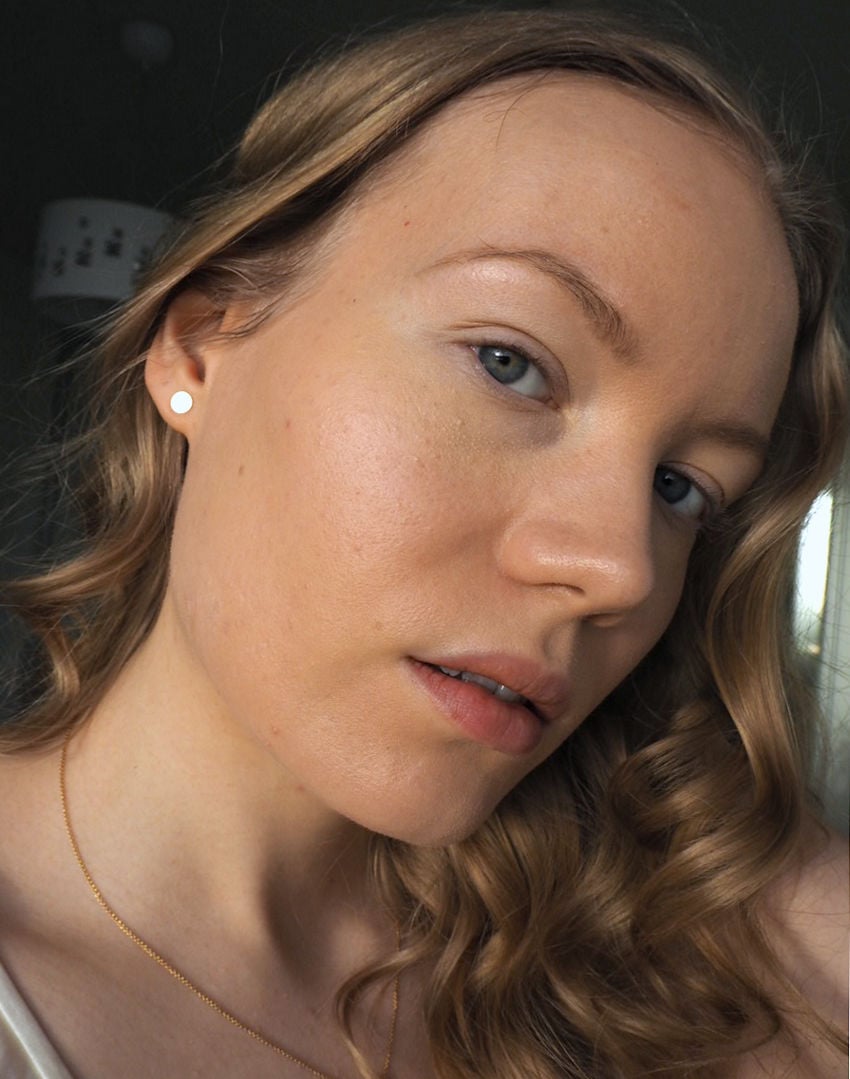
I love easy natural looks, that don’t take too long to create. More often or not I need products that do the their job quickly and that I can throw in my bag. It’s magical how using just a few simple products I end up feeling more powerful and put together.

Today I’m talking about products just like that. These are things that I use every day. I received these quite a while ago from Clarins, when they came up new Joli Blushes and some new shades on their Natural Lip Perfector glosses. I’ve always loved Clarins makeup products and these are no exception.

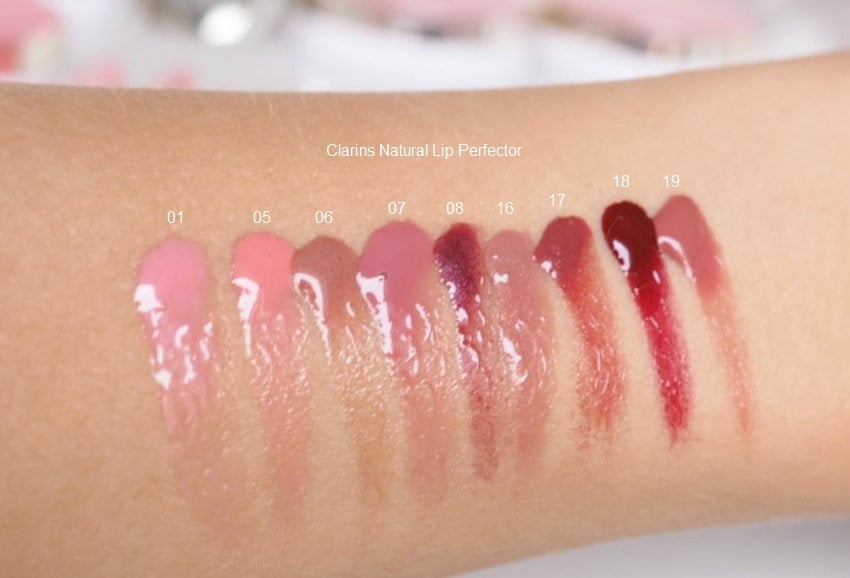
Keep on reading to see all the shade swatches on the Clarins Natural Lip Perfectors and 6 shades of the Clarins Joli Blush.

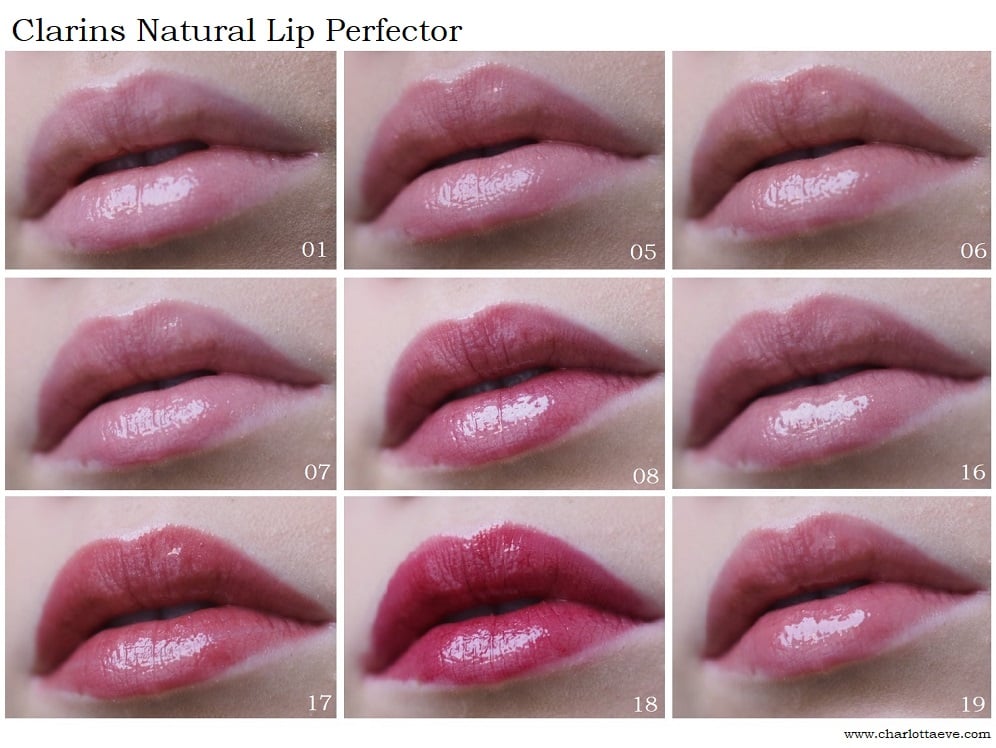
Clarins Natural Lip Perfector review & swatches

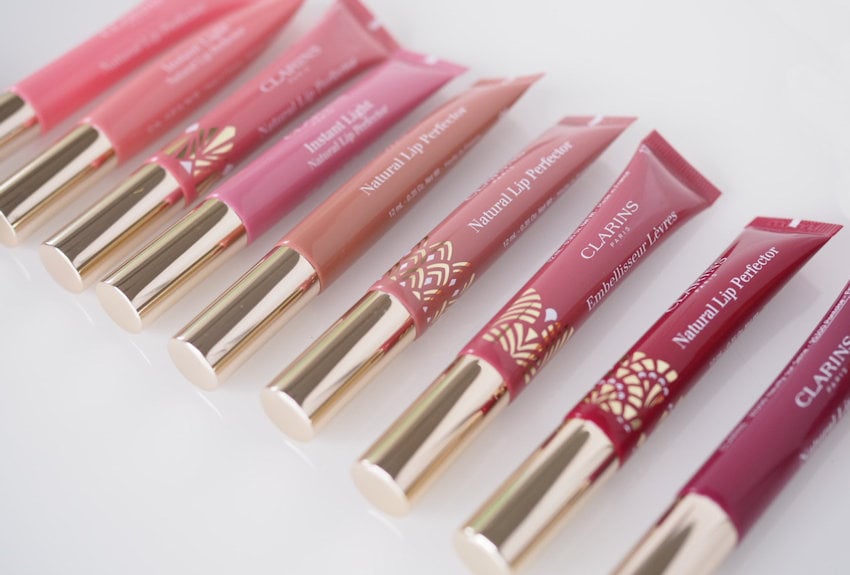
Clarins Natural Lip Perfector is a gloss that gives some color, but most of all gloss and volume to your lips. The plumping effect comes from the gloss, by the way, so if you’ve been wearing matte lipsticks in hopes of bigger lips, try a gloss instead. These glosses have a gel-like formula that feels very comfortable on the lips. The applicator is a soft cushion.

There are oils and shea butter in the ingredients, so my lips don’t feel dry after wearing these. Then again, lip glosses tend to be more hydrating anyway – another reason to skip matte lipsticks.

The best feature about these glosses is probably the scent. It’s a vanilla, toffee-like scent, that I can’t seem to get enough of. Especially now since I’m not eating candy for a year (sigh).

Overall I love these glosses, because the shades are so wearable and they go with almost any look. I also use these a lot on top of lipsticks. And yes, I usually have at least one in my bag on the go.

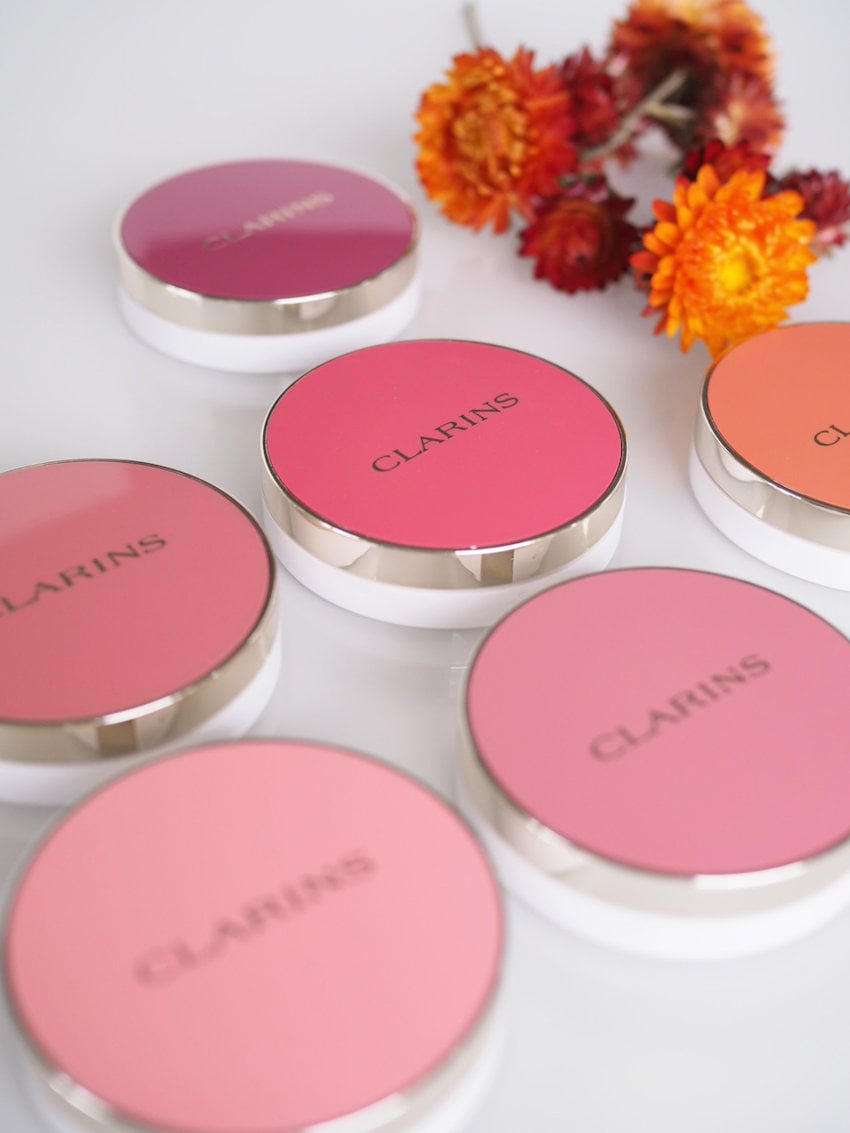
New shades in the collection are shades 16-19 and their packaging is slightly fancier with gold details (as seen in the photo above).

Clarins Natural Lip Perfector Swatches 01 05 06 07 08 16 17 18 19
Clarins Natural Lip Perfector swatches on my arm in a warm light.

Where to buy:

*Clarins Natural Lip Perfector (Clarinsusa.com)
*Clarins Natural Lip Perfector (amazon)
Finnish stores listed here

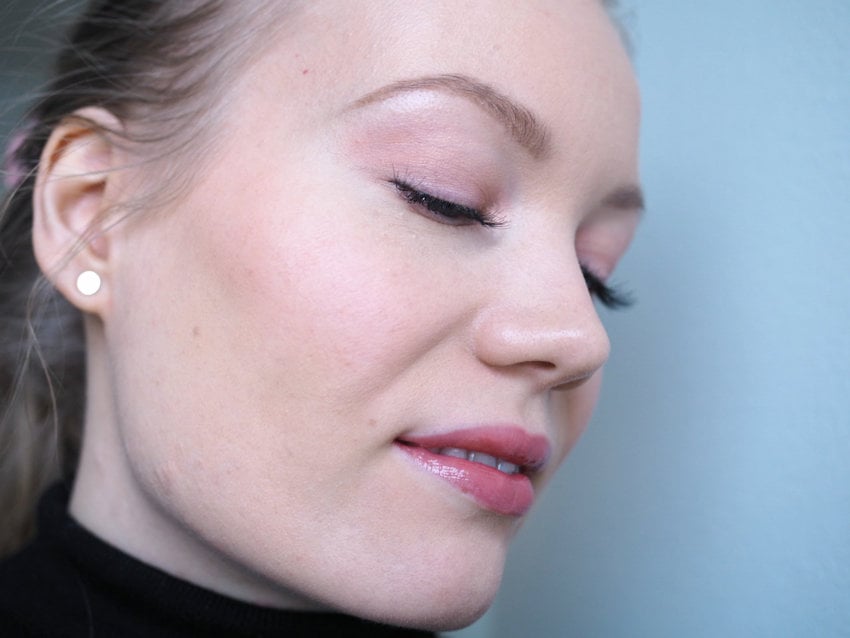
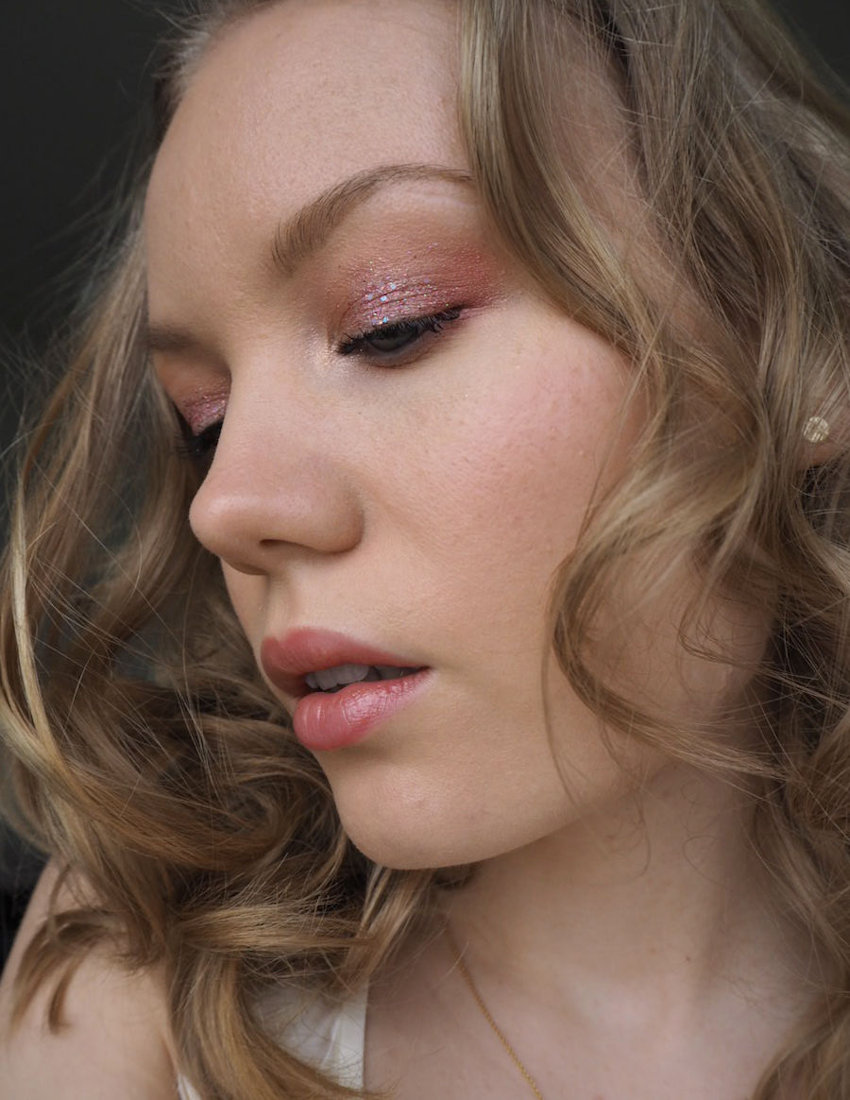
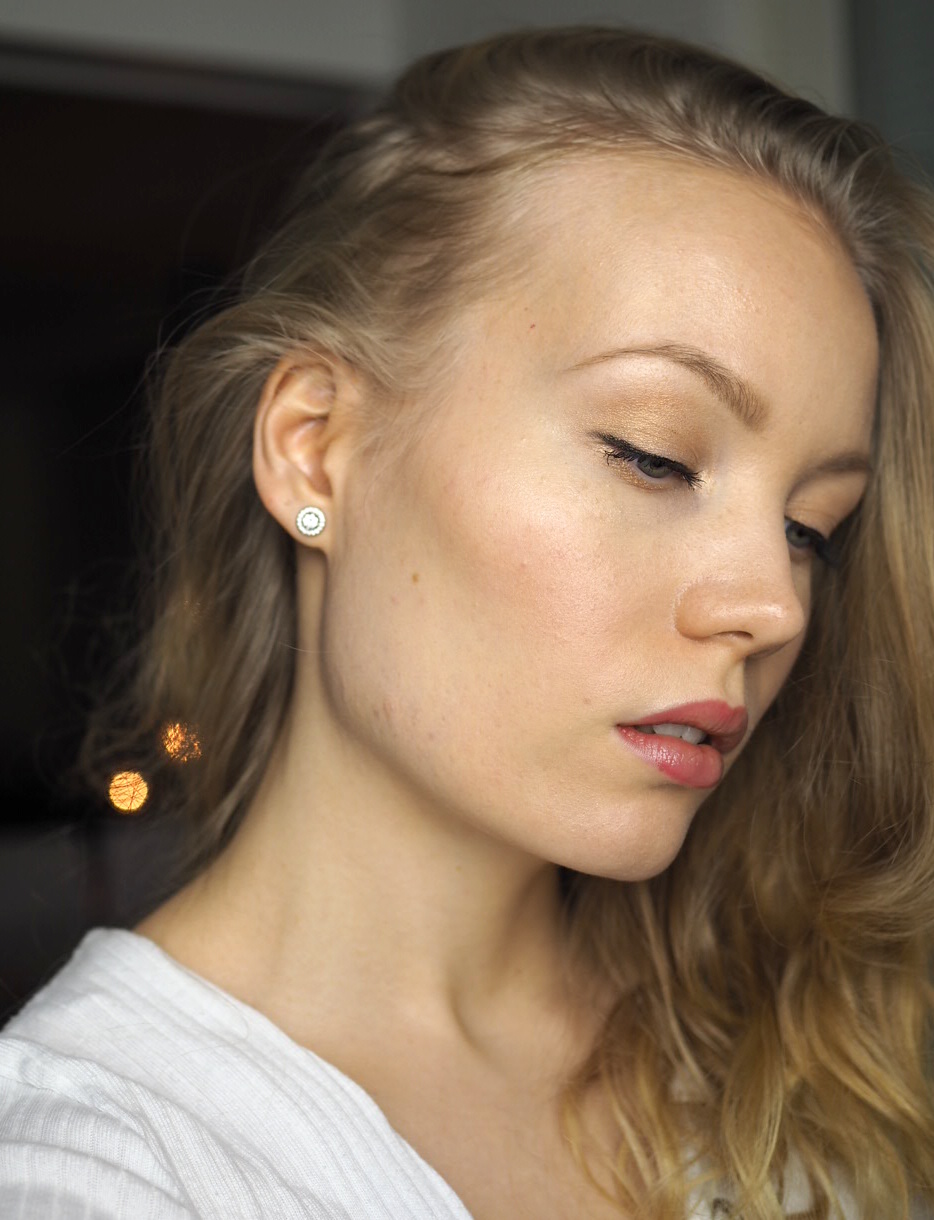
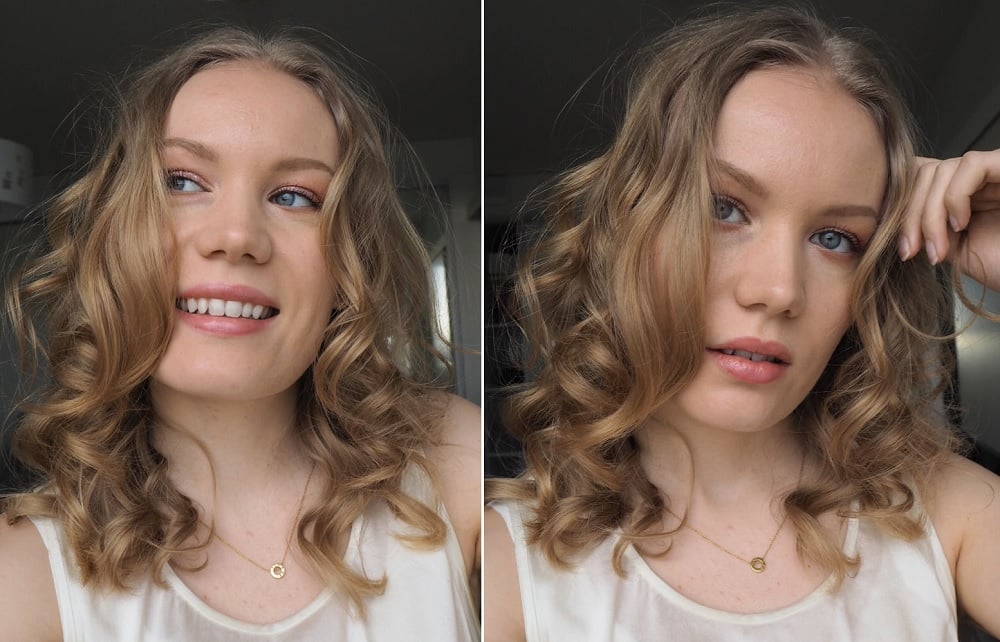
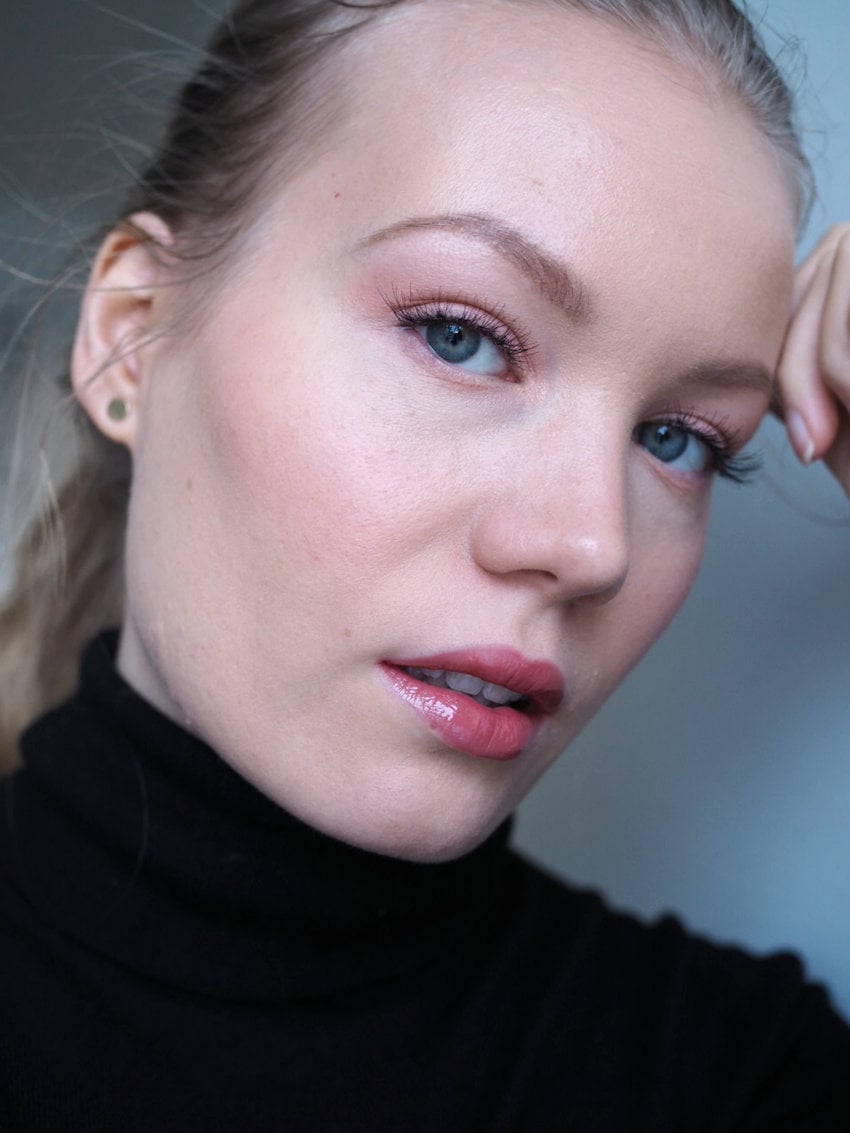
Wearing Clarins Joli Blush shades cheeky pink & cheeky boum – and Natural Lip Perfector shade 19 on the lips.

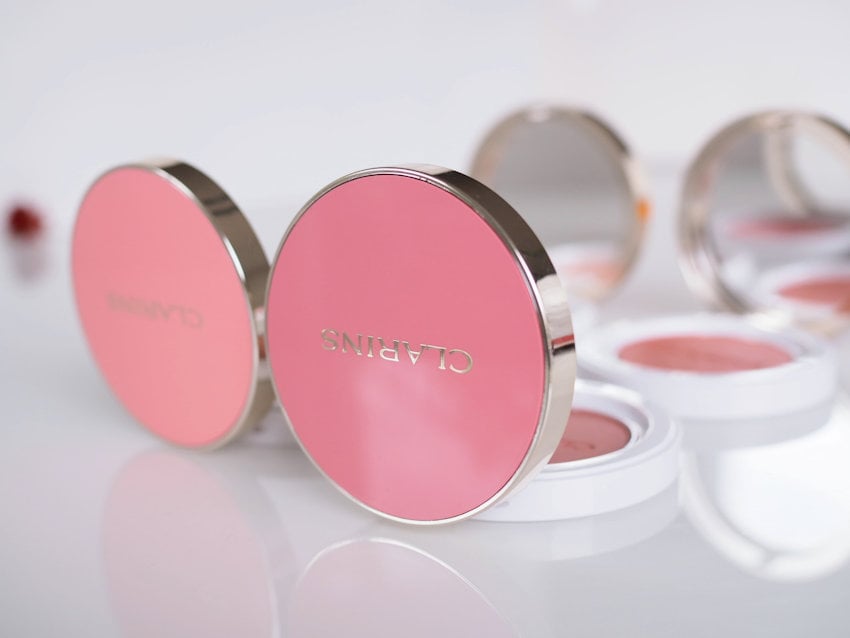
Clarins Joli Blush review & swatches

Clarins knows their packaging and their makeup products are beautiful. These are products that I love to keep on display and that also makes me use them even more.

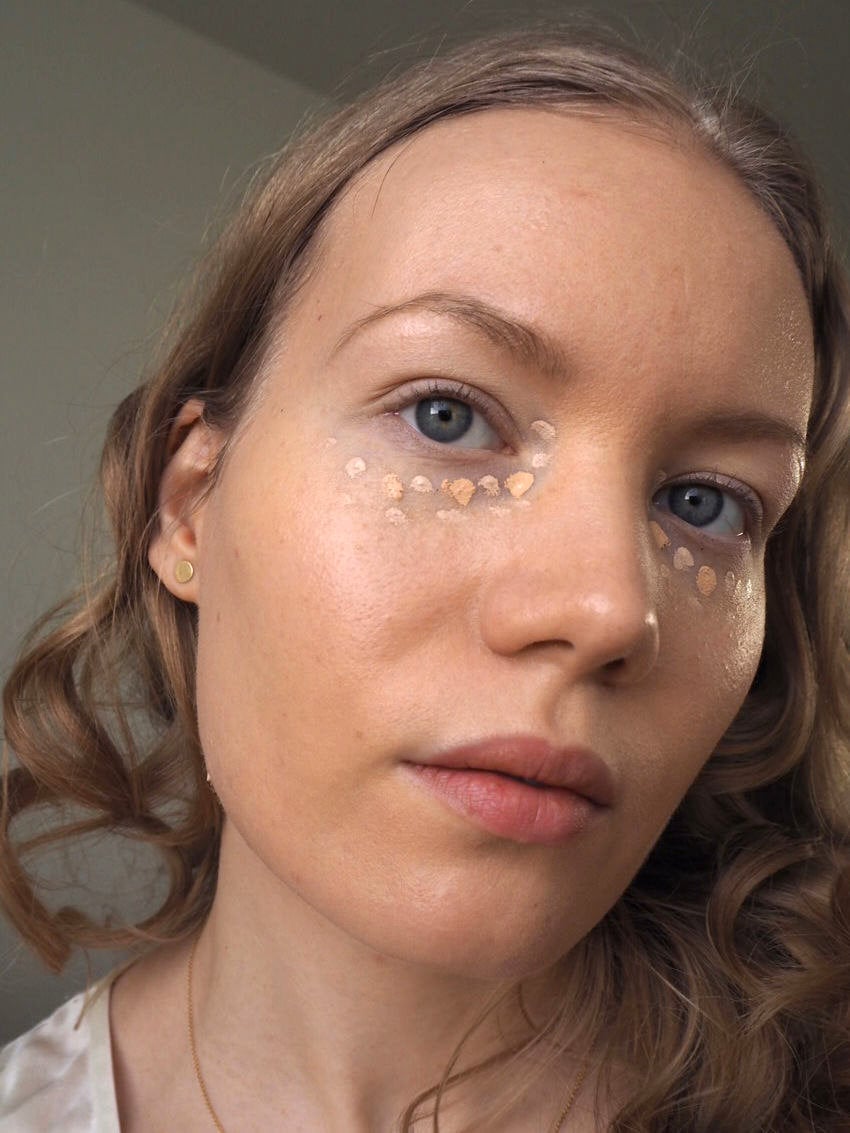
Clarins Joli Blush is one of those blushes, that you can’t go wrong with. The consistency is nice and easily blendable – and most of all – it’s easily buildable too. Blush is one of those products that can be ruined with too much pigment. Here there is just enough pigment.

There’s just something special about these blushes. I’m not sure whether to believe that they’re really ‘pH-reactant’ as advertised, but they do seem to adjust and melt to my skin and cheeks very nicely.

My favorites shades are cheeky pink, cheeky rose, cheeky peach and especially in winter, cheeky purple. So, basically all of them. The only shade I don’t love as a blush is cheeky boum. That is super shimmery and definitely more of a highlight. As a highlight though, it’s beautiful. I sometimes use it as a shimmery topper to any other blush.

One thing I need to mention about these blushes though, if you end up trying them on your hand at a store and feel disappointed. They swatch poorly on the hand applied with a finger, but when you apply them with a blush brush to your cheeks, they work brilliantly. For the swatches I used a sticky base, so you’ll be able to see the shades properly.

Clarins Joli Blush Shades (01 cheeky baby, 02 cheeky pink, 03 cheeky rose, 04 cheeky purple, 05 cheeky boum, 07 cheeky peach) swatches
Clarins Joli Blush Shades 01 cheeky baby, 02 cheeky pink, 03 cheeky rose, 04 cheeky purple, 05 cheeky boum, 07 cheeky peach swatches.

Where to buy:
*
Clarins Joli Blush (Clarinsusa.com)
*Clarins Joli Blush (Escentual)

Wearing Clarins Joli Blush in cheeky pink & cheeky peach and Natural Lip Perfector shade 18.

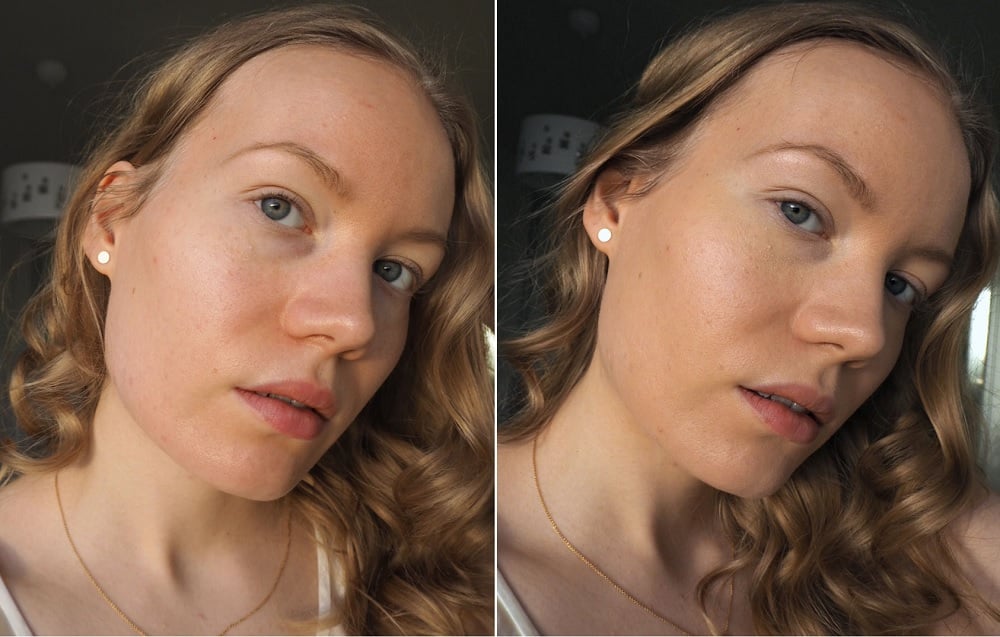
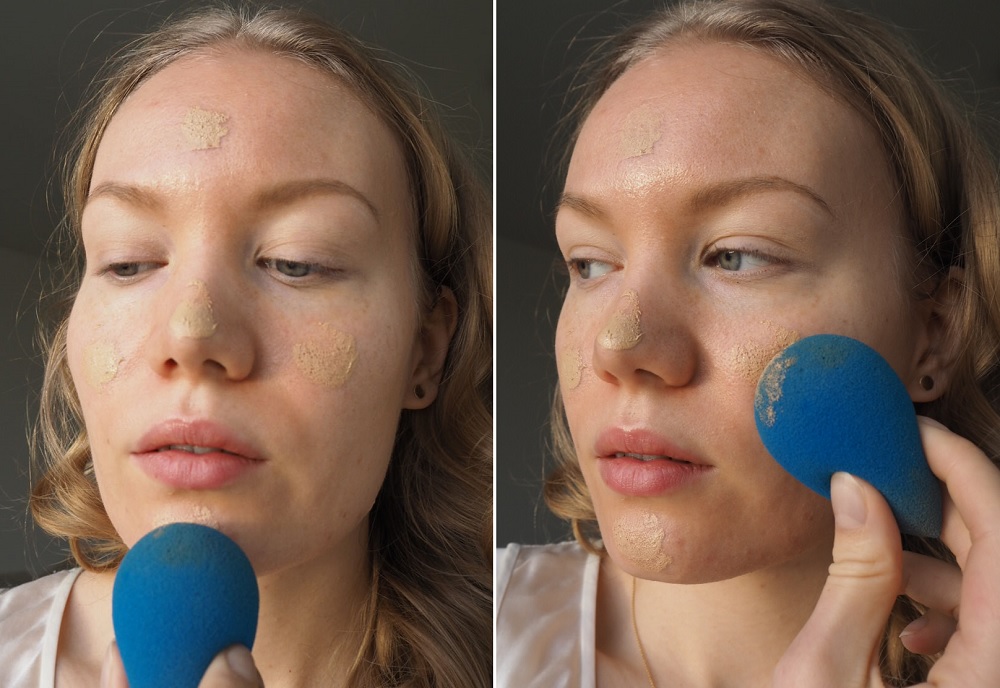
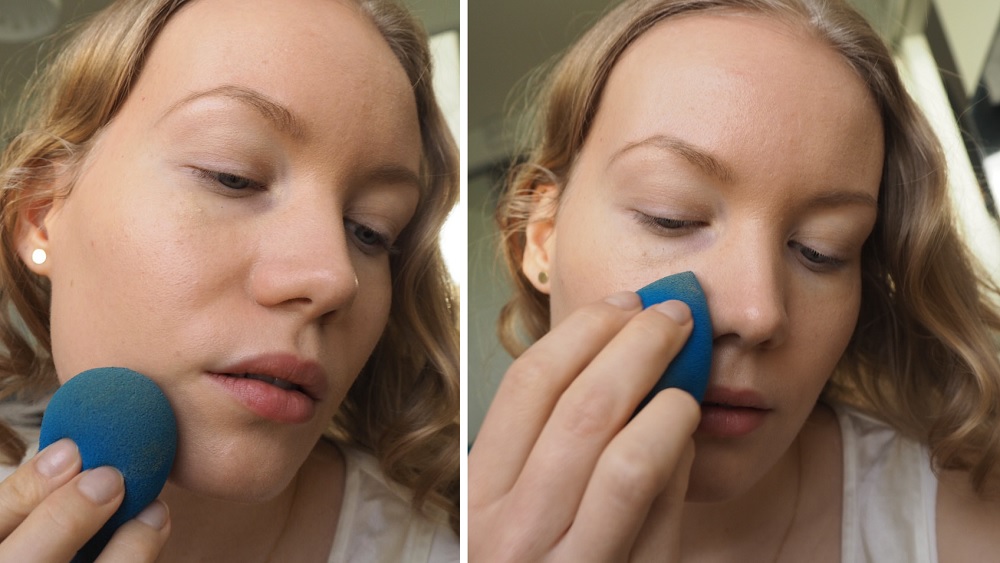
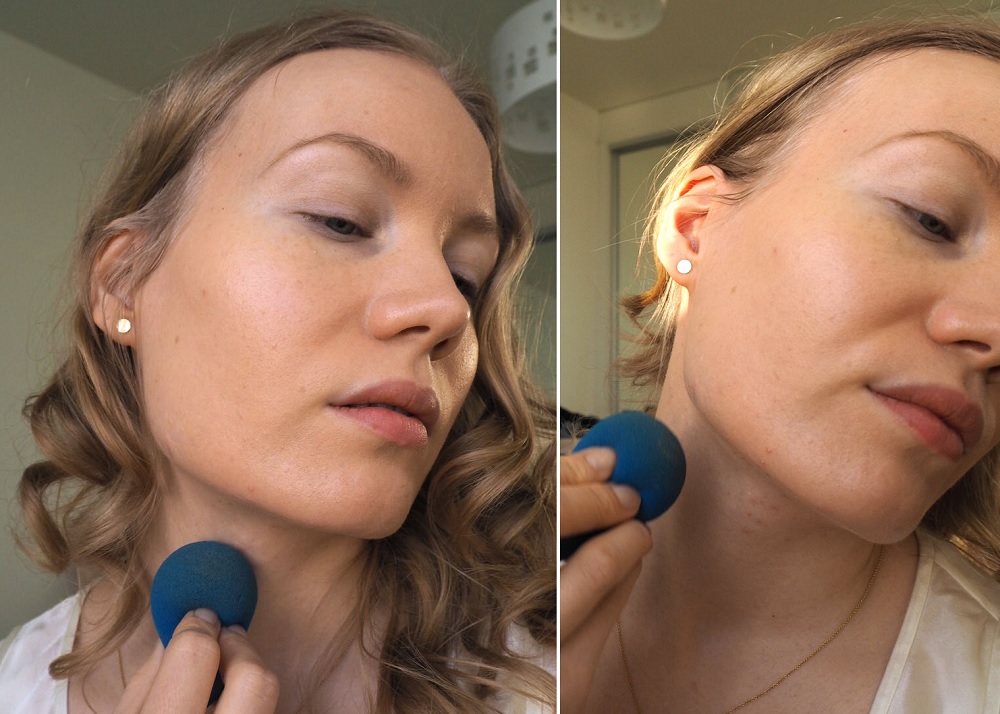
I was also wearing Clarins Everlasting foundation here (mixed with a CC cream) – check out my review on it here.

Are there any other Clarins makeup lovers out there? 

How to apply foundation – Natural flawless makeup

how to apply foundation correctly

*adlink

Foundation is possibly the most important product in anyone’s makeup routine. It’s the key to a beautiful makeup. Once your base is nice and even, everything else looks better. Ever wondered why red lipstick looks messy on you? Check your foundation. Wondering why your makeup looks like a mask? Sounds like a foundation problem.

In this post I’m sharing my tips on how to apply foundation correctly to get a beautiful, natural-looking base. I’m also sharing step by step photos of my foundation routine and some foundation recommendations.

How to apply foundation for a natural flawless finish

You get a flawless natural finish when you apply less product, use a beautyblender and choose the right foundation for your undertone.

1: Apply thin layers.
Start small. Take a little bit of foundation and blend it to the skin little by little rather than applying just one thick layer. You can always apply more but it’s not as easy to take off excess foundation afterwards. Thin layers don’t necessarily offer as much coverage as you’d like – but that’s what concealer is for! Concealers are usually very pigmented so they are perfect for any redness, spots or dark circles. You don’t need to have that full coverage effect all over your face – just on those areas, that really need it.

2:  Use a beautyblender.
It really makes a difference. A moist makeup sponge makes the application a lot more easier. It blends the foundation onto the skin beautifully so you don’t get streaks. The water in the sponge blends and thins out the foundation so you get a natural sheer finish. If you have normal or dry skin you can use a really wet sponge and if you’re oily you can just spray the sponge lightly with water.

the beautyblender electric violet swirl

3: Blend to your neck and blend the edges well.
Start the application on the center of your face and blend towards the edges. Remember to blend the foundation to your neck as well! Actually – when you think you’re done, go over the edges of the foundation again and blend.

4: Show some skin.
As I said – don’t cover up everything. Your real skin can and should shine a bit through. It makes the foundation look natural. Like your skin, but better. This way your foundation looks natural even when it’s wearing off. You can start the application on the center of your face: on the forehead, on the nose, on the cheeks and a bit on the chin. Start there and blend with circular motions. This way you get the most coverage on the center of your face – which is what people see first when they look at you – and just a light light layer on the sides of your face.

undertones cool warm neutral

5: Know your undertone.
It is super important you know your undertone, when choosing a foundation. Having the right undertone is actually more important than having the right color (how dark the shade is).  If you have more yellow tint to your skin, you have yellow undertone. If your skin has more light pink tint to it, you have pink undertone. If you can’t really say if you’re yellow or pink, you’re probably neutral.

How to know if you’re cool, warm or neutral? Read this post to determine your undertone!

6: Try mineral makeup.
Mineral makeup offers an easy solution to almost any foundation problem. It’s easy to apply with a brush and it gives you a nice coverage – you don’t even necessarily need a concealer. Mineral makeup reacts with your skin temperature and “melts” to your skin so it looks extremely natural and it also gives you a nice glow. Mineral makeup (depending on the brand) is also good for problematic skin. It lets your skin breathe and it doesn’t clog pores – actually it balances and protects your skin.

lily lolo makeup review
Wearing Lily Lolo mineral makeup.

How to apply foundation – tutorial

how to apply foundation - before skin
Here is my skin without makeup. You can see some freckles, redness and spots here and there. The key is to even out my skintone, hide the blemishes a bit, but still make it look like my skin.

  1. I always start the application from the center of my face. I create these small little dots of foundation on my forehead, cheeks, nose and chin. Then I start blending the foundation with a damp beautyblender. I blend the foundation all over my face and towards the edges, so that the most coverage is still kept on the center of my face. Here you can pretty much see the amount of foundation I use. I only went back once to get a bit more on the sides of my jaw.
  2. I do a thin layer and if I need more coverage I build it up. But most of the time, I just use concealer on the areas where more coverage is needed. I go over any problem areas such as the sides of my nose using the tip of the beautyblender. Beautyblender is purely awesome, because the shape is perfect for whole face and details.
  3. I blend the foundation to my neck so that I get a smooth transition. How not to get foundation lines? Blend, blend and blend! After I think I’m done, I go over my whole face with the beautyblender one more time.

  1. I use a concealer on areas that need more coverage. I hide my dark circles and spots with it. I’ve been using NARS Radiant Creamy Concealer for years now, there’s just nothing like it. I use two shades, Vanilla & Cannelle.
  2. And that’s pretty much it for the foundation. After that I might set the foundation with a powder. In winter beautyblender actually works great for powder application too. But lately I’ve actually skipped powder (being a bit oily it’s a miracle, I know) and just applied my bronzer and blush.

Products used
*Clarins Everlasting Foundation, Sand & *Madara City-CC Cream SPF 15,Medium Beige (mixed half and half these two)
*NARS Radiant Creamy Concealer (Vanilla & Cannelle)
*beautyblender
*Benefit Hoola Bronzer
Clarins Joli Blush, Cheeky Purple
*Lord and Berry Crayon Lipstick, Intimacy
*Clarins Natural Lip Perfector, 07

Some of my favorite foundations & product recommendations

*beautyblender

*Clarins Everlasting foundation Blogpost
Quite full-coverage, long lasting, for oily & combination skin

*Estee Lauder Double Wear foundation Blogpost
Full-coverage, long lasting, for oily, combination & normal skin

*NYX Total Control Drop FoundationBlogpost
Light to full coverage, for all skin types.

*Madara City-CC Cream SPF 15Blogpost
A tinted moisturizer with SPF. I love this one for a super natural glowy skin! Right now I use it by mixing it with my foundation, like I did in this tutorial.

*Lily Lolo Mineral FoundationBlogpost
My favorite mineral makeup brand. Affordable and great.

Scroll to top