“How long does it take for you to do your makeup?” is a question I somehow get asked all the time. I didn’t even realize how frequently I answer to this question, until Risto pointed it out to me and said that I should do a post about it.
Actually, now that I think of it, I’m quite bad at answering that question. And usually Risto is quicker, when he says “As long as it’s possible. She uses all the time she has (for doing her makeup).”
And he’s not wrong. That answer is quite accurate. I do use as much time as I have to doing my makeup. To sum it up, I would say that I spend 1-2 hours doing my makeup daily.
My ideal makeup time: 1,5 hours
I would say that I can do my makeup in an hour, but it’s not ideal. I feel like I need a bit more time and that’s why the ideal time for me is 1,5 hours. There’s room for error, for sipping my coffee between blending and playing with colors. In an hour I wouldn’t necessarily try difficult looks. I would stick to my go-to products and go-to looks. But 1,5 hours? I can focus.
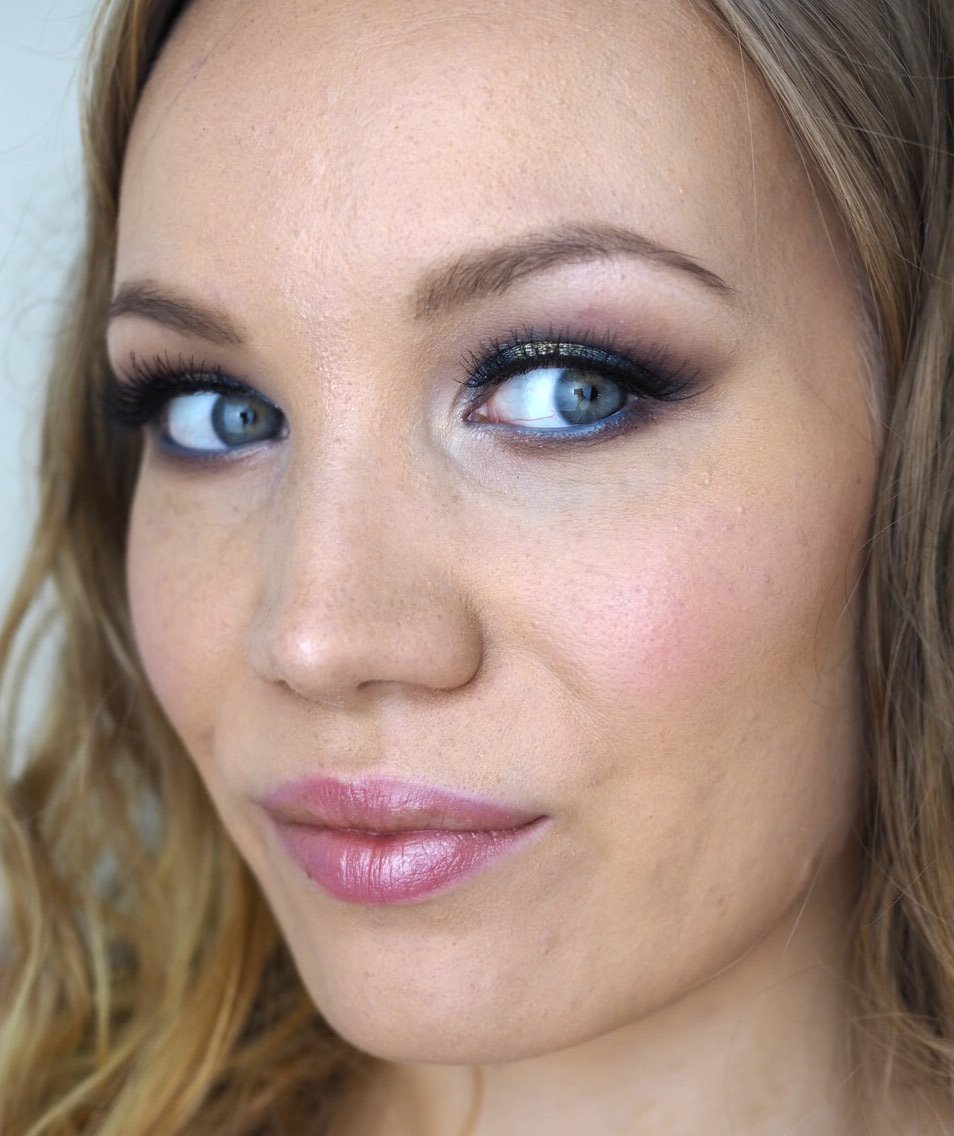
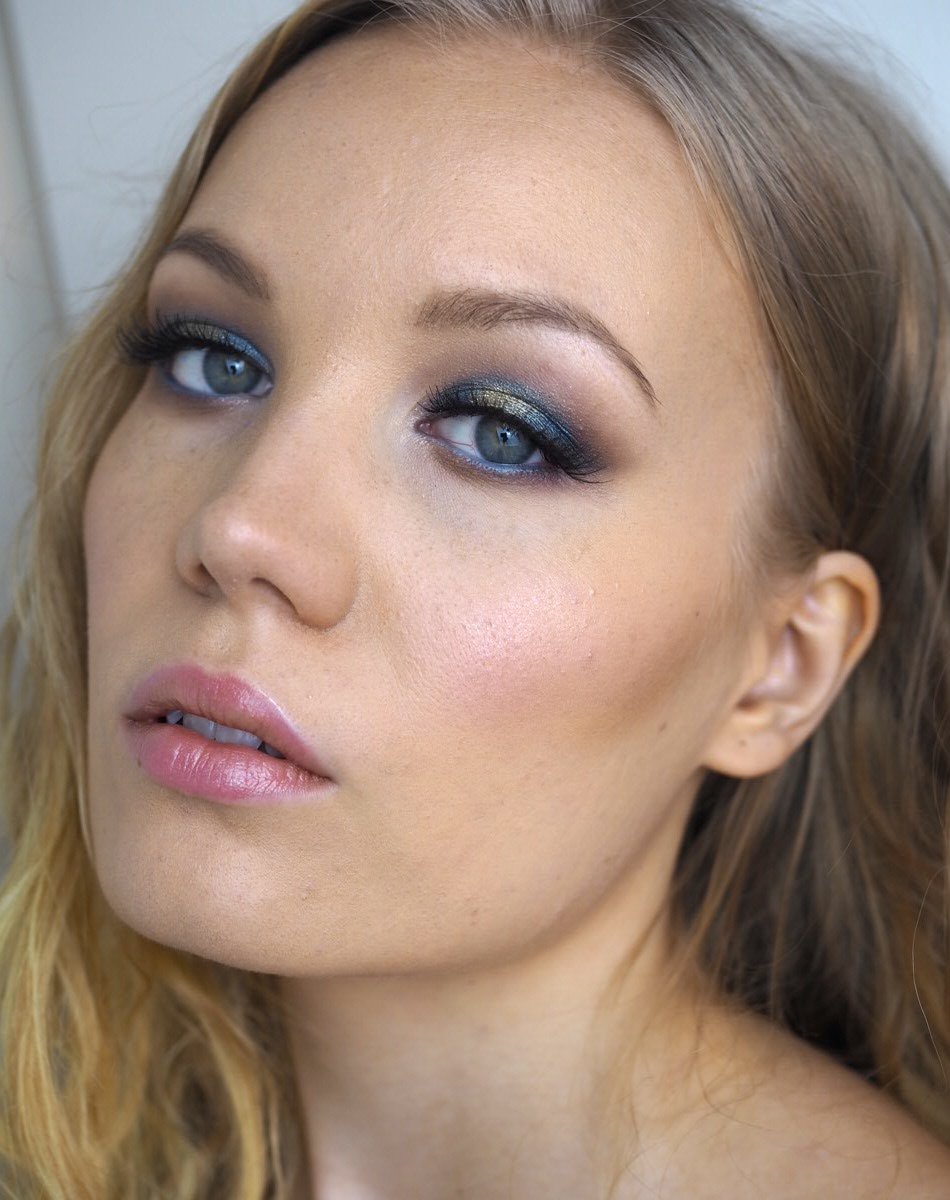
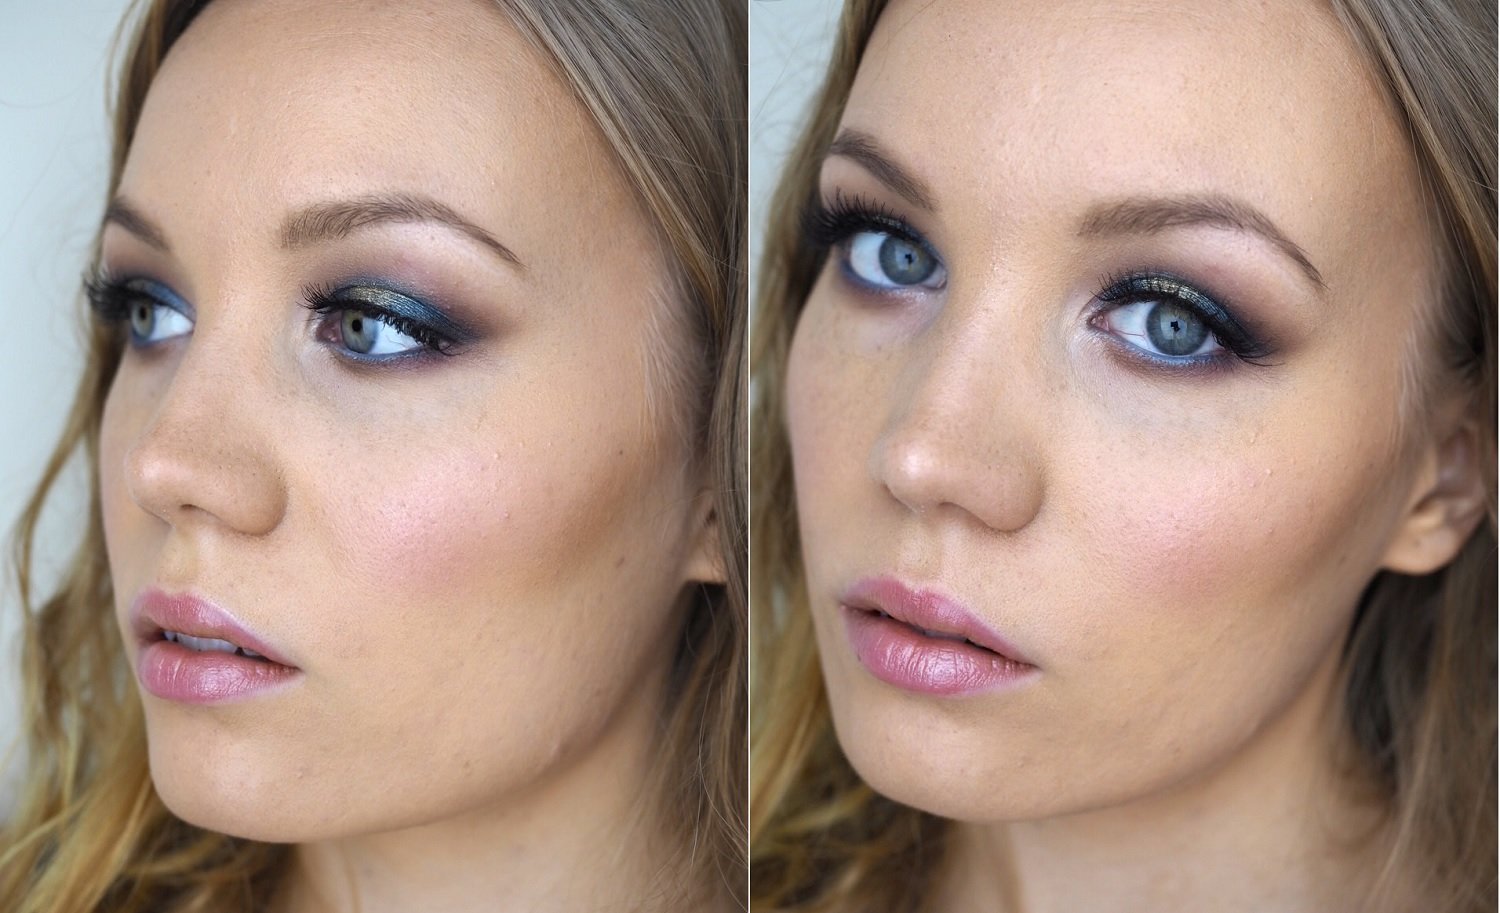
If I have somewhere to be, I make sure I have that much time in the morning. Even though I wouldn’t use it all for makeup, I would use the most. So to be perfectly accurate, the average time on those days is possibly somewhere around 70 to 80 minutes. The makeup you see in these photos took me about 70 minutes. But it included a lip color change, since I didn’t like the fist color I chose. See? It’s also about trial and error.
Two hours might sound excessive, but that is when I truly shine. Two hours is when I can do a difficult full-face glam look without stress. Whenever there is a party or I’m not in a hurry, I really really enjoy sitting at my makeup table and taking the time to do my makeup. No rush! Whenever there is a special occasion or a party, I make sure I have at least two hours to do my makeup. Now here’s possibly why Risto says I like to spend “all the time I have”. He knows that for parties, I start getting ready at 1 or 2 pm, when the party starts at 6. Okay, and I guess he’s seen me sitting at my makeup table daily… for hours.
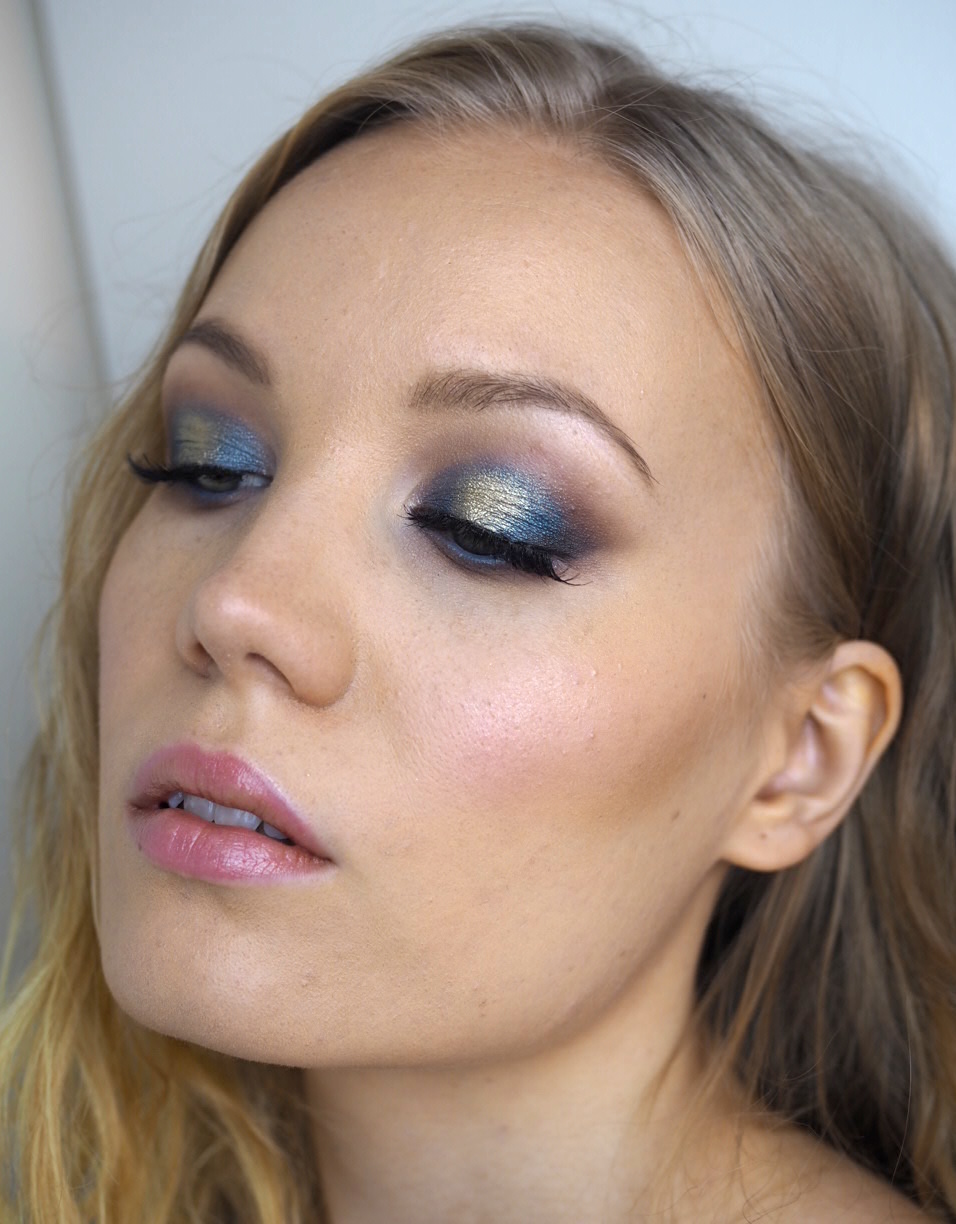
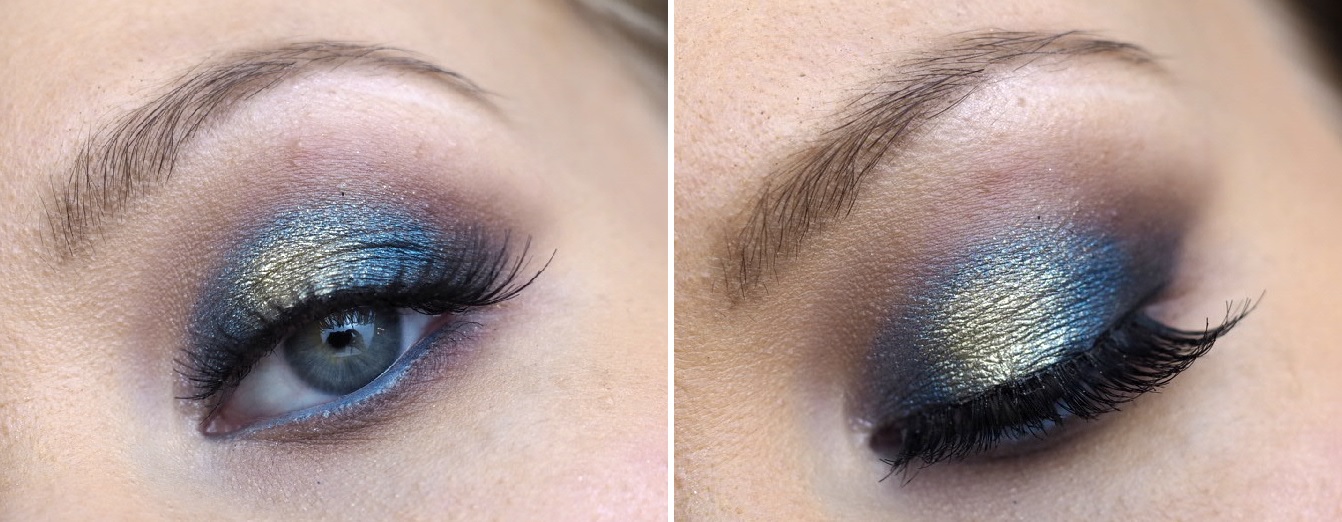
Here are all the products I used to do this makeup. I’m currently testing a new foundation from IsaDora. It’s very thin and super matte. I wanted to wear something blue and gold, so I reached for my The Power of Makeup -palette since it was perfect for this look. I love that blue turquoise color with gold.
Primer, foundation, mascara, eyeliner & lip gloss are gifted. Links are adlinks.
Products
Jane Iredale Smooth Affair primer
IsaDora Active all day wear make-up, Fair & Light
Catrice Liquid Camouflage Concealer, Porcelain
Maybelline Masterfix Baking Powder
Laura Mercier Transluscent Powder
Benefit Hoola Bronzer
KikoMilano Baked Blush, Gypsy Pink
MAC Mineralize Skinfinish, Soft & Gentle
mad4eyebrow Brow Filler, Blond
Holika Holika Wonder Drawing Skinny Eyebrow, 02
Urban Decay Primer Potion
NYX Glitter primer
NYX Jumbo Eye Pencil, Milk
The Power of Makeup Palette (NikkiexTooFaced)
KICKS Graceful Length Mascara
Ardell Demi Wispies lashes
Pretty by Flormar Ultimate Dipliner, Black
TIGI luxe lipgloss, superstar
A two hour masterpiece
Whenever I’m doing a makeup tutorial, it also takes time. 1,5-2 hours. I need to be extra careful with my application and I need to take photos in between. Good photos, might I add. It’s a process! Which is why I’m happy you like those tutorials. There’s so much work that goes into them. Not to talk about what happens on the computer afterwards.
Now keep in mind, I love makeup. It’s like painting. It’s where I get to be creative and try new things. It’s where I get to look into the mirror, highlight those beautiful cheekbones and say to myself: you’re looking fine. It’s my place. I like to start my day from there. Get inspired.
Usually. Because another thing I want to note is that I don’t do my makeup every day. I would say there are anywhere between 2-4 days in a week when I don’t wear makeup at all. I work from home so if I don’t have anywhere to go, I might lack motivation to do my makeup. Which is also why I like to take my time when I do decide to wear makeup.
At this point I’m just defending myself, but I can do a half hour or one hour makeup looks on clients and have done lots of those. One hour is enough for an evening look or even for a wedding makeup. But somehow when it comes to my own face – well, I need my peace.
Last, but not least. I would like to learn to do quick makeup sessions. Like thirty minutes, maybe? But I’m one of those no-in-between girls. It’s either no makeup or full-glam. During summer I did do a bit of those quick makeup looks, but it’s a struggle, as weird as it sounds! I also like quick makeup looks and tips (I’ve lost all my credibility at this point…), so maybe I will start working on that. I’ll put a timer and do as much as I can in that time.
Now, I’m very much interested to hear your answers to this:
How long does it take for you to do your makeup?
(I honestly have no clue.)