One of the coolest things about having my skin back after that horrible acne, is that I can use highlighters again. I’m not at all about that over-the-top highlighting style, but I still apply quite a lot of it on my face.
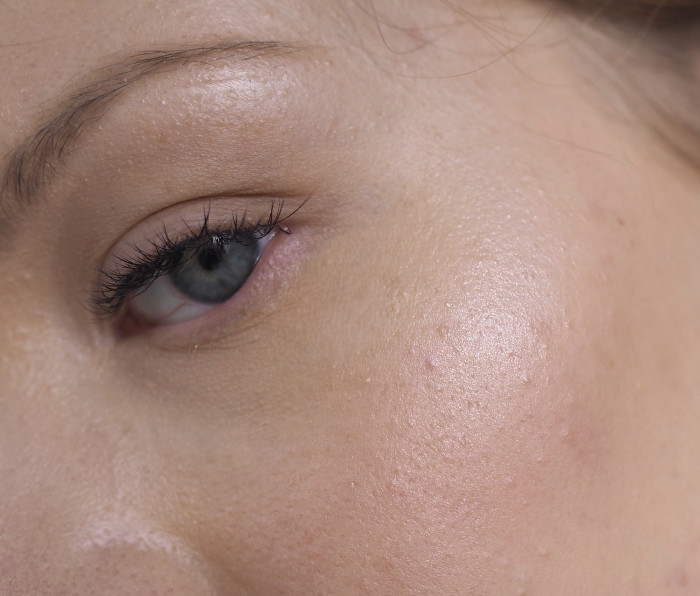
My highlighting style makes my skin look glowy and like the light hits it in just the right spots. The key in making highlighter work for you instead of against you (been there!) is to use the right product for your skintype, apply it in the right spots and to not go overboard with it. Though to be honest -it happens to the best of us – sometimes it’s so hard to resist all that sparkle.
In this post I will show you step by step how I apply highlighter on my face, I will show you my favorite highlighter and give some highlighting tips, including the best highlighter for textured or oily skin.
How to highlight your face
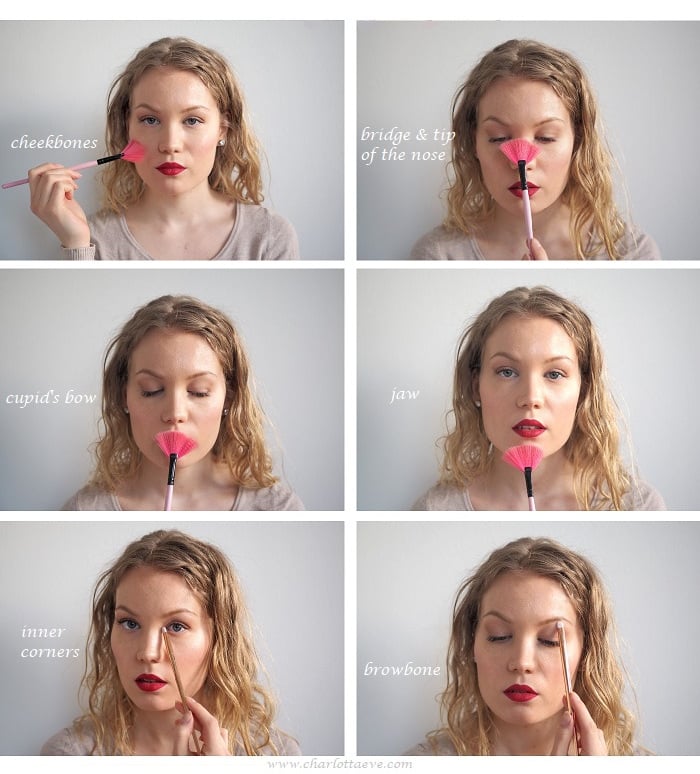
The idea in highlighting is to highlight the high points of your face. To make you look glowy and beautiful. Depending on your glow-level, you can highlight all six of the places mentioned here, or if you just want a subtle glow, you can leave your nose or jaw untouched. I don’t necessarily always highlight my face like this, but when I want that glowy look, these are the spots I hit with my brush.
- Cheekbones. Highlighter goes on the highest point of your cheek and it should be blended so it doesn’t look just a straight streak on your cheek. Blend it upwards towards your temples and to your cheeks – I always make it blend with my blush too.
- Bridge of the nose & tip of the nose. If you like your nose and want to accentuate it, you can hit it with some highlight. My nose is quite straight and petite and I like to make it look even straighter and cuter by applying some highlighter right on the bridge of it (make sure you make a thin straight line!) and a touch on the tip of it.
- Cupid’s bow. Probably my favorite place to highlight. I remember highlighting my cupid’s bow with a white eye pencil when I was younger and my friend was like: ‘whatcha doing?!’ and I couldn’t really explain it to her, but somehow I knew it made my lips look bigger and better. And it makes my cupid’s bow accentuated, which I like.
- Jaw. I could probably skip this one, but I like to do it just to draw attention to the center of my face – since my face is square-shaped. Having highlighter kinda all over my face makes the whole makeup look more put together, if it makes sense.
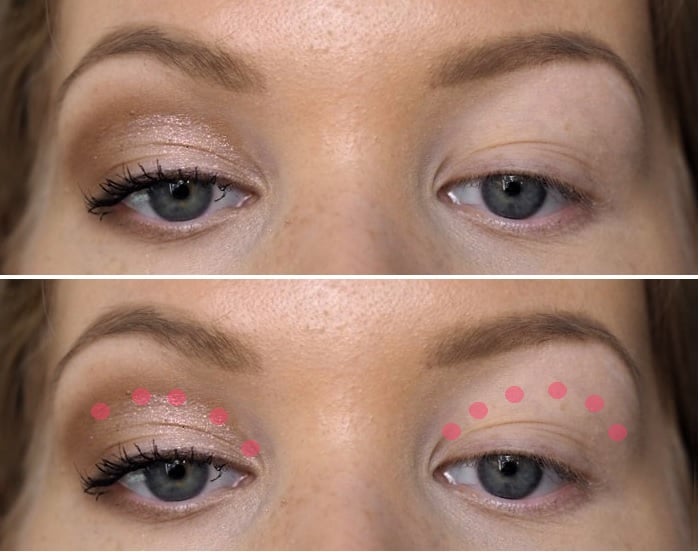
- Inner corners.
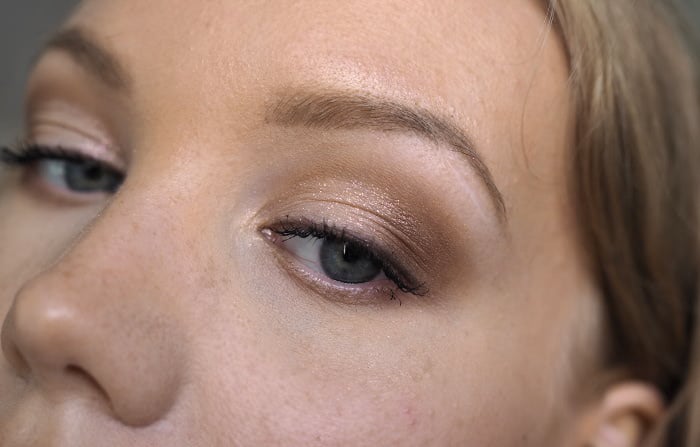
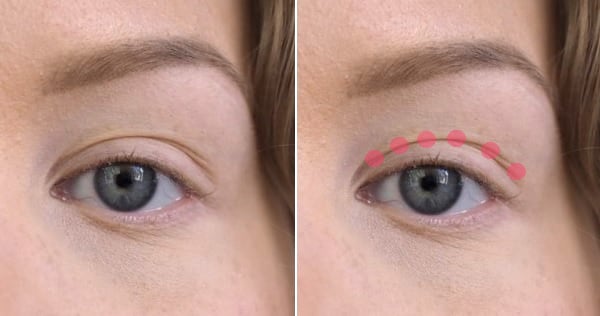
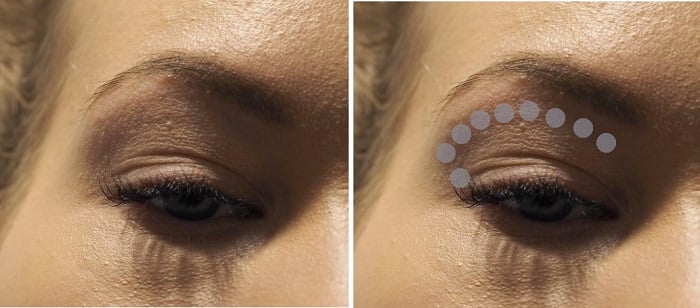
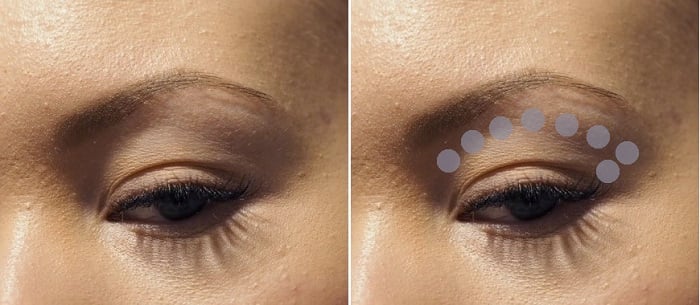
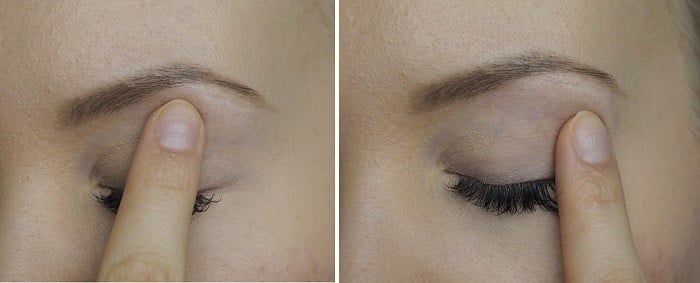
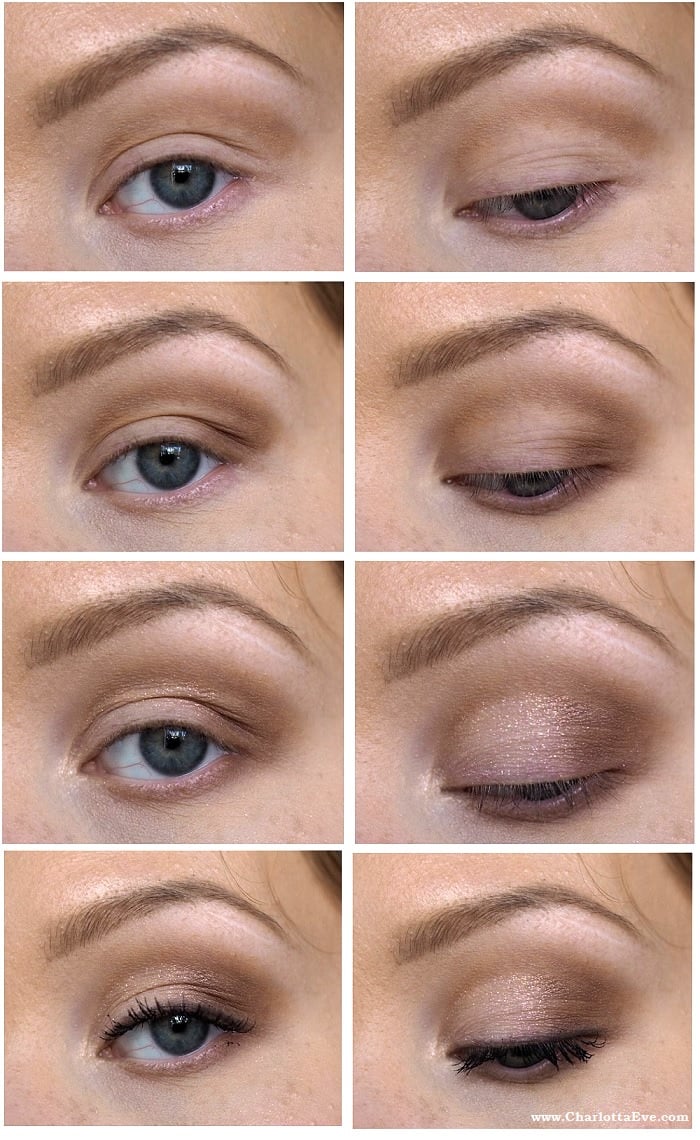
You’ll probably add some light shimmery eye shadow on your inner corners, when doing your eye makeup, but here’s an idea: use the highlighter you used on your face! Again, it makes everything match together beautifully. - Brow bone. The same applies here, as in number 5. But when it comes to brow bone highlighting, there’s an important thing to remember. If your eyes are very hooded or very deep set, applying a lot of highlighter on your brow bone might make your eyes sink in even more. Then again – a tiny touch of highlighter on your browbone can lift up your eyes. If your eyes are very hooded/deep set, matte highlighter (a light color) could work better. Experiment with this and see what works for you! I have deep set eyes and I applied the highlighter on my browbone too, but I applied just the tiniest amount.
+ forehead
My forehead is the only place, I don’t touch. It just so happens that it glows naturally, all by itself. If your skin isn’t as oily as mine, you can hit your forehead with a little highlight: try applying it right in the center or above your brows.

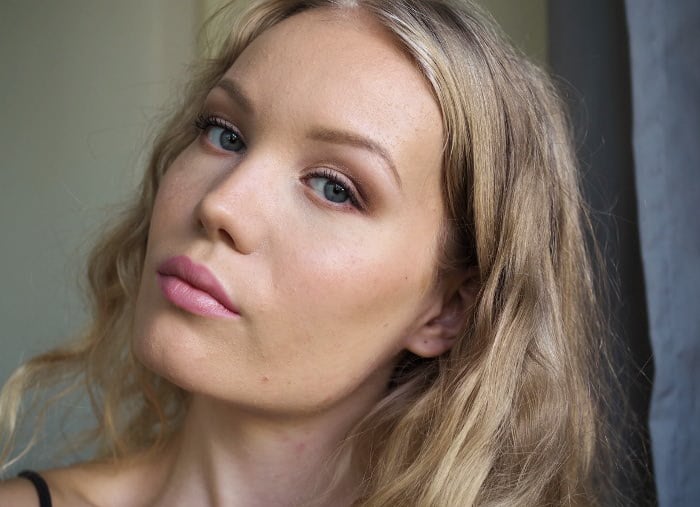
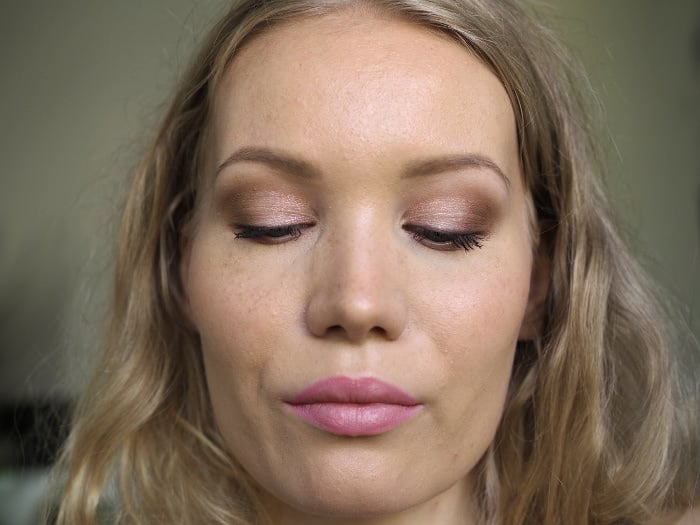
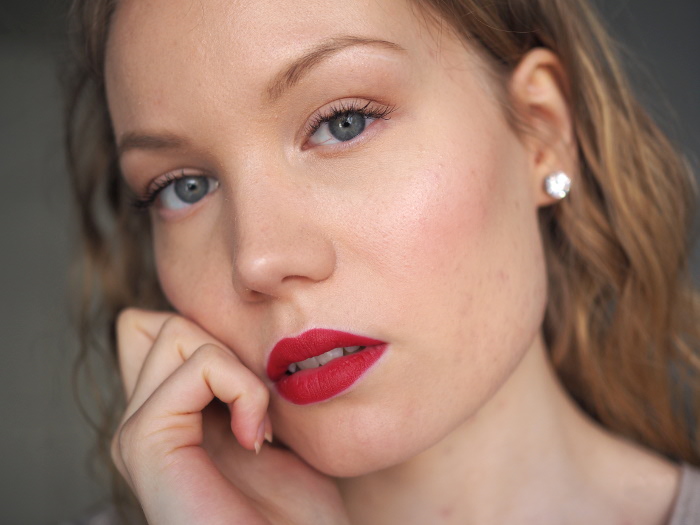
I look like I could kill, but I’m just very focused here. I made this so you can clearly see, where the highlighter exactly goes on my face.
My all-time favorite highlighter
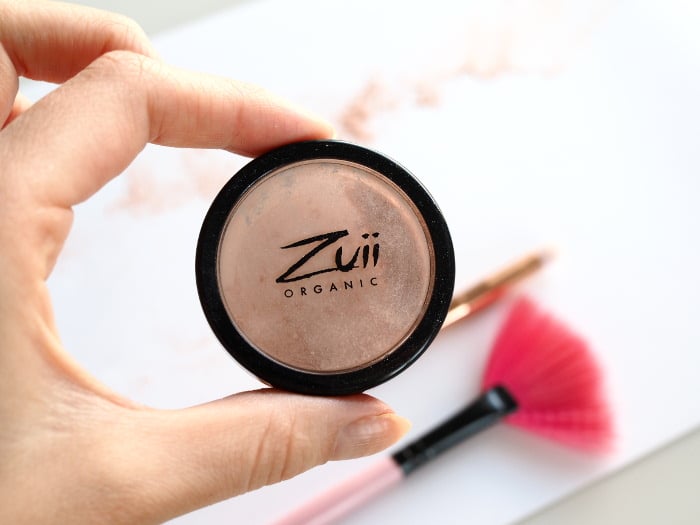
I have a lot of highlighters and I use all of them, but there is one product, that is above everything and it is Zuii Organic’s Diamond Sparkle Blush in the shade Berry. I own that product in almost every color, but that is the one color that is just perfect for light complexions. It is light pink color and it reflects light like no other. I always – always – use this on brides too. It’s a perfect product for wedding makeup. I also have my own name for this product, I call it the magic dust.
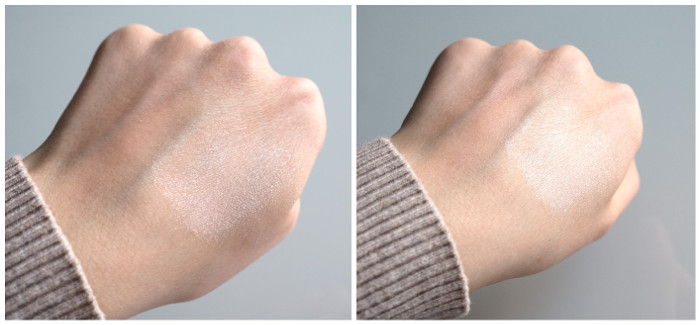
This highlighter is a loose sparkling powder, which might look intimidating at first. It’s so sparkly. But the sparkles are actually quite fine, so this product works for anyone, no matter the age. It looks gorgeous on your skin. If your skin is very textured, you can either try this or the other other product, mentioned below.
Zuii Organic Diamond Sparkle Blush, Berry* (25,94€, ecco-verde.com)
Highlighting tips
Highlighter can be your enemy, if your skin is super textured and has some problems. Sometimes shimmery products can emphasize the problem. I know it’s boring to just leave the highlighter out, so there are options! One product, that I’ve found work for me well, was Maybelline’s Strobing Stick. I have a whole post about it, since it was a breakthrough for me, when I had skin problems.
If you’re all about that extra glow, try applying your highlighter on slightly wet skin. First spray your face with a setting spray or some other moisturizing spray, let it sit with just a second and then apply your highlighter. Extra-glow guaranteed.
Use a fan brush to apply your highlighter. A fan brush is great for cheekbones or for bigger areas. It makes blending easy and it applies the highlighter lightly.
Use a smaller brush for details. For details, such as nose or cupid’s bow – use a smaller brush! That way you don’t accidentally give yourself shimmer whiskers or widen your nose. I actually messed this up in the photos, sorry!
Product list for the full face
Pandhy’s loose mineral powder, Sandra
Zuii Organic Concealer, Beige & Fair
Everyday Minerals Concealer, Multitasking
Jane Iredale ContourKit, Cool
TooFaced Sweetheart Blush, Candy Glow
Zuii Organic Diamond Sparkle Blush, Glow
mad4eyebrow Brow Filler, Blonde
Clarins Joli Rouge Velvet, Deep Red