The best natural lip balms – HURRAW!

the best natural lip balm review

the best natural lip balms hurraw

*adlink

Hurraw! lip balms are the best natural lip balms I’ve tried. I’ve actually used them for six years. (I counted, and was a bit shocked, I admit. Time flies, but trusted products stay.)

Now that I use these all-natural lip balms, I no longer suffer from dry lips or a lip balm addiction. You know, that vicious cycle where you have the need to constantly reapply your lip balm, because while it feels moisturizing it’s actually drying out your lips. That’s how it makes you addicted to it.

I feel you! So many lip balms have done that to me. I remember my lips being in such a bad shape and the lip balms I used only made them worse. My lips felt horrible, if I forgot to add some lip balm regularly. Many synthetic lip balms contain mineral oil, and I’m pretty sure that’s what made them not work for me.

I first found Hurraw! lip balms, when I decided I wanted to find a natural alternative for my lip balm. Something that would hydrate and protect my lips. Something that I wouldn’t need to reapply every two hours.

The best natural lip balms – hurraw! review

With these natural lip balms, I only really need to use them twice per day. I apply them in the evening before going to sleep, and in the morning after brushing my teeth.

(Okay I might add them once or twice during the day, but I don’t get the same feeling of needing to reapply, as I used to.)

the best natural lip balms hurraw moonbalm

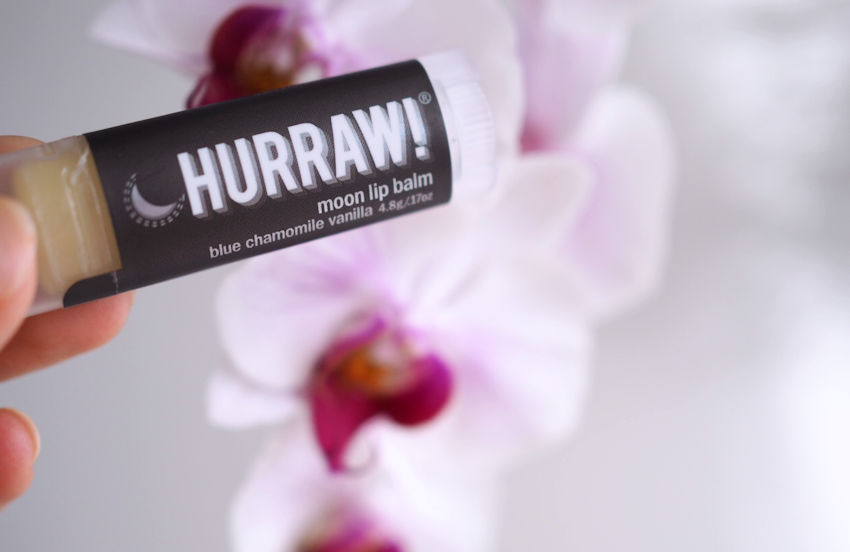
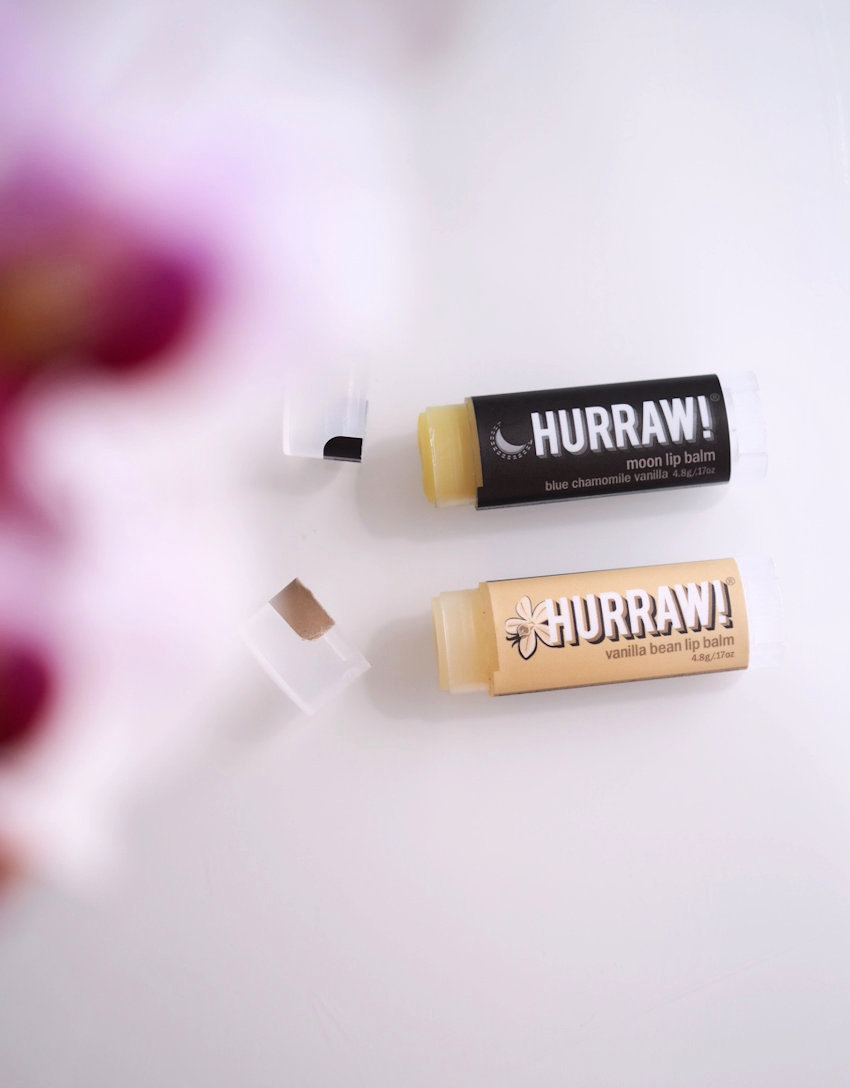
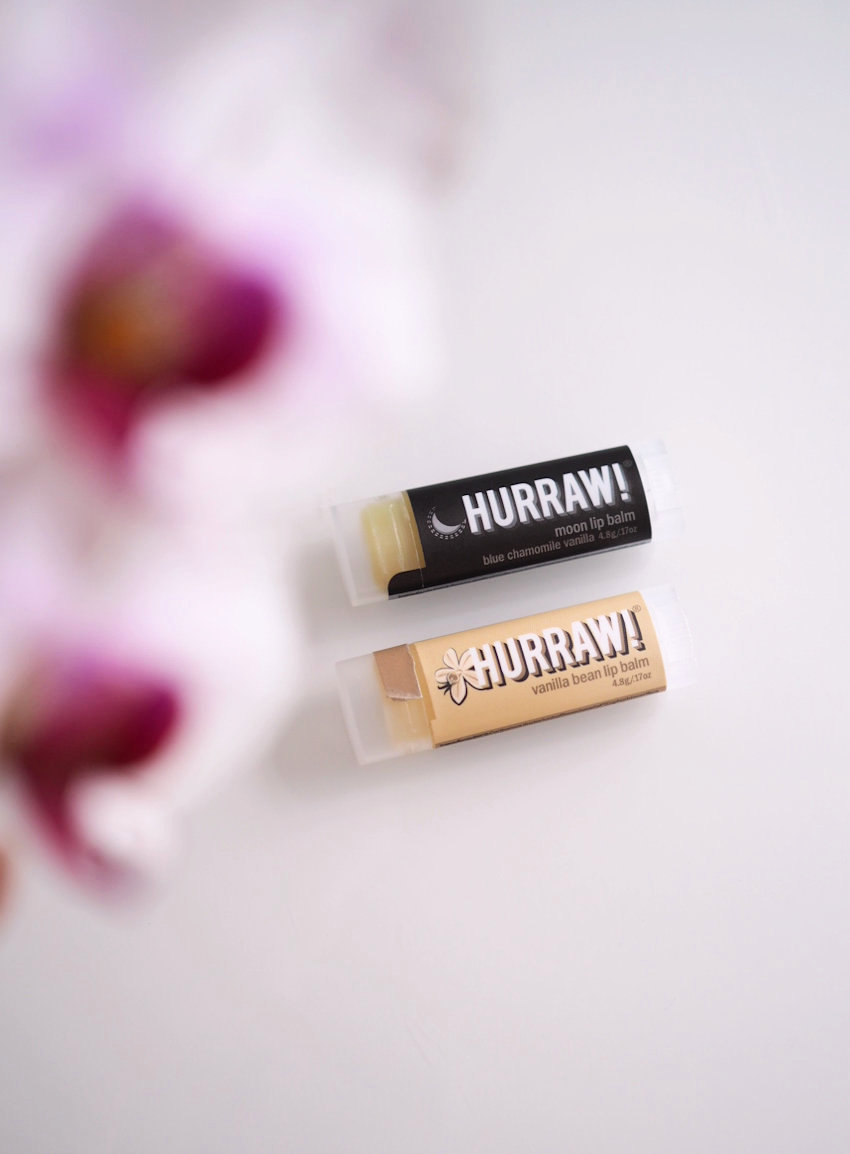
Hurraw’s night lip balm called *moon balm is the ultimate lip balm for me and the best one. It’s super nourishing and I let it work its wonders every night. The natural scent of it is very subtle with a hint of chamomile and vanilla. It’s made with cold pressed natural oils such as avocado oil, coconut oil, argan oil and candelilla wax.

If you’ve never used natural lip balms and your lips are in a bad shape – *moon balm is the one I would recommend. Then once your lips are doing better, you can use the other ones for day use too.

For the day, I use different ones. I’ve tried the unscented one, licorice, coconut, vanilla and chai spice. (I guess I’m not that adventurous after all, since I probably could have tried all the scents during these years.) My favorites are *vanilla and *chai spice and those I’ve repurchased multiple times. I feel like all these other lip balms are lighter (than the moon balm) and they suit day use perfectly for me. All of the balms glide onto the lips smoothly and they feel hydrating, light and super comfortable.

In conclusion: I have used these for years, they’re the best and I will continue using them! If you’re looking for a natural, vegan lip balm that keeps your lips nourished and protected – check these out.

Shop:

*Hurraw! moon balm
*Hurraw! lip balms on amazon

the best natural lip balms hurraw

Sparkly smokey eye tutorial

sparkly smokey eye tutorial

smokey eye tutorial

*adlink

This sparkly smokey eye tutorial is a classic with a twist (the twist being glitter). I’ve always felt at home in this enigmatic look. My go to makeup in my teens was pretty much foundation, a dark smokey eye and lip gloss. And yes, I realize I forgot to do my brows totally. The first time I rocked a dark eye makeup was actually on elementary school. Yet unfortunately that story includes nervous parents and bad teaching.

But the point of the story is, I love a smokey eye. It doesn’t matter if it’s a bit messy or not totally perfect – those things suit the look. So yes, I’m thinking you can totally pull it off!

Smokey eye suits deep set and hooded eyes really well. The way to make it work is just to bravely lift the color high enough.

sparkly smokey eye nye

Sparkly smokey eye tutorial

using Urban Decay Vice 4 & YSL Sequin Crush Eyeshadow 9

glittery smokey eye close up

You can adjust the look by choosing lighter colors or leaving the glitter out and using shimmer instead. Just matte brown and black colors also look nice and classic. Glitter eyeshadow makes the look more glamorous.

smokey eye tutorial step by step

  1. I started by creating the shape I wanted for the eyeshadow. This was pretty much the farthest I brought the color. It also acted as the guideline for the black eyeshadow. Once I had the lines drawn I could just fill in the lid color!
  2. Then I blended the lines a bit, added the lid color, and blended them together. What helps the blending is blending in the direction you want the eyeshadow to go. So on the lid I do back and forth motion and in the outer corner I turn my brush and blend towards the end of my brow.
  3. Next I lined my eyes. Black in the waterline goes perfectly with a true smokey eye.
  4. Then I then added my glitter eyeshadow on the lid (where I first added that black). Glitter primer is crucial with glitter.
  5. Finally I added some inner corner sparkle and lot of mascara. All done!

smokey eye makeup brown black

Classic smokey eye look in brown and black matte colors, without glitter (or mascara).

smokey eye tutorial

The smokey eye look with glitter eyeshadow.

YSL Sequin Crush glitter eyeshadow in 9 is so beautiful!

Products

*NARS Sheer Glow Foundation, Punjab
*NARS Radiant Creamy Concealer, Custard
Stila Cream Blush, Sheer Petunia (Shop on *Lookfantastic US *Lookfantastic UK)
Urban Decay Vice 4 Palette
*NYX Glitter Primer
YSL Sequin Crush Eyeshadow 9 (Shop on *Lookfantastic UK)

Clarins BrowDuo, Tawny Blonde
*Alima Pure Natural Eye Pencil, Ink (the best black pencil for sensitive eyes –  review)
*essence Bye Bye Panda Eyes Mascara

*Jane Iredale Triple Luxe Lipstick, Rose (the best lipstick I’ve tried – review)

sparkly smokey eye


Scroll to top