How I decorate and organize my makeup vanity

my vanity makeup table

glass gold makeup organizer

*adlink

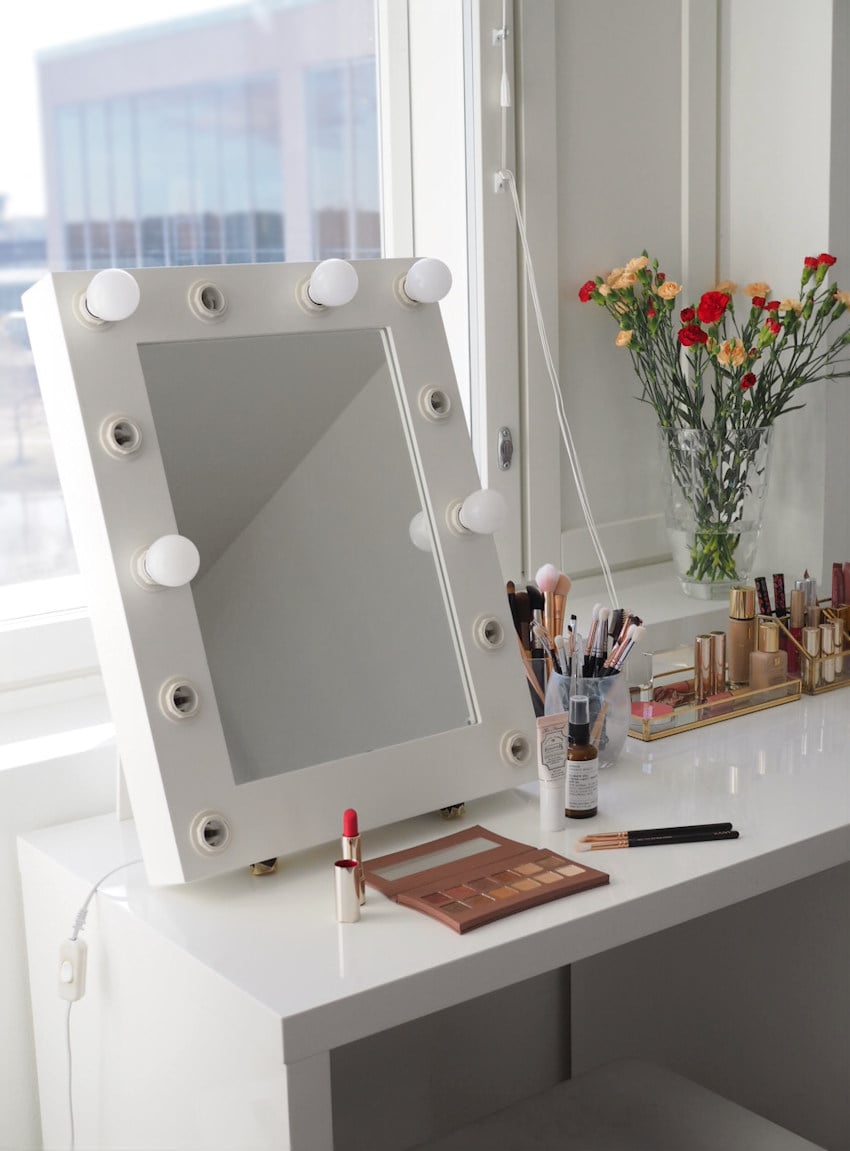
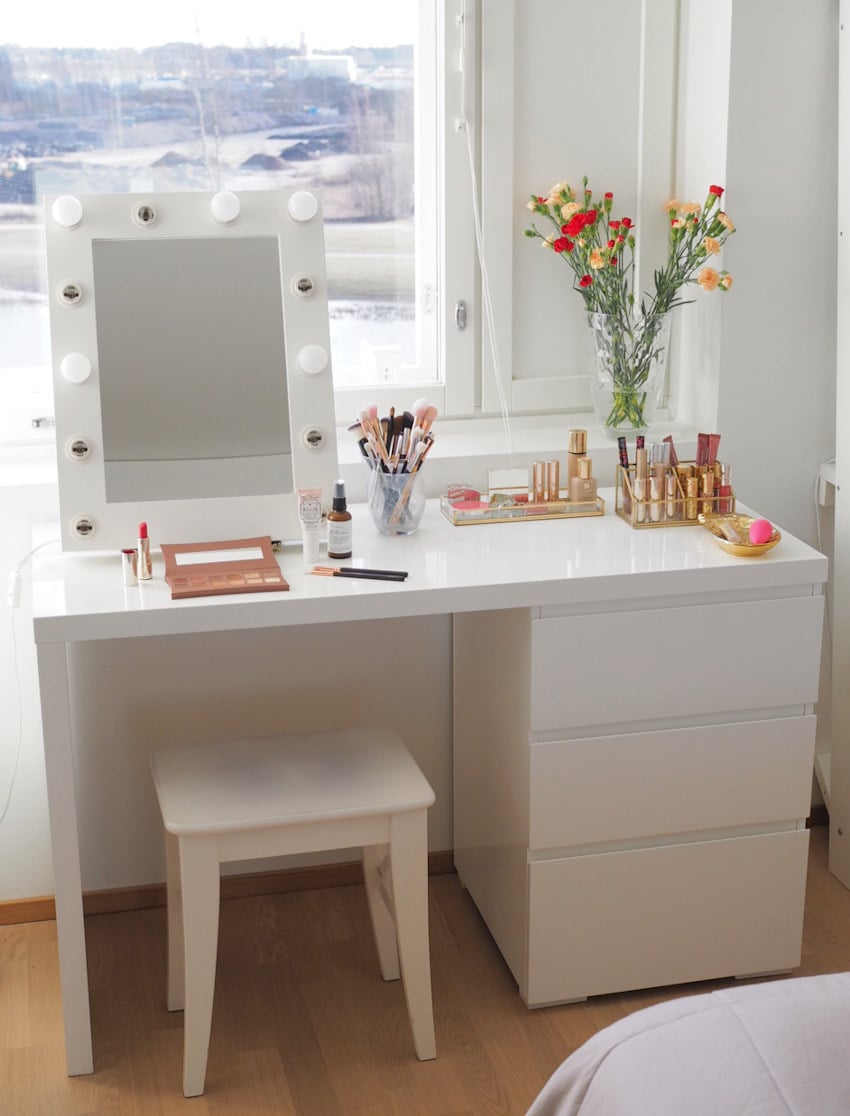
I warmly welcome you to my beauty station. It’s placed in our bedroom right in front of a window, so that it bathes in natural light. My setting is quite minimalistic and pretty. Instead of acrylic organizers, I’ve opted for glass and gold, so that that the products on display also act as room decorations.

My vanity

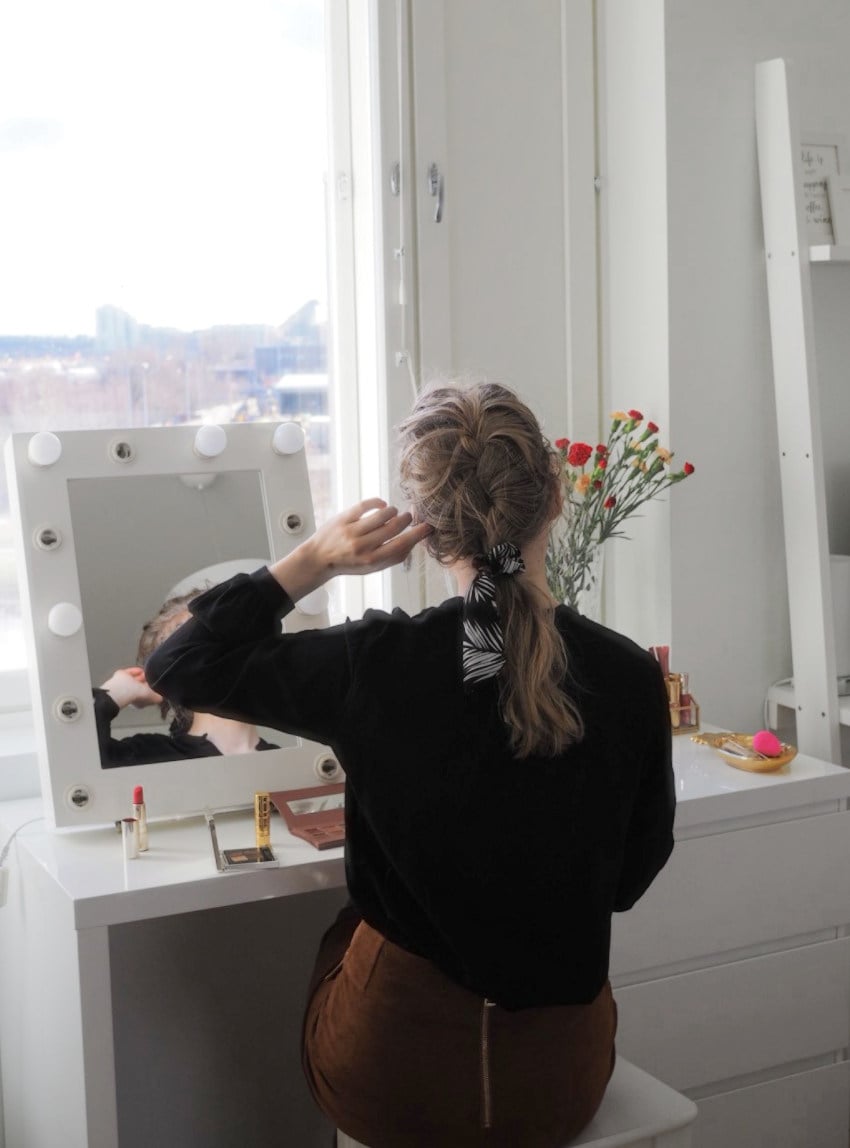
My vanity has a special place in my heart and a very important role in my every day life. It’s where I get ready for the day, enjoy my coffee, explore new makeup, go for the same products over and over again and more often or not stare outside the window at the beautiful ocean and blue skies. (Since we moved to a new apartment I actually have a proper view and I couldn’t be more excited.)

I have recently made some changes to my makeup spot and updated the decorations. I’m so excited to finally show it to you and share my decoration and storage ideas!

My makeup station

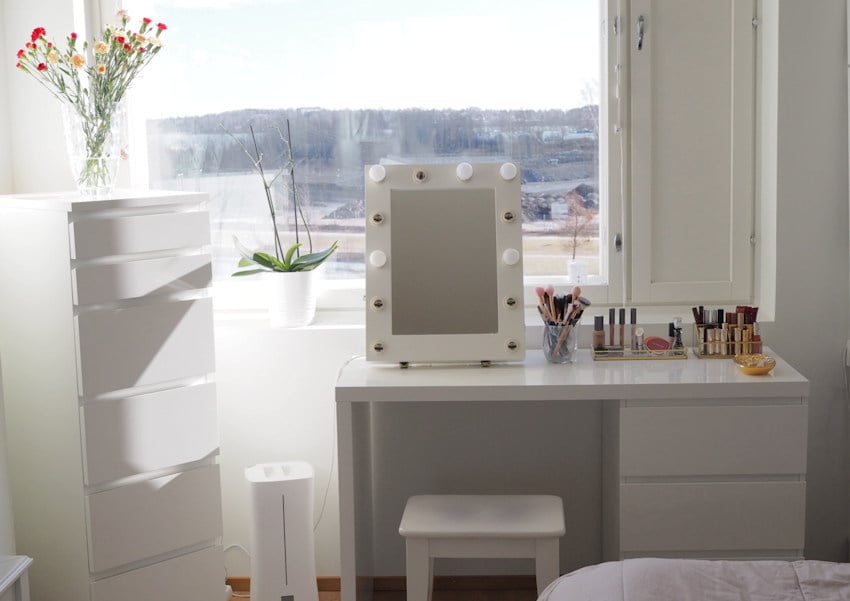
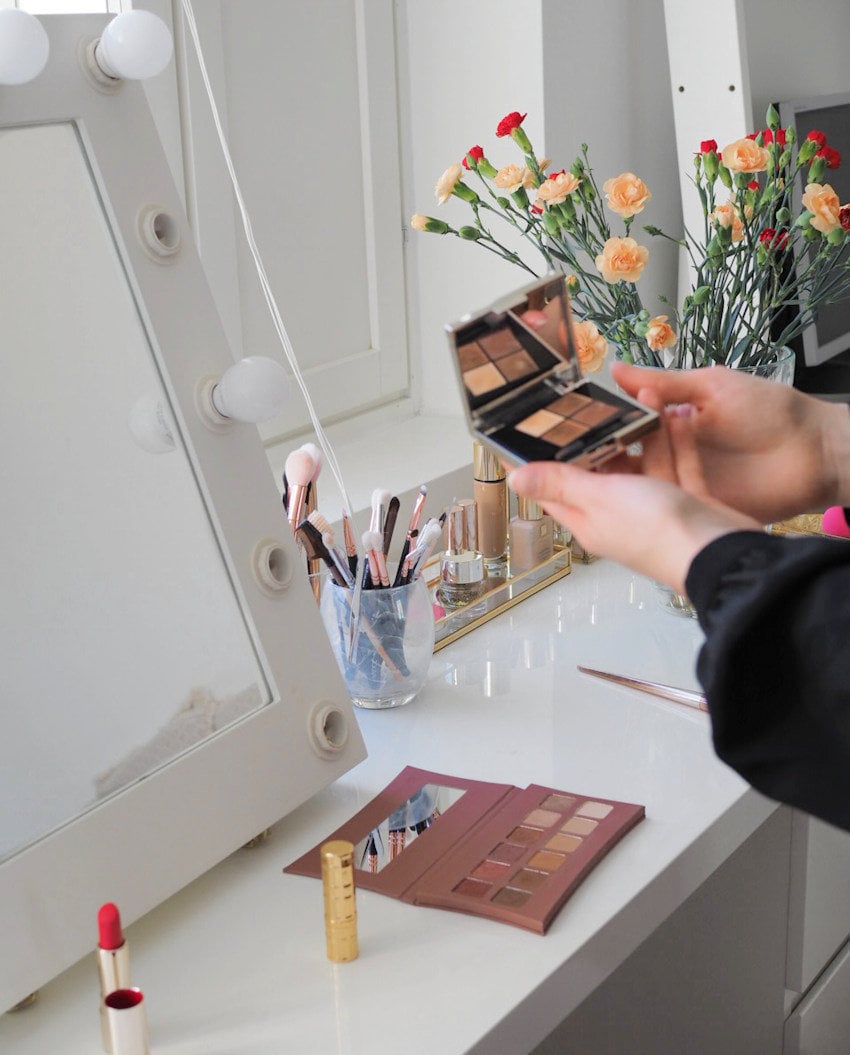
Here is my makeup station. Currently it consists of a big white table with three drawers and an IKEA dresser. At some point I would love to replace the dresser with something else, but for now, it does the job.

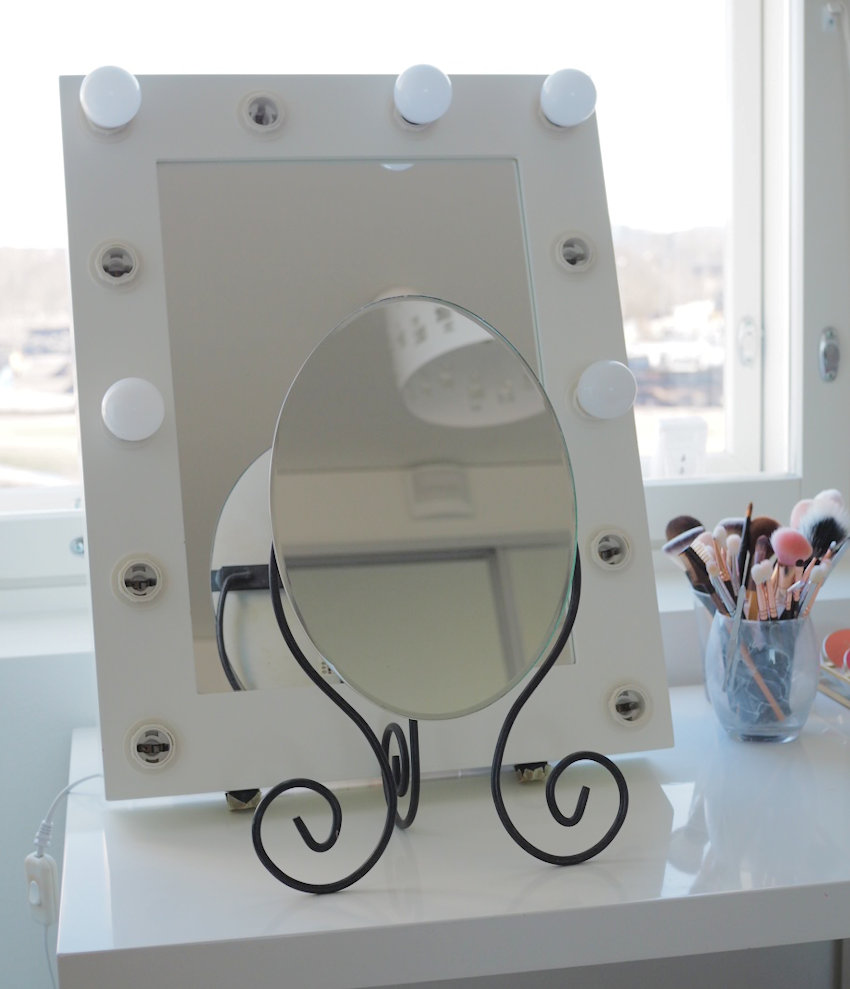
I have a lighted makeup mirror and a smaller mirror. I need both, because I can see the full picture in the big mirror and do my actual makeup using the smaller one, since I can really get in close. The big mirror is also crucial for its lights.

You can find beautiful *lighted vanity mirrors and *round makeup mirrors on amazon.

Makeup vanity decoration & storage ideas


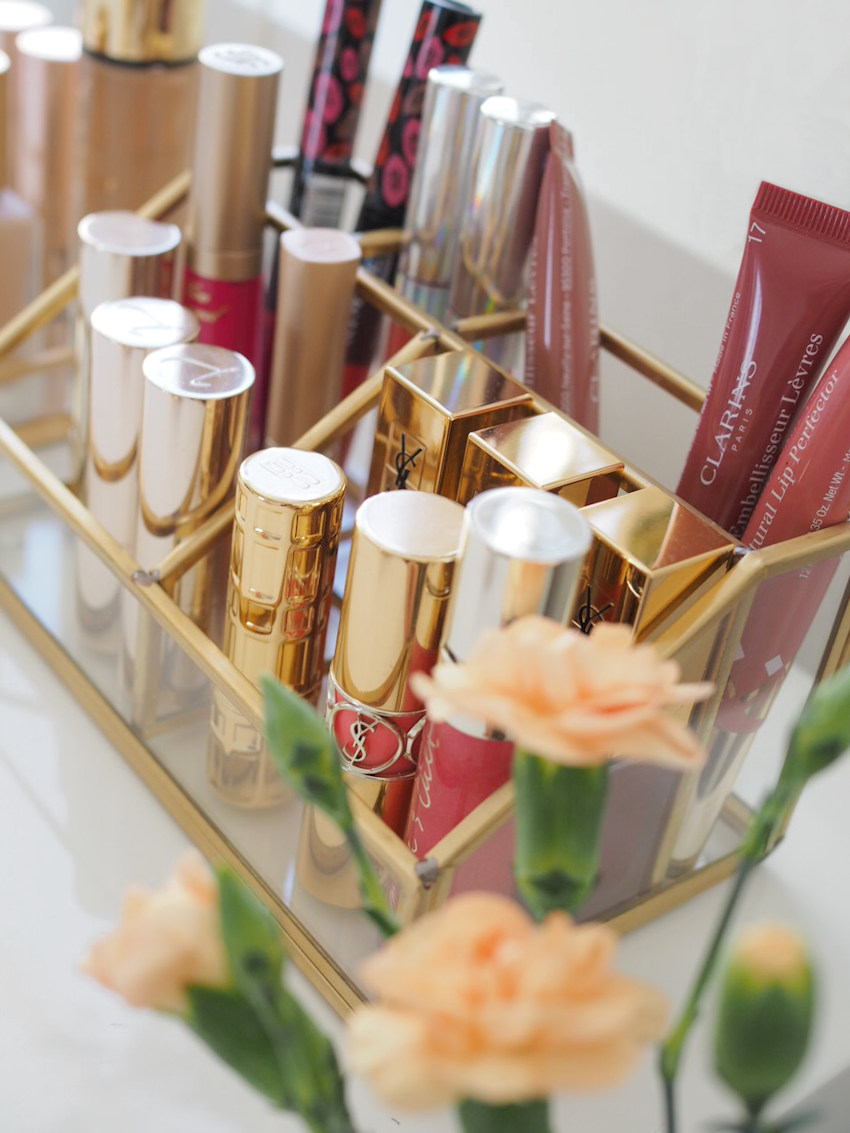
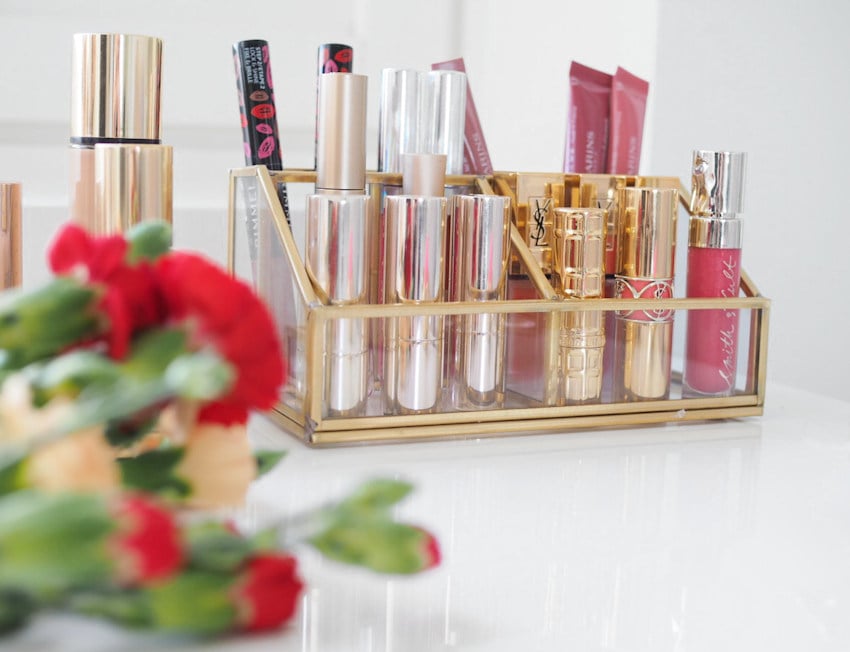
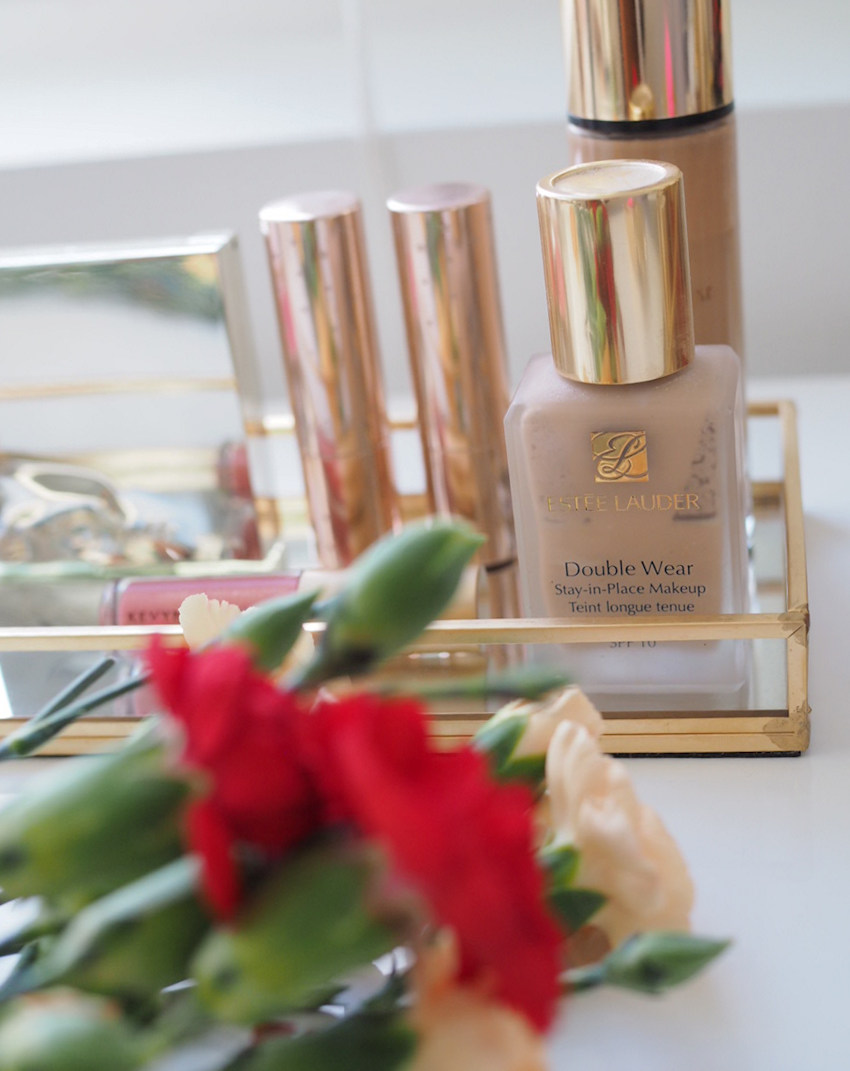
Recently I got fed up with plastic organizers, because they can look a bit dull and cheap. I decided to buy glass makeup organizers with gold details instead. They look so much more sophisticated than plastic. Those are basically built for live and they don’t wear off like plastic does.

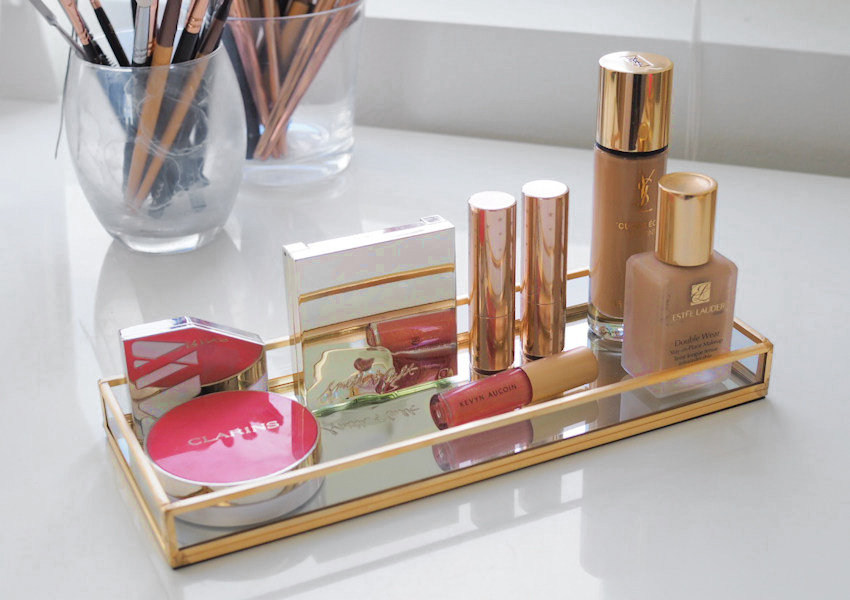
Glass & gold organizers as decorations

A *glass tray and a *glass makeup organizer don’t just store my makeup, but they also act as decorations. They could also be used in bathroom for other beauty products. The glass tray could be used for candles as well.

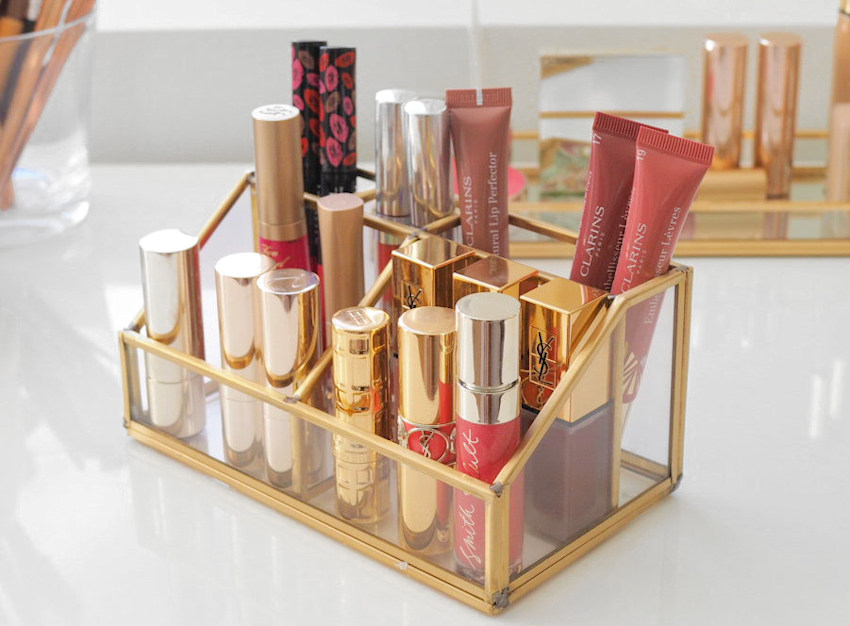
These and other *glass makeup organizers on amazon.

I store my makeup brushes in glass cups. I almost bought new ones, but then I decided I can very well manage with the ones I already have. They are pretty plain. The other one has some white watercolor strokes on it, but the other one is clear. You’ll find pretty *glass cup organizers on amazon.

The final decoration piece that I have is the *gold pineapple tray. That I got as a gift, but it suits my battle station perfectly. I keep some of my every day essentials on it such as a lip balm, lash glue and some bobby pins.

Makeup organizers

Nowadays I try to keep as little stuff on the desk as possible. That’s why I downsized to those glass organizers as well – only a few selected items can fit them. The rest I keep hidden in my drawers, but I can always switch up the products on display.

As for the storage in my drawers – that’s where those acrylic organizers come in handy. Besides *acrylic makeup organizers, I also use old boxes or the covers of old boxes to keep everything tidy.

My makeup drawers are not the most photogenic, but here is a little peek of my collection anyway.

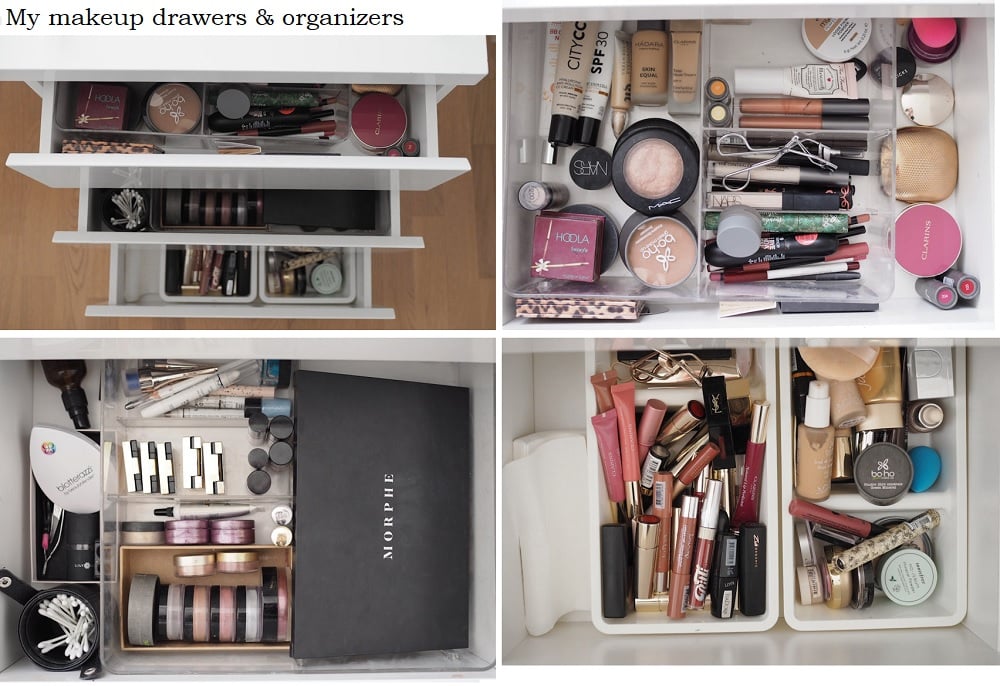
Besides the desk I have the rest of my makeup and hair tools in the tall drawer.

Using a cover of an old box to hold my scrunchies.

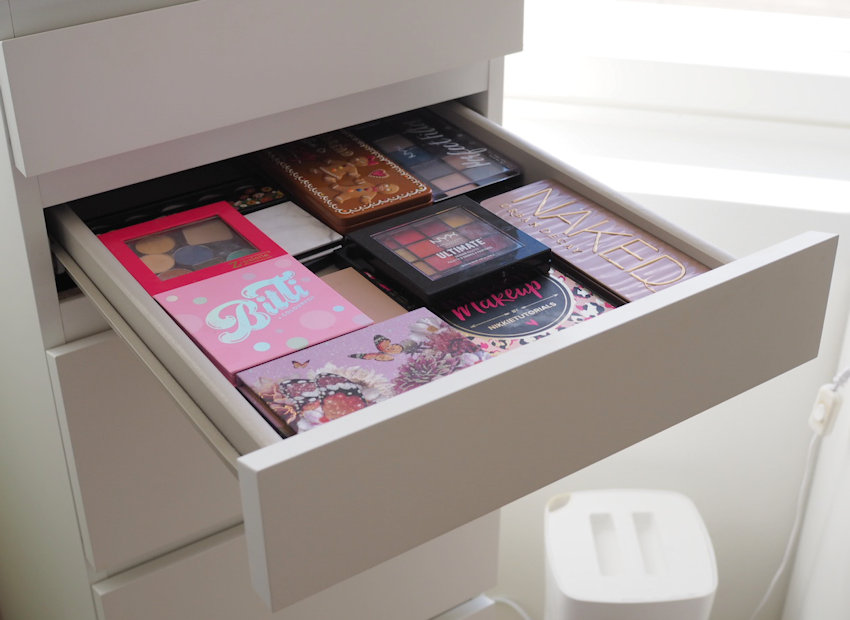
Can you tell I love eyeshadow palettes?

That’s it! If you want to see how my vanity looked three years ago, click here.


How to: makeup for round deep set eyes

*adlink


Different tricks work for different eye shapes. When determining your eye shape, you should look at the main features of your eyes and do your makeup accordingly. What do you want to emphasize? What do you want to hide?

Today I’m talking about round eyesand to be more specificround deep set eyes. Round eyes are gorgeous. They appear big and open. It’s totally fine to emphasize the roundness of the eye, but balancing the shape with a cat eye styled makeup works too.  It elongates the eye and balances the shape, making it appear more almond shaped.

Round eyes can also be protruding, in which case my post makeup for protruding eyes can be more helpful. But here my model’s eyes were more deep set. Her atopic skin actually sometimes makes her lids swell a bit, which makes her lids a bit hooded. Still, they appear big, as round eyes typically do. If your eye shape looks similar to my model’s, this post is for you!


You’ll find tutorials for deep set & hooded, downturned and protruding eyes on my blog.

How to: makeup for round deep set eyes

Here is a before and after where you can see the shape that I’m going for. Linda’s eye is pretty round in the inner part of the eye, so I’m balancing that out by bringing some definition to the outer part of the eye.

round deep set eyes makeup elongating eye

Here I’m trying to explain the shape even further. Normally the shape of the eye is pretty round, but when I shade it on the area shown with orange dots, I’m making the eye appear more almond shaped.

Obviously this is not the only way to apply eyeshadow to this particular eye shape. You could also emphasize the roundness of the eye and not make the V in the outer corner. But in my opinion, this style suits the eye.

deep set round eyes makeup how to

Everyday makeup tutorial for round deep set eyes

makeup for deep set round eyes tutorial

  1. Contour the eye minimally in the crease using a light brown shade.
  2. Create a V-shape in the outer corner using a brown matte shade. Blend it well. You can also blend it more later once you have the lid color.
  3. Apply a shimmery lid color all over your lid. Blend the outer corner color to your shimmer lightly.
  4. Shade your lower lashline a bit using a light brown.
  5. Line your eyes and add mascara. Done.


I also have this more festive gold glitter makeup for you. Here I used warm colors.

Festive gold glitter makeup for round deep set eyes

gold glitter makeup for round eyes

This look I did earlier on Linda for a Makeup Monday post, but the photos didn’t turn quite right. In hindsight, since my model’s eyes are a bit deep set, I shouldn’t have brought the shadow on the lid as far as I did here. Oh well. It was still a nice look and most important thing – my model was happy.

  1. Prime the eye. Start shading the crease and outer corner with a warm orange shade and blend well. Don’t pull the shadow too high, but just enough, so that some of it shows when the eye is open. Leave the lid bare (for glitter!)
  2. Slowly deepen that color by choosing a darker color than the one you used before. The darkest color is dark brown and that should be concentrated only on the outer corner and outer part of the lid, to get that elongated eye effect.
  3. Finally add glitter glue and press glitter on the lid. If you don’t have glitter, a shimmery eyeshadow will also look gorgeous applied on top of a glitter glue.
  4. Line the eye with a black pencil and add mascara. Done.


Product recommendations:

My go-to eyeshadow palettes:
*NYX Perfect Filter Golden Hour Palette
*Illamasqua Nude Collection Unveiled Artistry Palette
*Pressed glitter palette BeautyGlazed

*Eyeko Lash Alert Mascara (on Linda’s lashes here)

Makeup brushes:
*Zoeva €€
*Coastal Scents 22 brush set

If you have atopic skin, you might want to check out the Makeup Monday post that Linda featured on.

Scroll to top