Sponsored post by Lyko
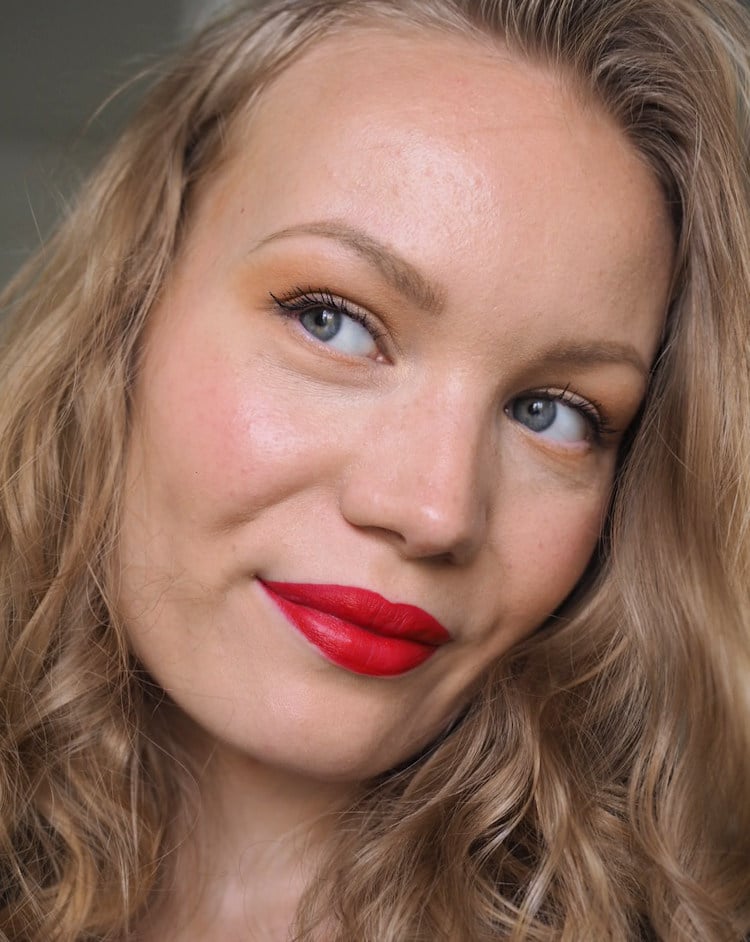
Is there anything more powerful than bold lipstick? It instantly cheers me up and makes me stand up straight. No wonder I chose red lipstick as my blog logo.
Lipstick makes me feel awesome – and I want you to feel that way as well. That is why I wanted to share my tips and tricks to applying lipstick. I used red lipstick as an example, but choose whatever color makes you feel powerful.
Now you don’t have any excuses and you can rock all your bold lipsticks.
You’ll find -20% discount for *Lyko at the end of this post!

First things first: Get yourself a lip balm, that doesn’t cause addiction
You can’t make any lipstick look pretty, if your lips are dry and cracked. I have used *Hurraw! lip balms for over four years now, and I swear by them. I use the *moon balm (which is the most hydrating of them all) every night and during the days I apply *vanilla lip balm every now and then. The thing about these lip balms is that they don’t make your lips addicted to them. I can survive a night without. I don’t have the need to reapply every hour. The ingredients in Hurraw! lip balms are awesome and they simply work by keeping your lips nice and hydrated.
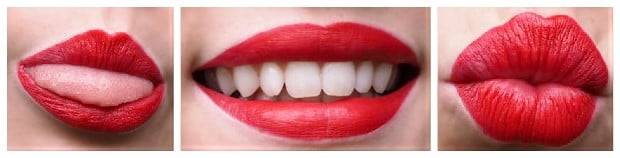
How to apply red lipstick
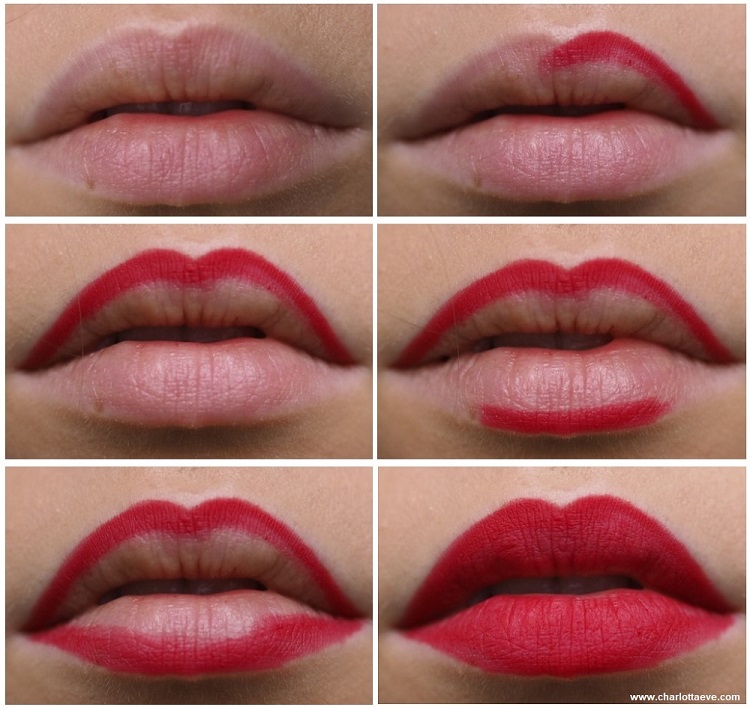
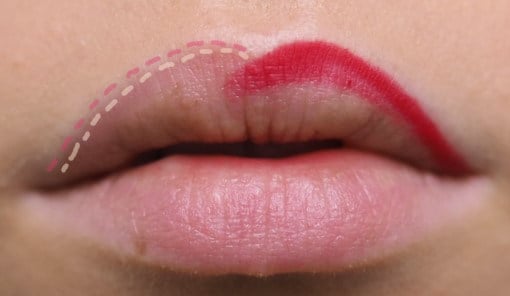
- Lining your lips helps to get the shape right and it also prevents the lipstick from getting off-track, in the fine lines. If you struggle with the shape or your lip lines are not that clear, I suggest lining your lips first. You should apply the liner slowly – don’t even try and get it in one swipe.
- Start lining your lips on your cupid’s bow. Then make your way into the sides of your upper lip. Always stop and look in the mirror to compare the lines and make your upper lip as symmetrical as possible.
- Once your upper lip is lined and you have the shape right, start lining your bottom lip. Start from the middle – it honestly makes it easier to get the shape symmetrical.
- Smile while you apply the liner/lipstick. That way you’re stretching your lips a little and it’s easy to get the product in all the gaps. It also helps to see the lipstick in action to see the symmetry better.
- Apply the liner right in the lip line, not inside it. The line should touch your skin and your lip at the same time. You’re basically overdrawing a little. Understanding this changed my lipstick game. It sounds such a small thing, but it makes all the difference! It’s always up to you how much you want to overdraw. That said, it’s easier to succeed when you keep it as close to your natural lip shape as possible.
- Finally, color your lips with the pencil for extra lasting power, or just apply the lipstick.
Here’s another pictorial on how to apply the lipstick. If the lipstick has a matte consistency that stays in place, you can get away with just the lipstick. And when you’re in a hurry, you’ll probably skik the lip liner (I know I’m guilty of that). For the best result, use a lip liner first.
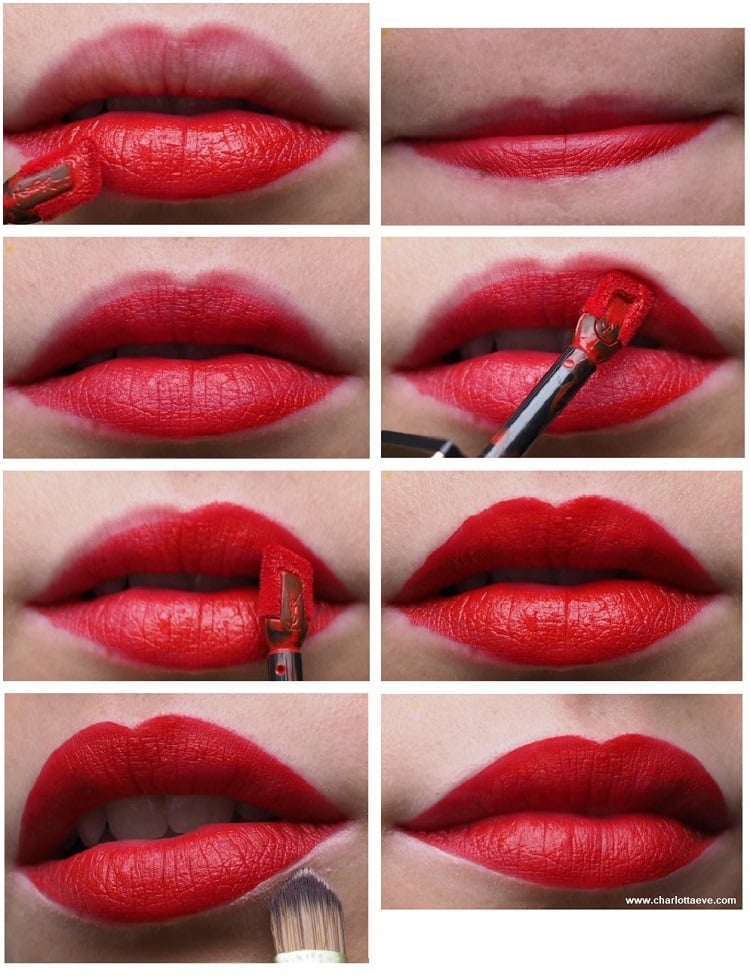
How to apply lipstick & how to apply lipstick without a lip liner
- Start applying the lipstick on your bottom lip. You don’t have to focus on the edges at this point, just make sure to get the lipstick somewhat in place.
- Press your lips together. That blends the lipstick on your top lip and makes everything so much easier. Even makeup artists use this trick!
- Go over the edges and perfect the lip shape. This is super easy with the YSL Tatouage Couture lipsticks, because the applicator is squared.
- Perfect the edges with a tiny amount of concealer on a brush or a Q-tip.
How to avoid getting lipstick in your teeth?
The final step in lip makeup is always making sure you don’t have or end up having lipstick in your teeth. I usually just put my finger in my mouth, press my lips together and pull out my finger. That way the excess lipstick ends up on my finger. It sounds weird, but it works!
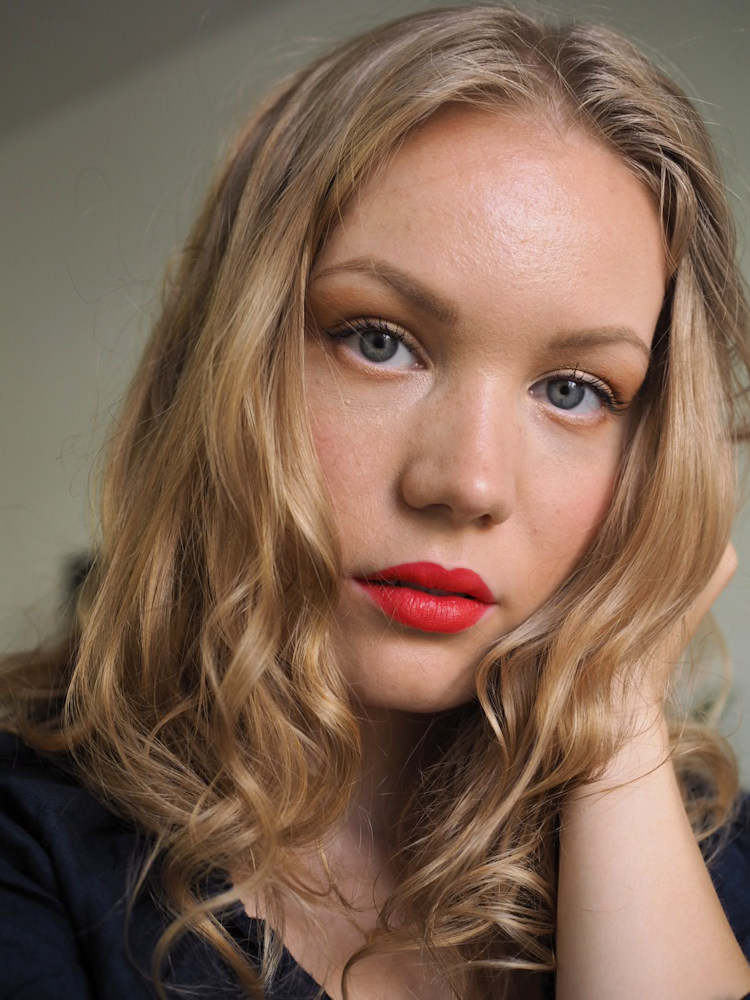
YSL Tatouage Couture Matte Lipsticks
For this post I used YSL lip products. I chose some beautiful red colors that are perfect for Fall – or for any occasion. Yves Saint Laurent makes the prettiest lipsticks. I might not have a YSL bag, but I have their lipsticks, which is almost the same. Or not, but using these makes me feel glamorous nonetheless.
The most beautiful lipliner I own. The shade is a classic red shade, which you can see in the first tutorial. I love that the lip pencil is retractable, so I don’t have to sharpen it.
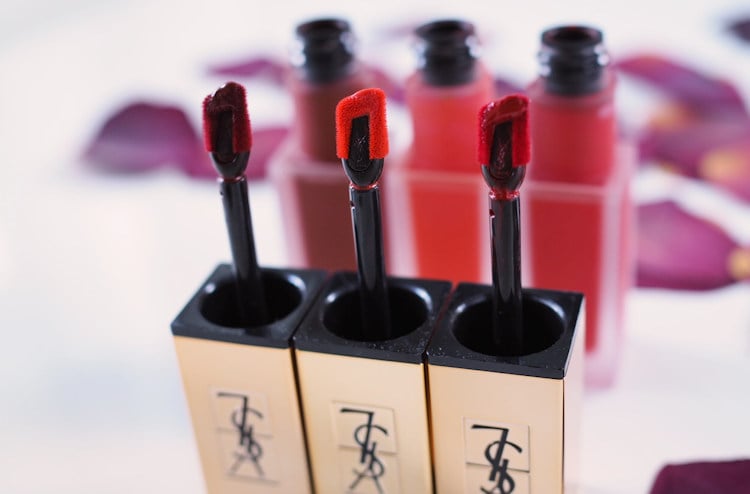
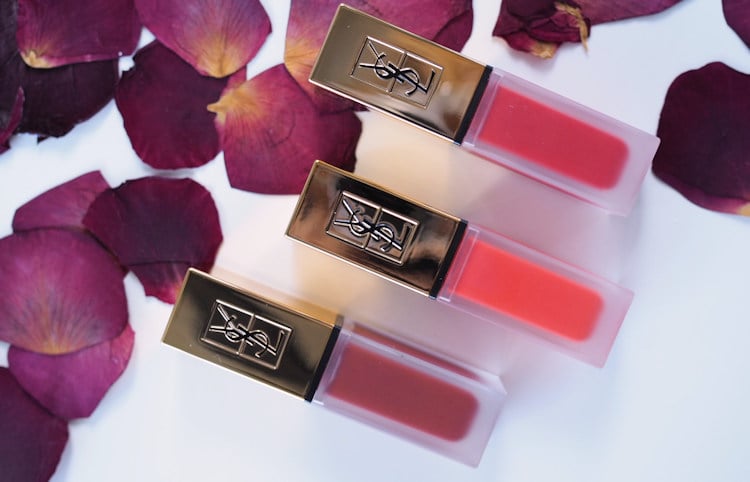
I also got three YSL Tatouage Couture Matte Stains, which I’ve been using nonstop. I usually don’t like matte lipsticks, but these are so lightweight and comfortable on the lips, I could wear them every day. They have a genius applicator, that makes applying the lipstick so easy. The applicator looks weird, but it’s easy to get in the corners of the mouth with it. I got three shades:
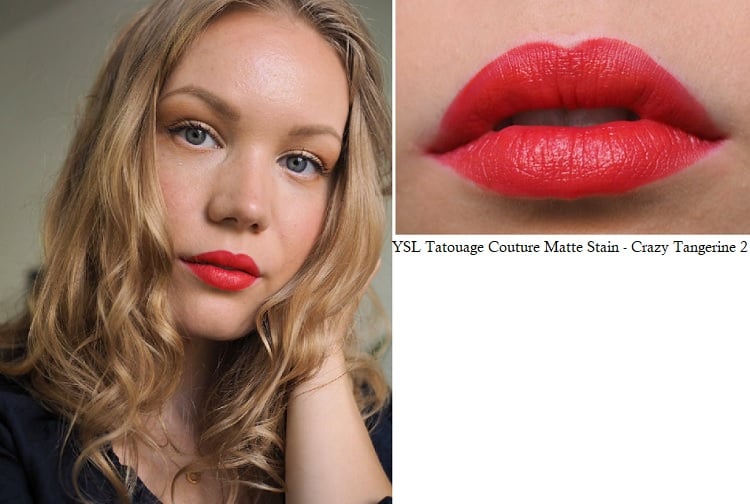
*YSL Tatouage Couture Matte Stain in Crazy Tangerine 2
This is a gorgeous orange red shade. It’s bright, but not too crazy – even if the name suggests that. A beautiful color, that I know I will get a lot of use out of.
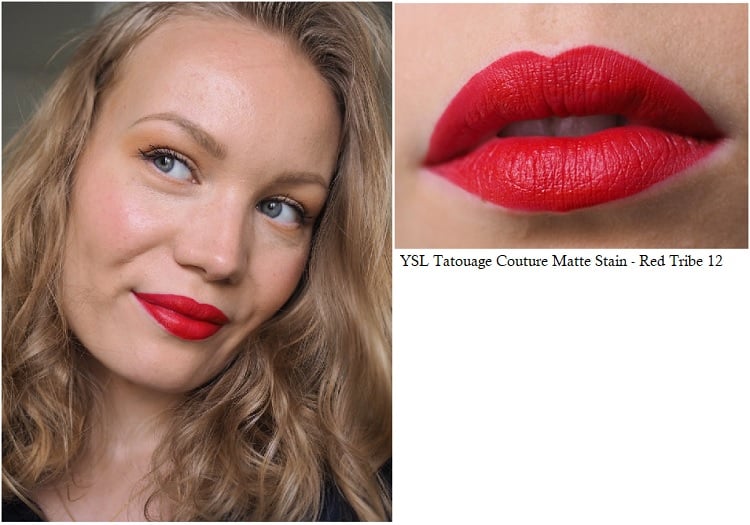
*YSL Tatouage Couture Matte Stain in Red Tribe 12
This shade is the perfect plain red. You can’t go wrong with a classic.
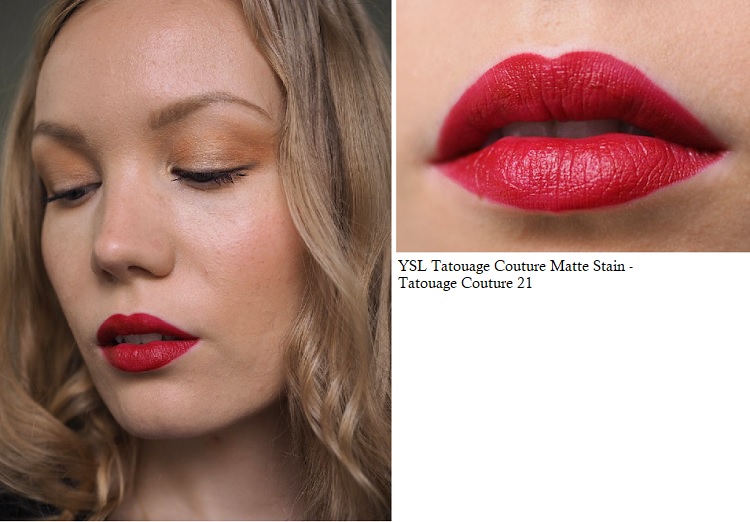
*YSL Tatouage Couture Matte Stain in Tatouage Couture 21
I got so many questions about this one, when I was wearing this on my Insta Stories. I love the shade as well. It’s a deep slightly brown red, that is made to be worn in Fall. I’m obsessed with this one at the moment.
Discount for Lyko.fi
Using code ‘charlottaeve’, you’ll get -20% off on everything, except already products on sale or on campaign. Lyko has a huge selection of brands, so if there’s anything you need, now is a good time to stock up. Discount valid until 15.10.19. Shop *here!
Do you like bold lipsticks?