When it comes to happiness, it’s not just all about that mental state. Money can’t buy happiness – they say, but I think it can. Money can buy little bits of things, that can make us feel just a tiny bit better. It might sound vain, but a lipstick can be a big deal for some. A little bit of foundation or concealer. Having those beautiful eyebrows with your new brow pen. It’s all important stuff and it’s okay to say it out loud: beauty and makeup is about so much more than just looks. It’s about how they make us feel.
It’s all about those little things and beauty products can be a part of those little things. This post is a celebration of those wonderful products, that lift up my spirits every time I wear them. The list goes on, but here are five products, that make me happy.
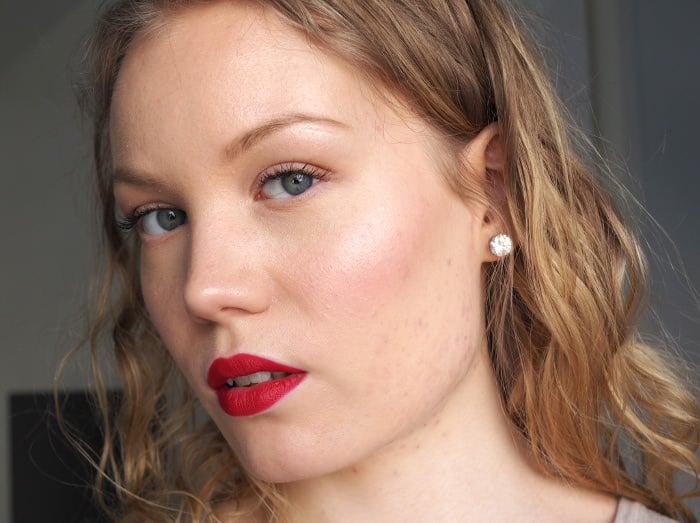
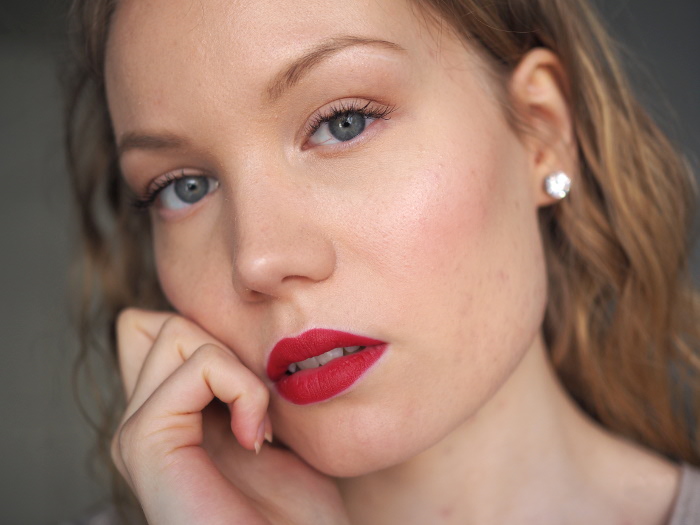
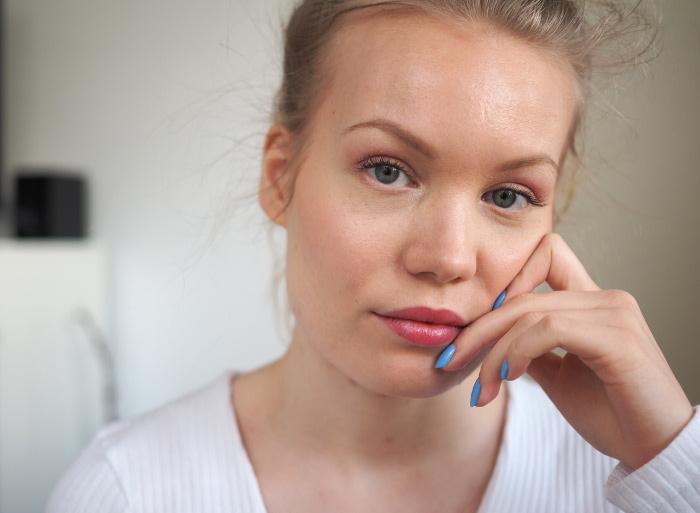
I’m wearing all the products on my face in these pictures (except nail polish, which I’m only wearing on my nails).

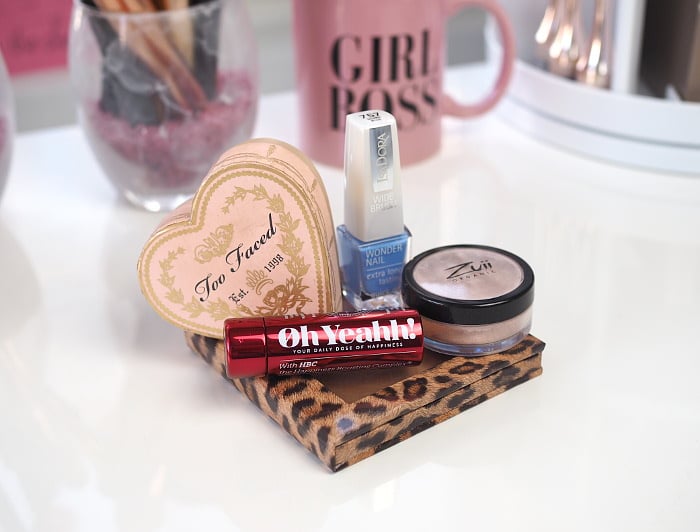
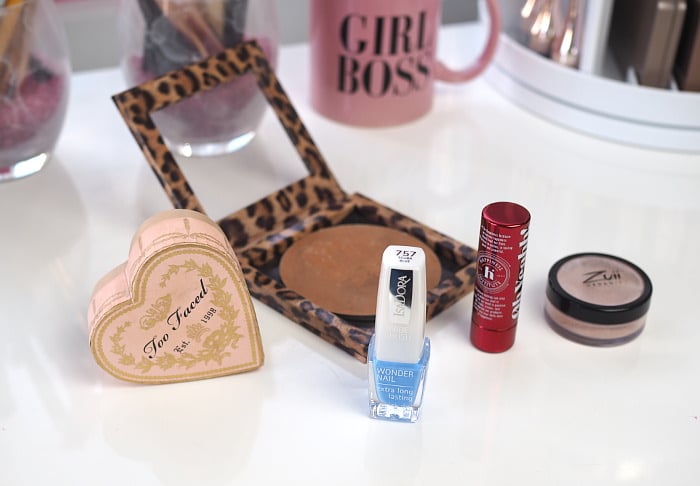
Oh Yeahh! red lip balm*
Happiness institute? Sign me up! I think this tinted lip balm is fun, because of it’s unique brand. It contains Happiness Boosting Complex, which should lift up your serotonin levels by using three ingredients, that contain high levels of tryptophan, which is a precursor for serotonin. I’m not a scientist, but I like how this keeps my lips moisturized, gives them a bit of color and lifts up my spirits with fun and happy packaging. Oh – and it contains SPF 15, which is a plus.
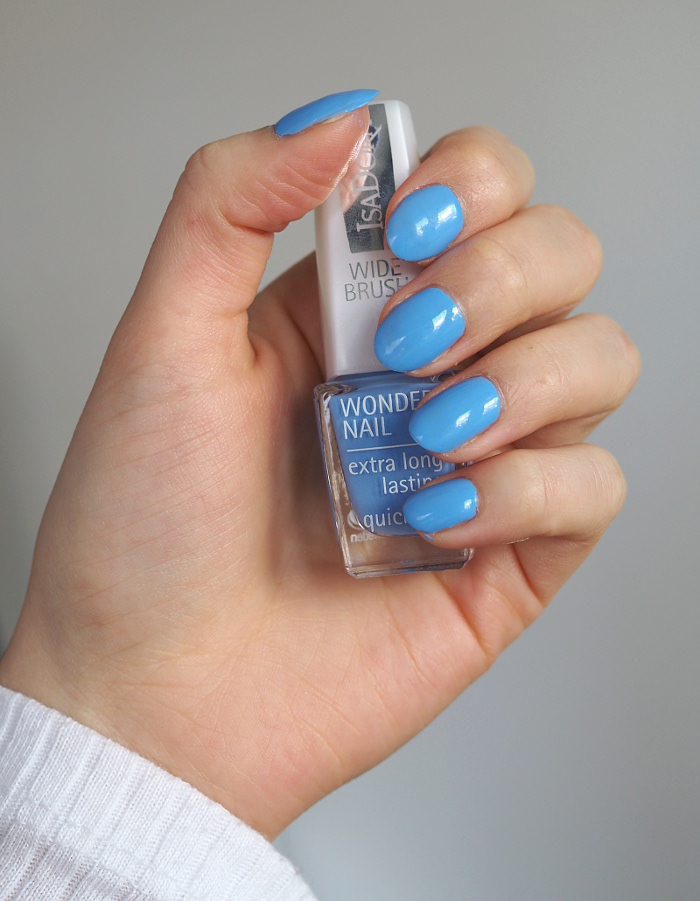
IsaDora Wonder Nail extra long lasting nail polish, 757 Scuba Blue*
I found this on a sale rack and immediately fell in love with the color. It just called my name. It is a gorgeous pale blue color, which gives me an instant summer rush. I love IsaDora’s nail polishes and I have a bunch of them in this fast-drying formula. They are definitely my favorite nail polishes, because they have great pigment, they are easy to apply with a wide brush and they do dry very fast.
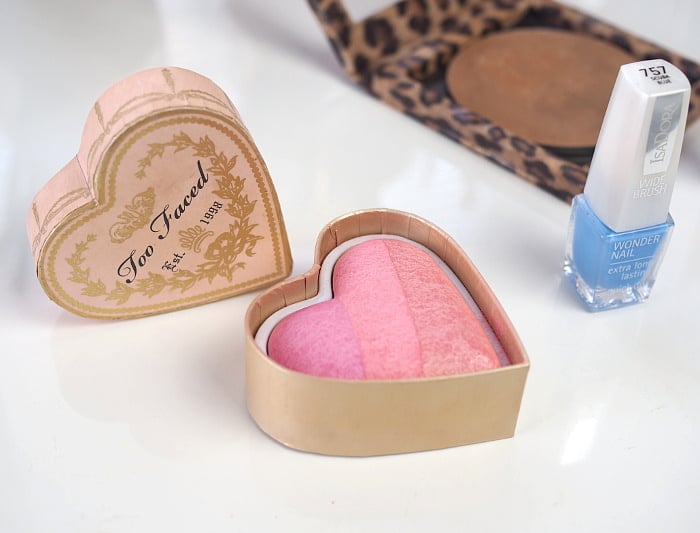
TooFaced Sweetheart Blush, Candy Glow*
I remember when I ordered this from French Sephora along some other things – I thought the packaging was so pretty and the color looked like something I could wear everyday. I was right! This cute little blush is always on my makeup table, so that I can admire it and have an easy access to it, since I use it so often. The color is a mixture of warm and cool leaning more to warm. It is a great everyday color for me, with some shimmer and glow as well.
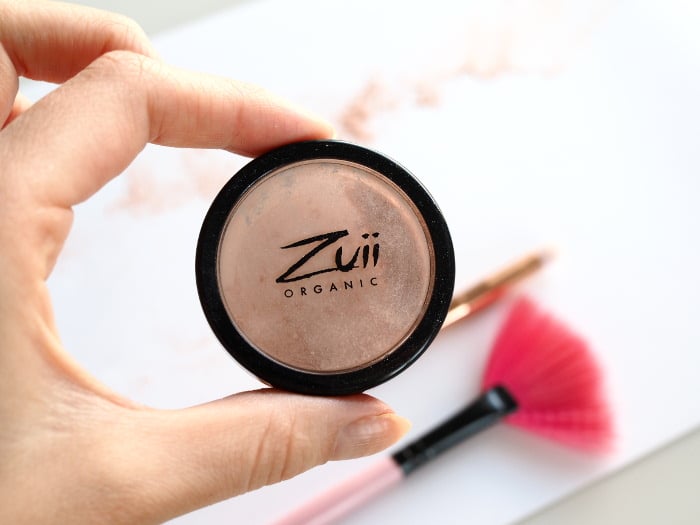
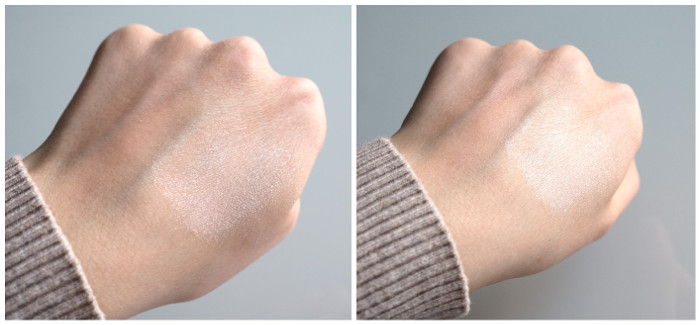
Zuii Organic Diamond Sparkle Blush, Berry
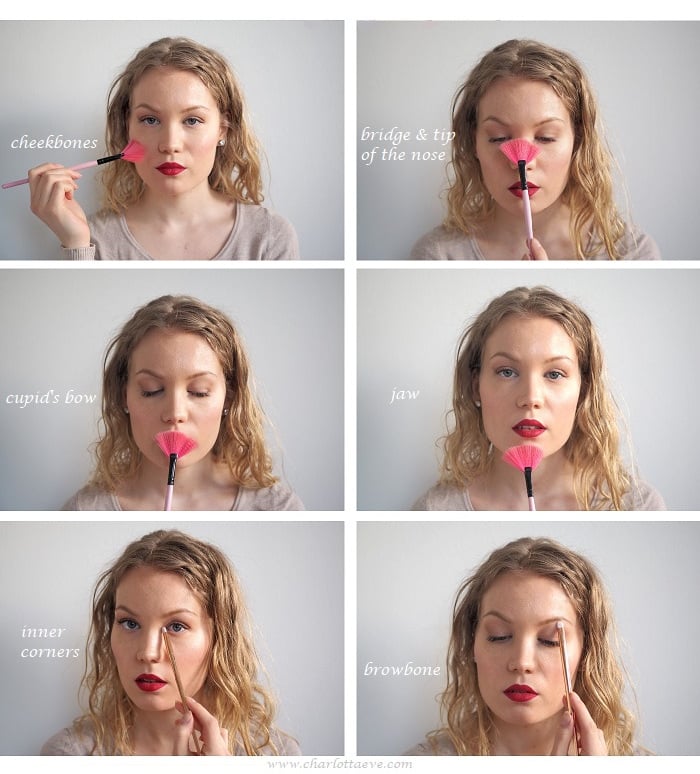
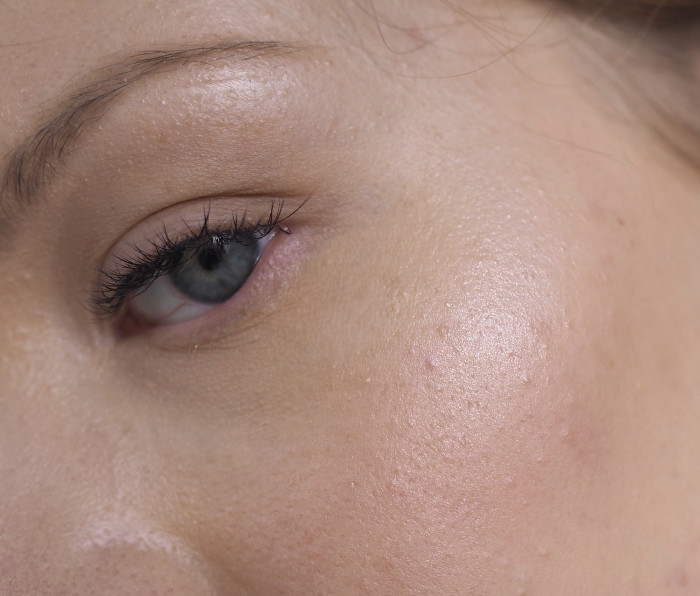
I already showed you my favorite highlighter on this highlighting tutorial, but I just had to include it here as well. You just can’t be sad applying this product. It’s a beautiful shimmery highlight, which adds that beautiful finishing touch, leaving me smiling to my reflection.
Bronzer – DIY mix from Clarins Splendours bronzer & Zuii Organic Diamond Sparkle Blush, Peach & Z palette
This bronzer is special, because I kind of made it myself. My original bronzer, which was from Clarins, got broken, so I had to get creative. I broke all the product to a fine dust, applied some shimmer to it and mixed and pressed it back together with alcohol. I actually used my brush cleansing spray, since it contains mostly just alcohol. Depotting broken powders is surprisingly easy (but messy). Anyway – the reason this makes me particularly happy, is the fact that I’m using it again. You see, I don’t wear bronzer necessarily all year round. But as soon as we get closer to Summer, I take this out and give some summery glow to my skin.
What product made you happy lately?