Blog

Charlotta Eve

Blush techniques and tips

Blush techniques and tips with three placement styles

*adlink


Blush techniques & tips for different face shapes and styles

Blush is probably the most important makeup product in my bag (right with a concealer). I think each and every one should wear blush. It’s the “does-it-all” type of product. It makes you look awake, fresh, glowy and lovely. It contours and lifts. Not to mention it comes in beautiful colors and packaging.

There are certain guidelines for different face shapes, but especially nowadays, I feel like it’s a free world. If you ask me, the most important thing is to wear it. Don’t worry too much about the placement. Blush applied somewhat-right looks better anyway, than no blush at all. Have fun with it! You can also think of like this: when you exercise (or run to a bus on a hurried morning), where does your face get red? Kind of on the cheeks, but also all over. So blush applied on the face? Probably looks okay and natural.

That said, here are three different techniques to applying blush. I use all of them, depending on the day!

Three blush placement diagrams for different techniques

Blush technique 1: At the center of your cheeks to round up your face

Before and after showing blush applied to the center of the cheeks
Before & after – blush applied right in the center of the cheeks.

Blush placement at the center of the cheeks
Blush applied on the center of the cheeks softens and rounds up square or strong features. According to face shape, this is the so called correct way to apply blush on my face. You know, since my face is square. I also have a separate contouring guide for a square-shaped face.

However, I feel like this technique also makes you look kind of cute and innocent. It’s a nice look for other face shapes as well! It also looks quite natural, since this area can get red anyway.


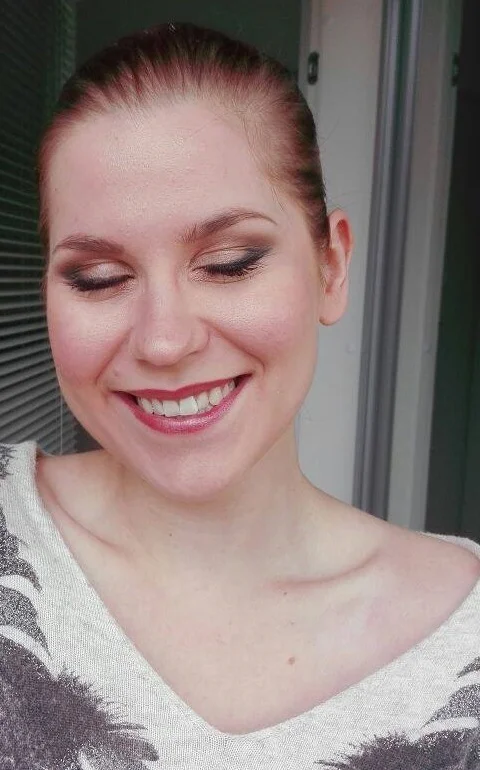
Blush technique 2: High on your cheeks to lift & elongate

Before and after showing blush placed high on the cheeks

Lifted blush placement blended toward the temples

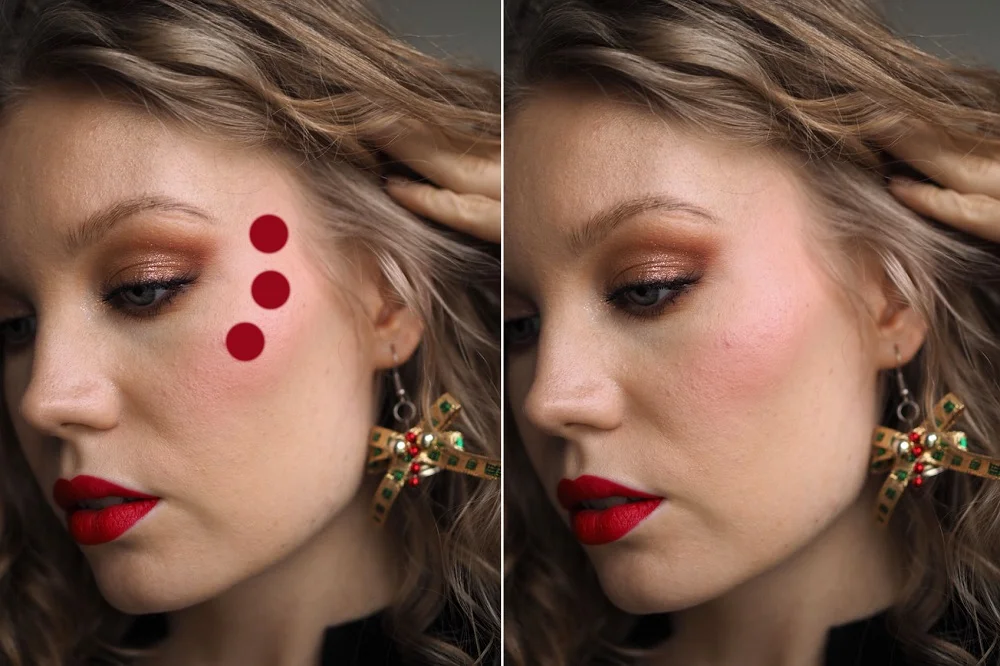
Probably the most popular way to wear blush is to apply it high on the cheeks, blending towards the temples. This technique lifts your cheeks and elongates your face. I feel like this is a look that suits all face shapes, but it looks especially good on round or oval face shapes.

Blushes with some shimmer or glow look best applied like this. This lifted placement also works well with a soft natural contour and highlight.

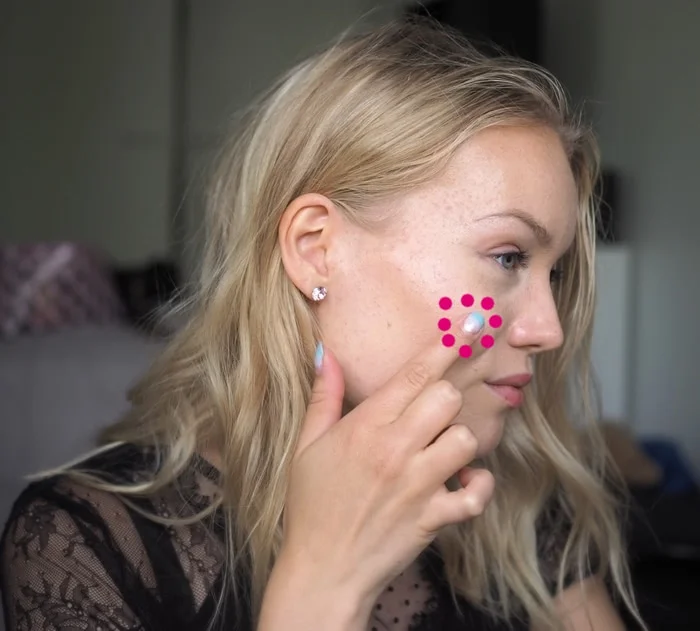
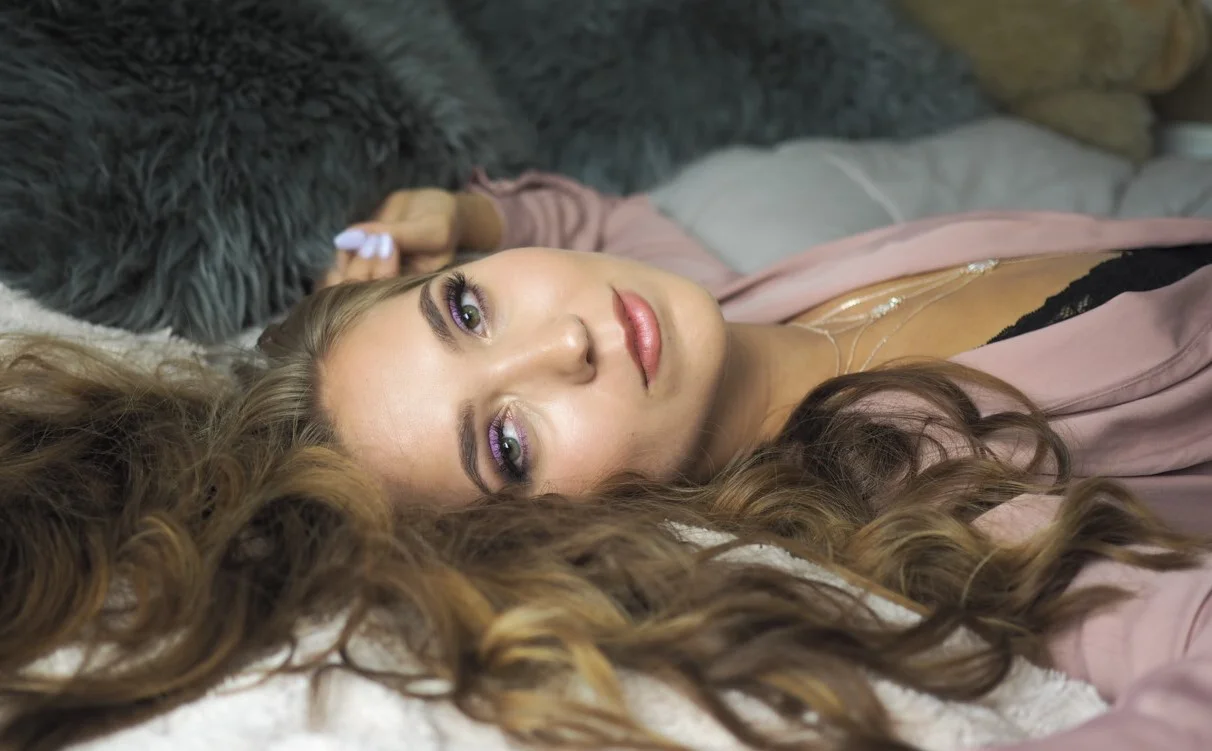
Blush technique 3: All over your cheeks, nose & under eyes for a sunkissed look

Before and after showing sunkissed blush across cheeks and nose

I could also call this “The 2023 way” or the “TikTok Blush Trend”, because even though I like the look, it can easily look a bit much. Though you can modify this – if you only apply it on the cheeks and just a touch on the nose, it looks more natural. I wear my blush often like this!

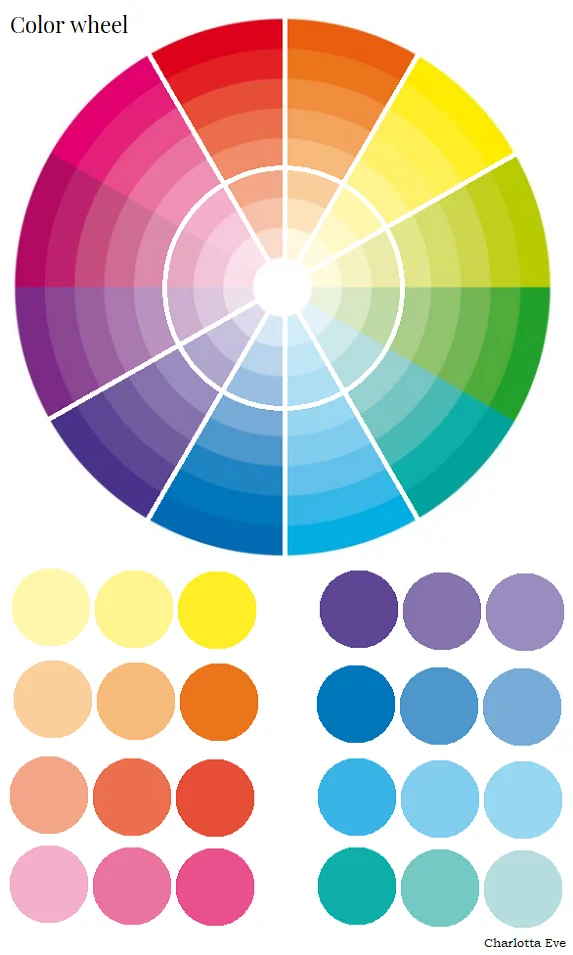
One good side to this style is that the blush can also help to hide your dark circles. You know, since peachy and salmon pink colors help to color-correct blueish colors (your dark circles can lean more to purple or green – check the color wheel to make sense of it).


Read the post: CONCEALER 101 – How to neutralize and brighten dark circles

Color wheel showing opposite tones for dark circles


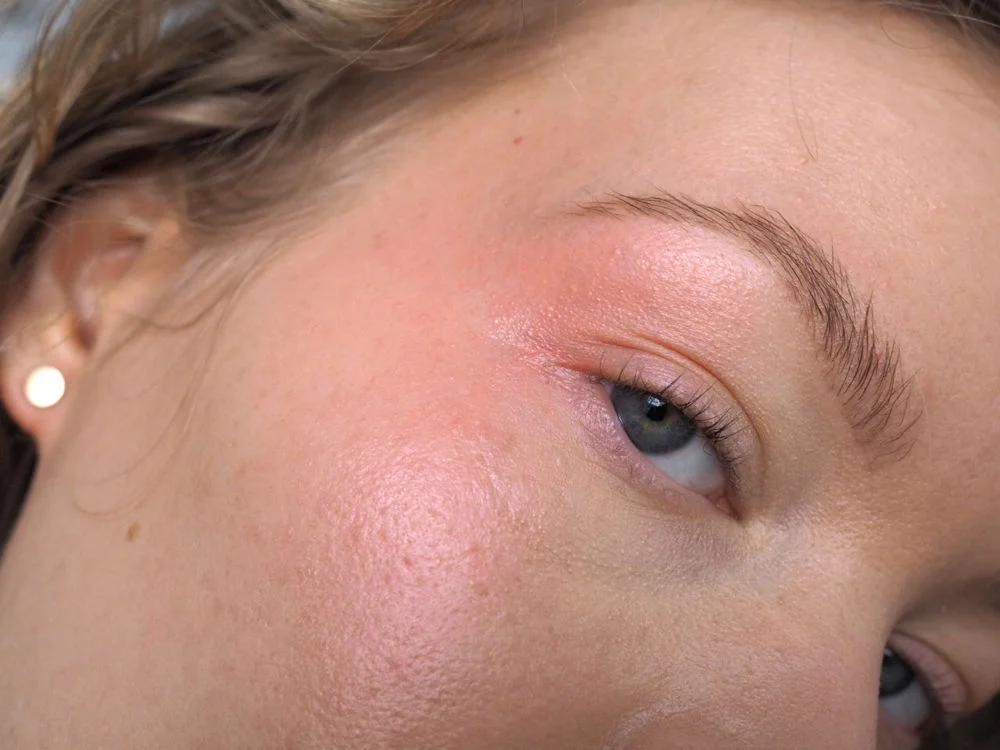
Blush can also be your whole look! Here I wore it as an eyeshadow and also brought it quite high to my temples.

Blushed makeup look with blush used on cheeks and eyes

Which blush shade to choose?

When it comes to blush shades, a cool-toned pink suits cool undertones. So if you know you look great in cool colors, that’s your pick. Likewise, if you have warm tones, a more peachy blush looks beautiful on you. Coral can also work for both, since it’s kind of a mix of pink and peach.

Read the post: UNDERTONES & MAKEUP – Are you cool, warm or neutral?

Warm olive undertone example with peach blush
An example of warm undertones. I applied peach blush on Pinja.
Cool undertone example with pink blush
An example of cool undertones. I applied pink blush on Linda.


Favorite blushes

Here are some of my favorite blushes listed:

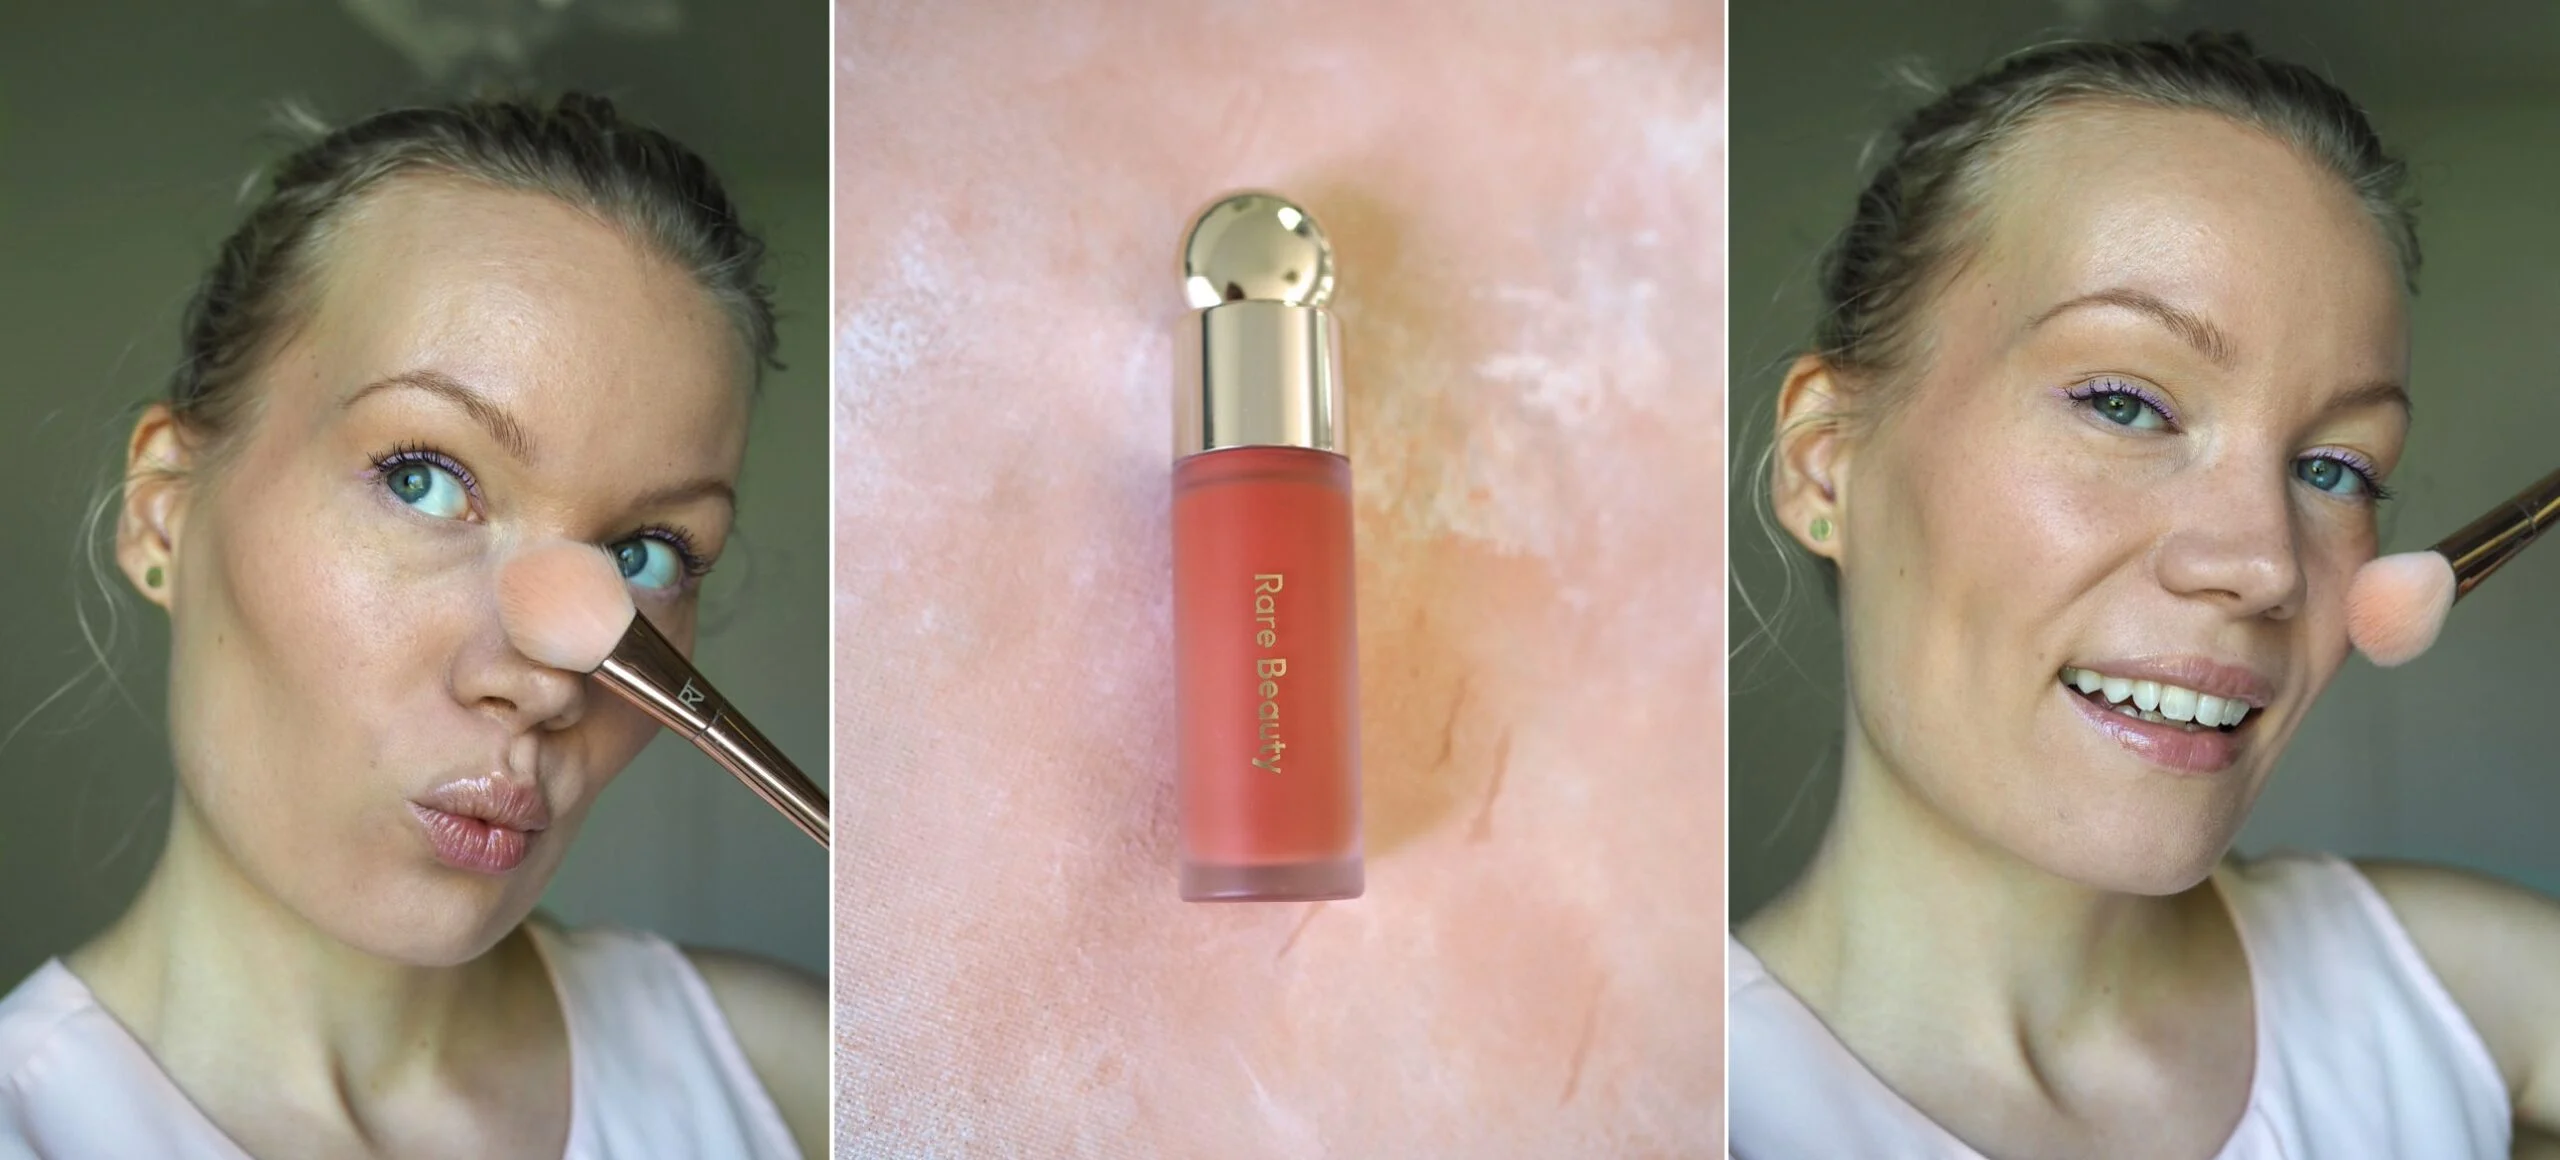
*Rare Beauty Liquid Blush
Blends on the skin like a dream, great pigment (I’m wearing the shade Joy)

*Ilia Multi-Stick Cream Blush
Very beginner-friendly, creamy texture that gives you time to work it on the skin & layer it

Kjaer Weis Cream Blush
One of the best cream blushes, organic + refillable

Milani Baked Blush
Very affordable and simply great

Blush placement comparison and favorite blush tips

See more blush looks and everyday makeup ideas on Instagram @charlottaeve.

3 must have baby things

3 must have baby things

Pregnancy, newborn and early baby life photo collage
 

When we were expecting our baby, it got pretty clear that the baby stuff is its own world. It seems like you need a lot of things for your little one. But that’s not quite true – you can totally buy less and see what you’re gonna need once you get there. Actually that’s what I recommend on some things, because you never know how your situation is gonna look like.

But some things you probably already know you’re gonna need – or rather – want. I think it’s helpful to hear different experiences, so I want to share some of the baby gadgets that have been a lifesaver for us.

I know it’s difficult to know what you’re gonna need, so I’m gonna share my recommendations with good reasoning. Without further ado, here’s my must have list for baby’s first year!

Charlotta holding newborn Eva at home

3 must have baby things you (probably) need for the first year

Updated in 2026: the Owlet links now point to the current Dream Sock/Dream Duo products. This is my personal parent experience, not medical advice or a replacement for safe-sleep guidance or adult supervision.

owlet camera review kokemuksia

owlet sock baby review

Owlet sock (the baby monitor that calmed our nights)

I knew having a baby would be another opportunity for my tech-loving man to get new gadgets. And this gadget has been one that I totally get behind! The Owlet Dream Duo includes a camera and the monitoring sock.

The camera acts as a baby monitor with some cool features. There’s obviously video and sound, but you can also talk to your baby through the camera and your phone’s owlet app. It also measures the room temperature and humidity.

The sock monitors your baby’s heartbeat and oxygen level. Basically it alerts you, if the heartbeat drops too low or goes too high. Or if your baby’s oxygen levels drop.

owlet sock and monitor

At least for us, it helped a lot with the need of checking if the baby breathes. Obviously you can’t just count on technology, but it was a huge help. We could and are still sleeping better, thanks to the sock. As an added bonus, it’s easy to check if your baby is in deep sleep and if it’s safe to move her.

Now that our baby is a toddler we only use it is she’s sick and we want to watch her oxygen levels.

sleepy troll baby rocker review kokemuksia

Sleepytroll baby rocker (our early-month sleep helper)

Sleepytroll Baby Rocker Gen 2 is something that I wanted to get. I started to dream about it, after quite so many nightly wake ups. If only someone else rocked the baby back asleep.

I didn’t really expect it to work as well as it did (we started sleeping full nights with it), but for us, it just simply worked. I also wrote more about how our nights looked at three months. Sleepytroll has a sensor mode, that activates if it detects sound or movement. Then it starts to rock the stroller (or the crib) for three minutes. It also has the option of rocking 40 minutes, but that we rarely used. You can also adjust on how sensitive it is.

We used this until Eva was about 5 or 6 months. Then we just kind of let go of it. I was worried if we would need to let it rock Eva until she was 18 years old, but luckily stopping the use was also easy. And in the summer we sleep trained Eva and we are now (at 8 months) sleeping full nights again. But again, Sleepytroll was such a lifesaver in the early months. 5/5, do recommend!

Nowadays we use it every now and then for naps.

tommy tippee sangenic twist diaper trash

Tommee Tippee Sangenic Twist diaper trash

We used to have cats when I was little – and I hated the smell of piss and you-know-what that came with them. The same kind of applies to babies and their diapers. I’m fine changing them and I salute my daughter for filling them up majestically, but I don’t want to smell them once I put it to the bin.

Enter: Tommee Tippee Sangenic Twist & Click bin! There’s a difference in the twist! It doesn’t even smell, when  I open the lid. I have seen other bins, where I have to smell the poo every time I slip a diaper inside. No thanks.

Thanks to this, our bathroom is still our bathroom. With no odours. Investing a bit more in a trash really has been worth it.

Baby sleeping in a bouncer in a brown outfit

And those are pretty much the three big baby must have things I would recommend. I mean the list could go on, but those are the most important things. But for those interested, in short, I also love our Emmaljunga NXT90 stroller, our Babyzen Yoyo travel stroller (cabin size!), our Stokke Sleepi crib and for breastfeeding mums the best handsfree breast pump is by Elvie.


If you’re comparing first-year baby purchases, Owlet or Sleepytroll, come continue the conversation with me on Instagram @charlottaeve.


Scroll to top