Your brows are good enough!

I don’t know about you but I sometimes feel a lesser person ’cause of my brows.

I’m not sure when this happened – when eyebrows suddenly filled up my instagram feed and all the brows in the world started to look alike. Or when everyone else’s brows started to look better than mine. Perfectly defined, big and bold. Or natural, big and bushy with just a tiny bit of product. Whatever it was and how it was done, it was probably better than mine. I also noticed I started to look at brows the different way and I was also judging other people’s brows.

Ever since I started doing my brows I’ve felt lost with them. That I’m constantly trying but never achieving the perfectness.

But you know what? That is over now. I’m gonna stop this damn brow-shaming. And you should too – whether it was your own face or someone else’s – we’re all trying our very best and our brows are good enough!

Your brows are good enough whether they’re thin or big or they don’t grow much or they grow like crazy. They’re good enough the way you like them, the way you like to apply makeup to them.

Do you like your brows natural and just use gel in them? Go ahead, even if they’re invisible.
Or maybe you draw them twice as big as they really are? You have every right.

The point is.. Stop brow shaming. Your brows are good enough!

brows

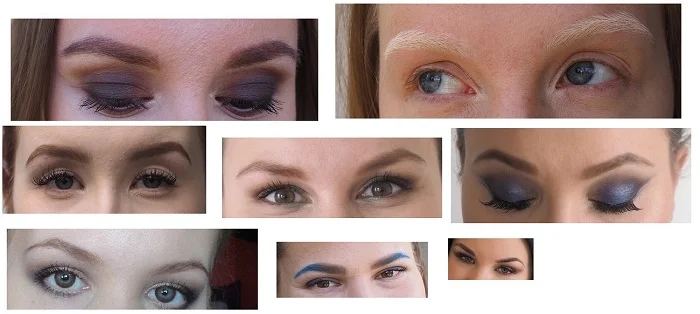
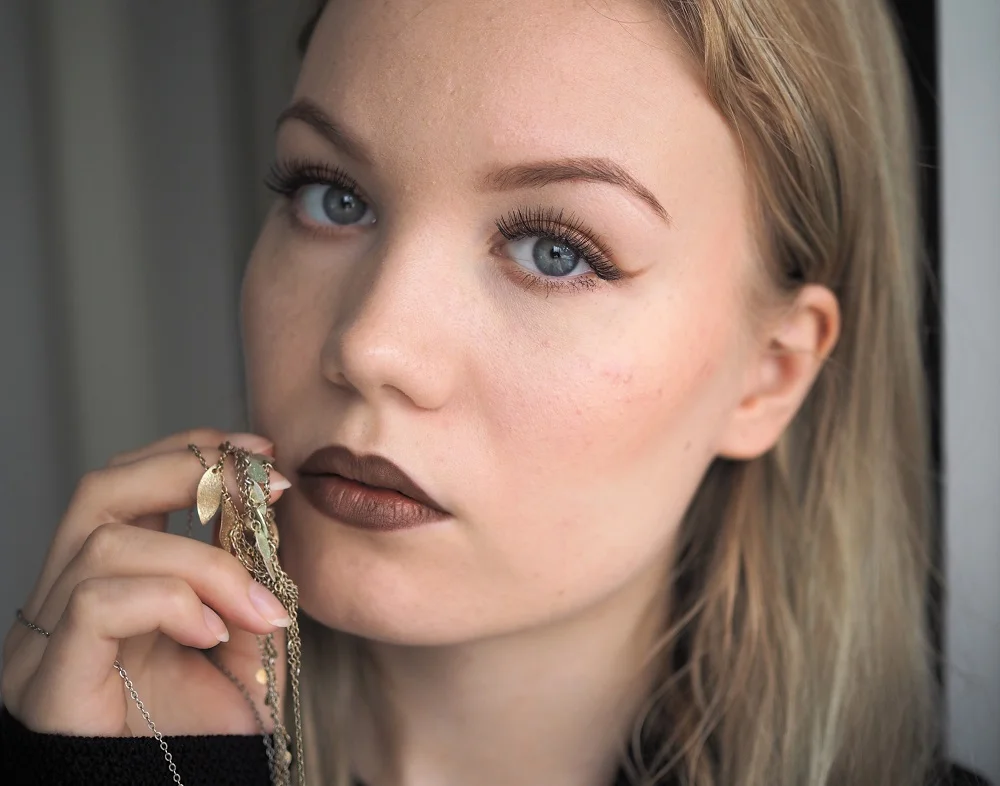
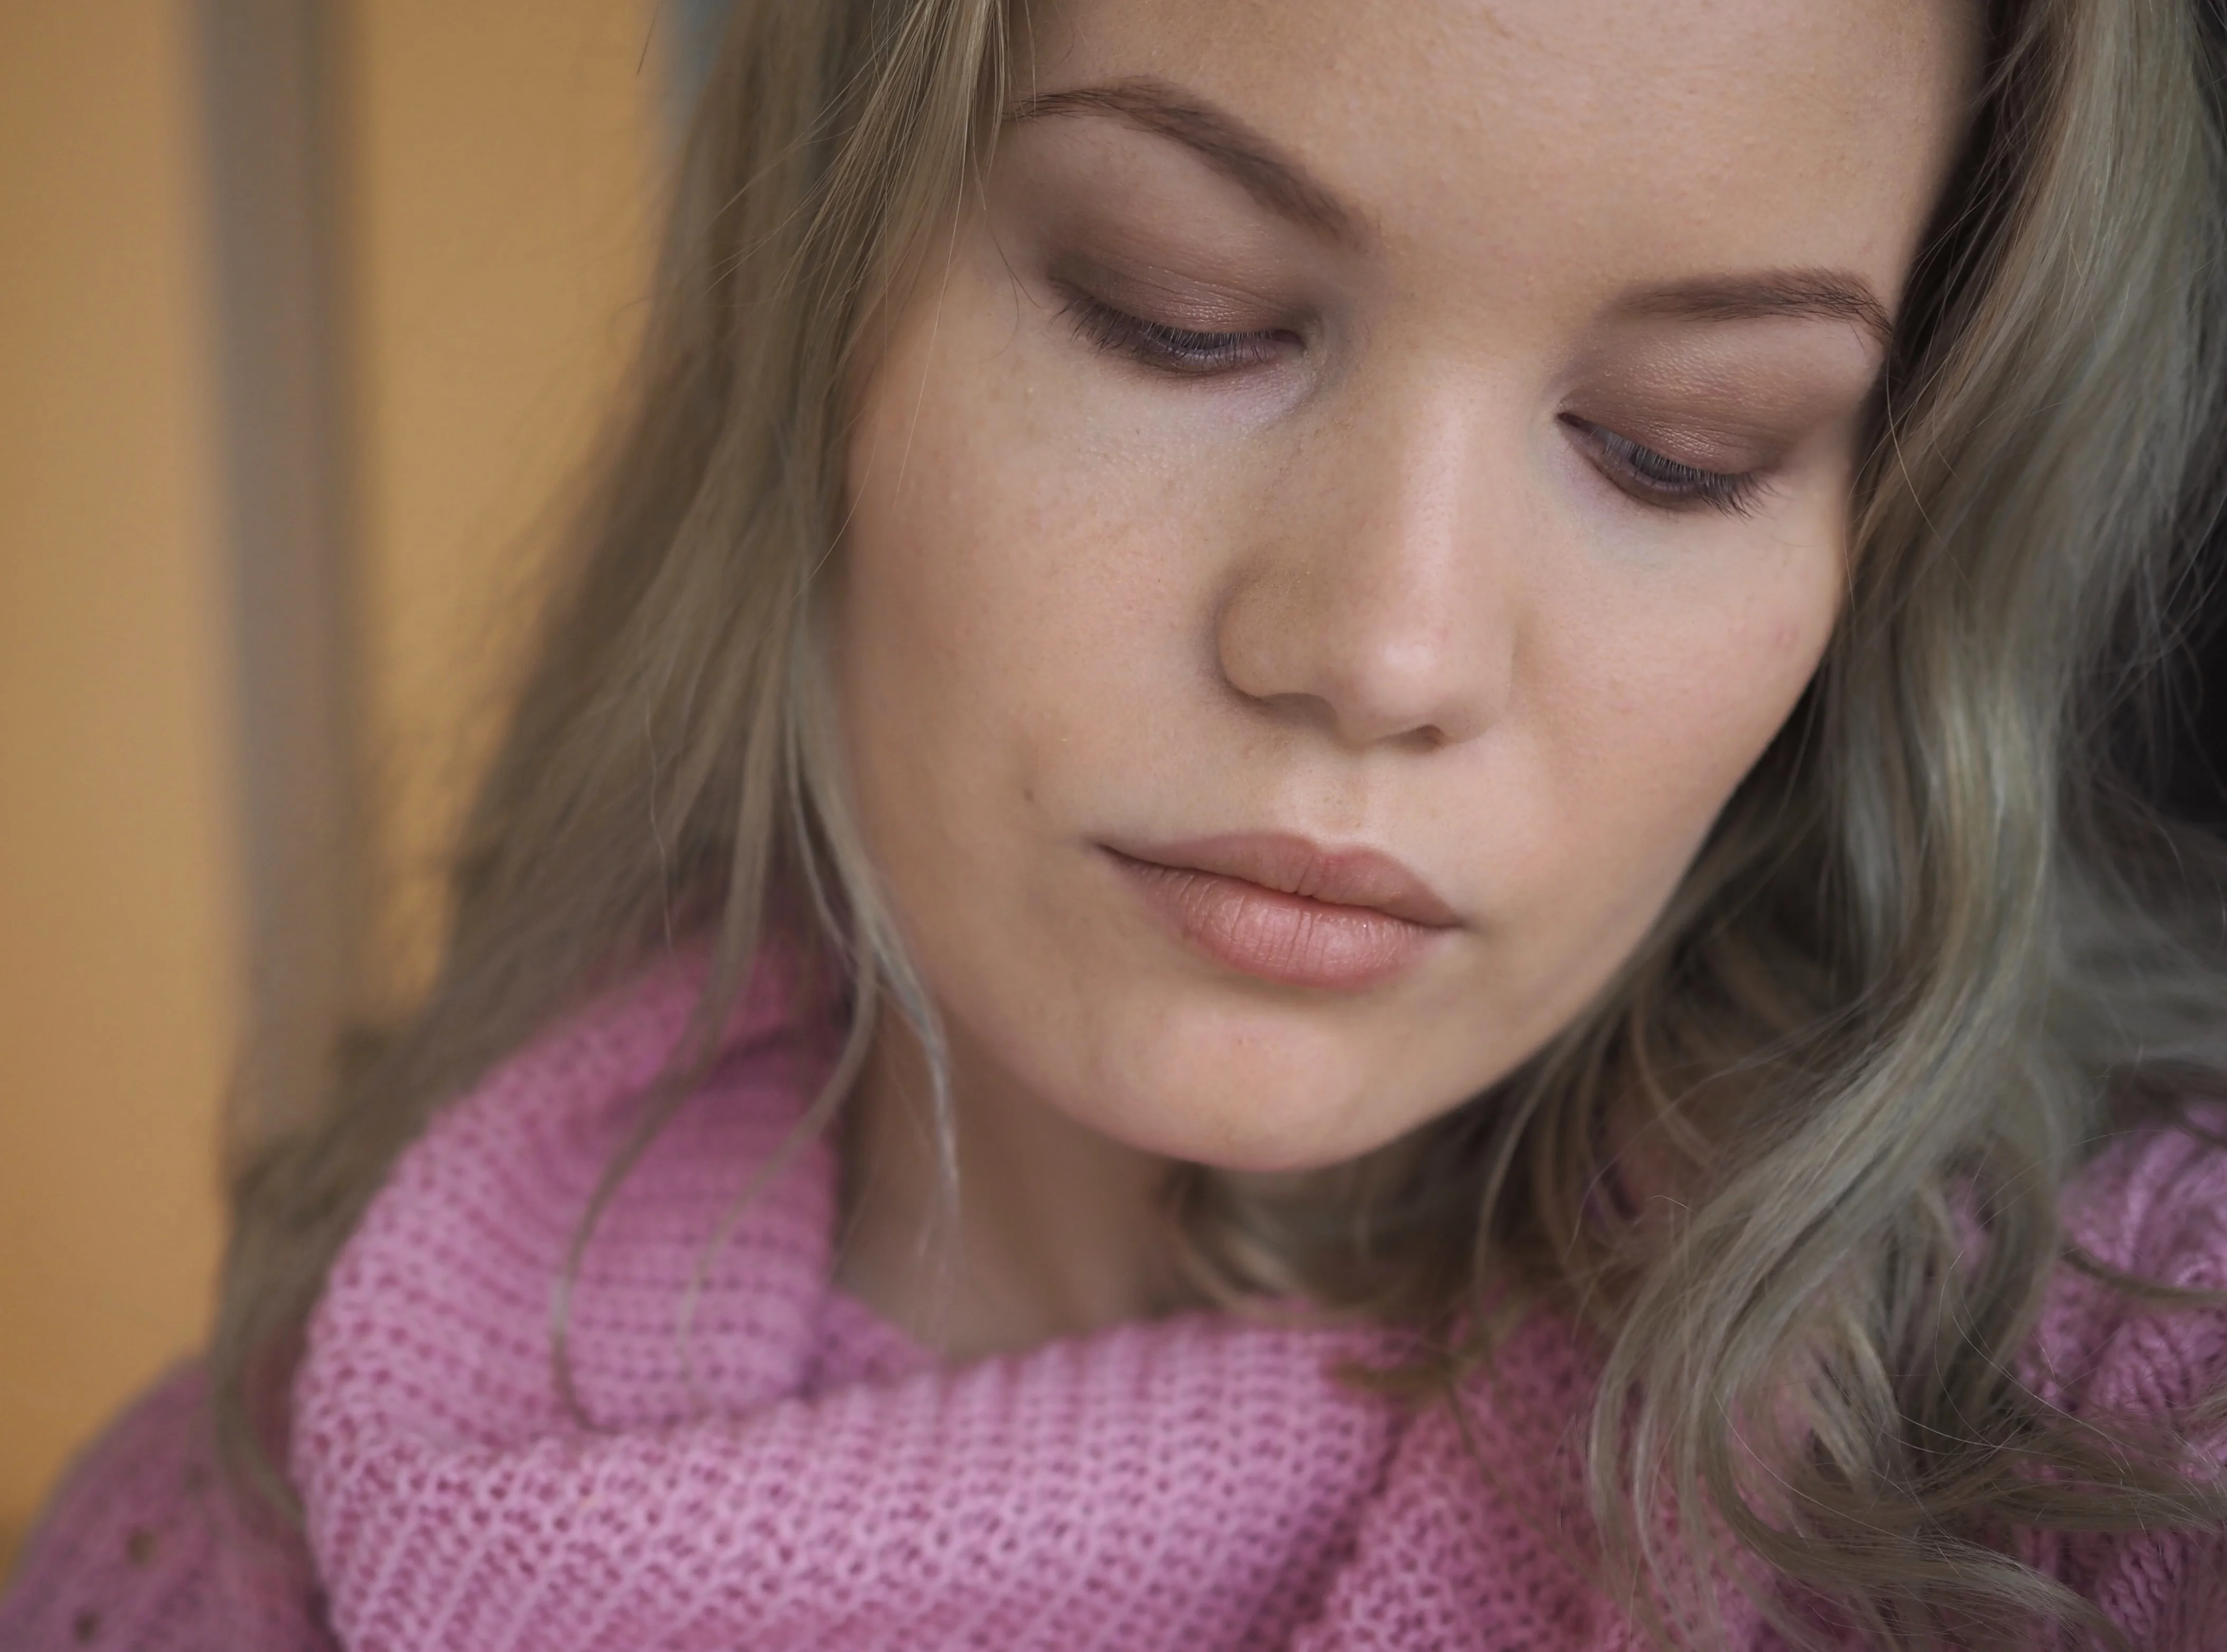
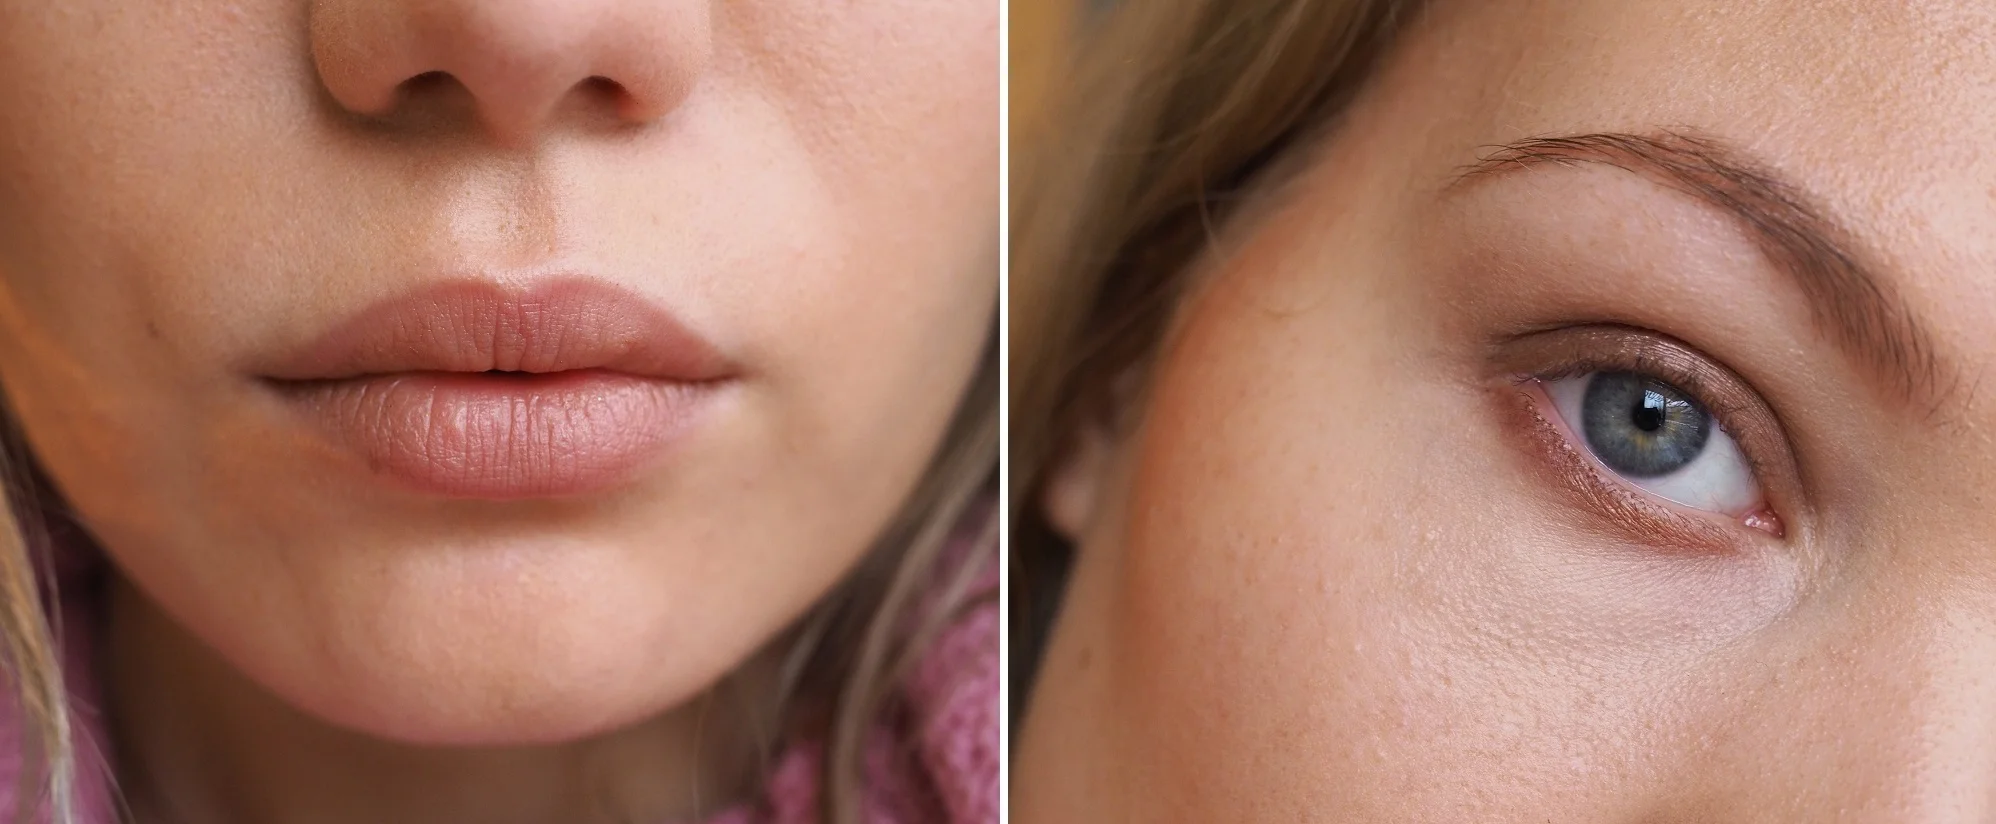
Different brows – all done by me.

I feel like now that I’ve said that – I can give you some advice. Really gently – I promise.

First advice is: Get your brows done on a professional. I cannot stress this enough – even I do this with my brows! A true professional can see your natural brow shape and follow that – and make your brows look like your brows but better. You can always say which shape you want and the professional can make that particular shape work with your brows. Plus, when you get your brows done it’s easier to maintain them at home and see when there are hairs that fall out of the line.

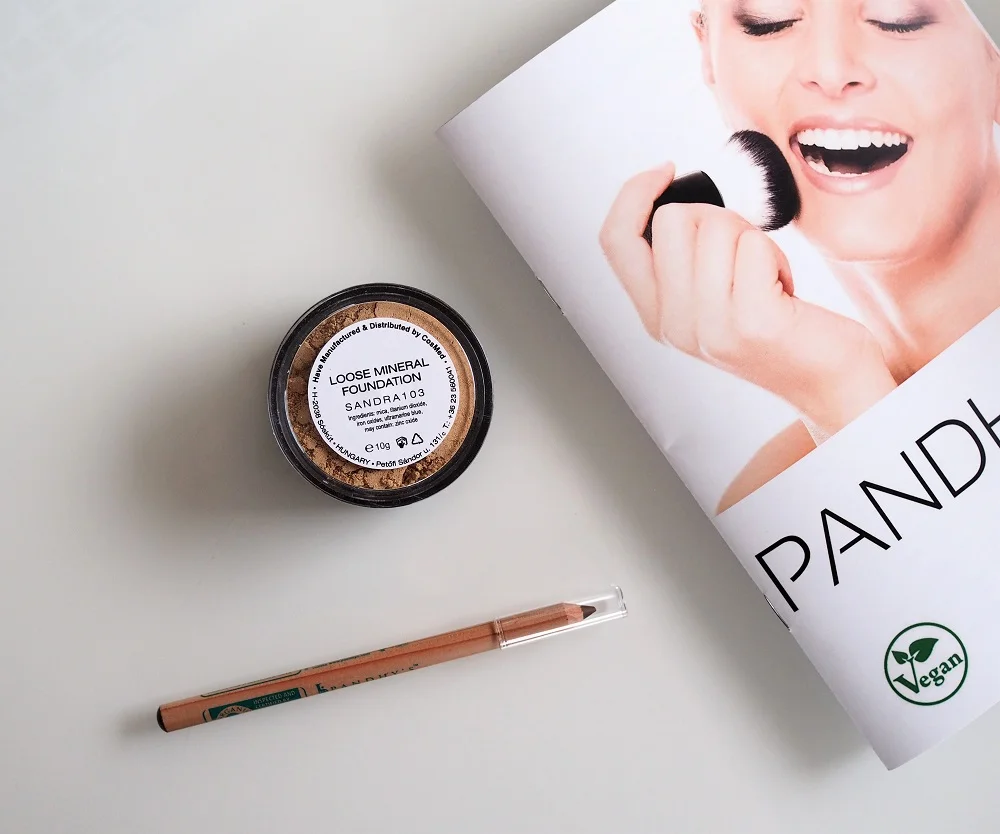
Second advice is: Buy a brow product suited for your needs (=determine what is it that you want).  There are gels, pens, creams, powders.. Everything really. For soft finish I recommend powders and soft pencils. For more defined look I recommend creams and waxes. If you only want your brows to stay in place you can just use plain brow gel with or without color.

Third advice is to choose the right color for you. The easiest way to choose the right color is to match it with your hair colour. Of course some like their brows darker than their hair and that’s okay too as we learned earlier. But a good advice is to pick the same color or two shades darker than your hair. The color shade should also be matching with your hair – if you have cool toned or ashy hair you should pick more of a grey toned color to your brows. If you have warm toned or golden hair you can choose a warmer color to go with it. The safest pick would definitely be more of a cool toned or neutral brown rather than a warm color – it’s most likely to suit your skin color and not stand out too much.

The best brow product for natural yet defined look in my opinion is Zuii’s eyebrow definer ’cause of it unique shape and texture. There are many brands with the same kind of product but the idea is that it’s easy to use since the shape is slanted. I  did a small video tutorial on how I use it – you can watch the video below. My brow style is definitely more natural and not at all perfect – but that’s exactly why I wanted to do this tutorial. Getting different brows out there.

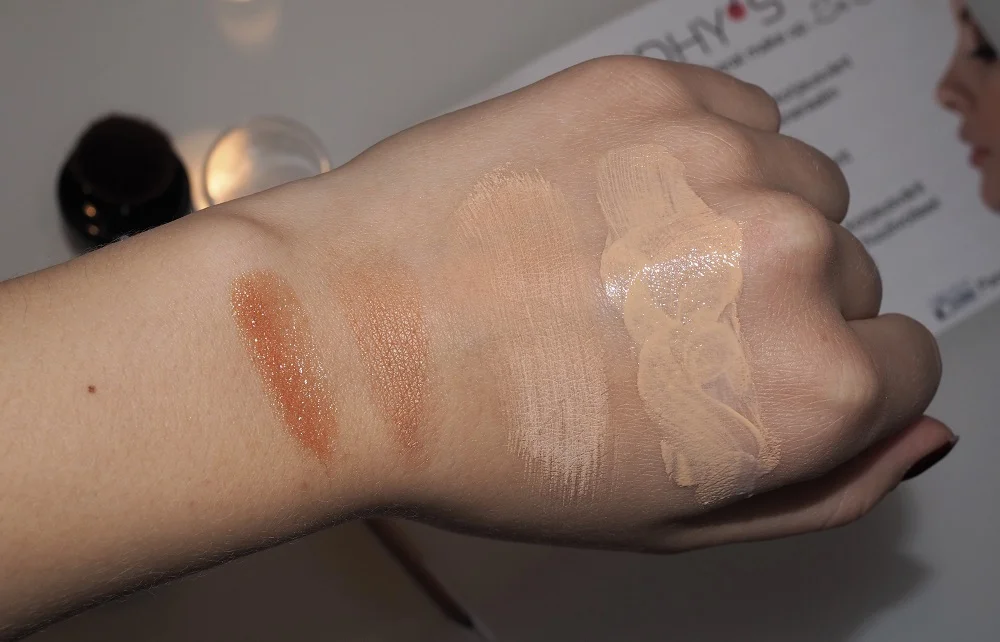
I also have a post about eyebrows where you can see how different brow products look and maybe determine which product you want to get.

#yourbrowsaregoodenough #stopbrowshaming

Mineral makeup magic – Pandhy’s

In collaboration with Pandhy’s Finland*  

Let’s talk about foundations. The base for all makeup.

What is the perfect base? What is the perfect foundation? Is it cheap, is it expensive or is it easily available? Is it about the longevity, the pigment or the finish? Is it about skincare and what it does to your pores?

It’s tricky if you really think about it. I have some amazing foundations that are not-so-amazing skincare-wise. Some foundations tend to break me out and cause pimples. That is so not the direction I want to go with my skin. So most days I wear a foundation that cares for my skin while looking amazing.

‘Cause the perfect foundation really does it all: it looks amazing, it lasts all day long, it’s reasonably priced and it doesn’t contain any chemicals that irritate the skin or clog pores. Makeup is worn all day every day so of course it’s gonna have an impact on your skin condition.

I’m talking – of course – about mineral makeup.

Mineral makeup is purely that: minerals, that  are naturally preserved and free of irritants. Minerals form a filter that protect your skin while letting it ‘breathe’ and function normally. Mineral makeup lasts longer than traditional cosmetics and since it doesn’t contain water is hygienic and cannot support bacteria. That’s why mineral makeup is also beneficial for acne-prone skin as well as any skin type. Minerals are naturally anti-inflammatory so they help soothe irritated skin.

Now let me tell you this one thing before I continue – there are difference in different brands and their mineral makeup. I’ve tried many brands and can honestly tell you this: Pandhy’s mineral makeup is so far the best brand I’ve tried. Here is why: it lasts longer on my skin. It stays more matte. I only need a little product for my whole face. I doesn’t contain silicones or anything ‘extra’ that’s only gonna do my skin harm.

Lately I’ve been using Pandhy’s loose mineral foundation, Illuminizer and an organic liner. The foundation and the Illuminizer both come in a loose powdery form and they can be used in three different ways. They’re basically just pure pigment so you can use them dry, mixed with lotion or mixed with liquid such as water or a toner.

I’m in love with this foundation – my skin looks radiant and beautiful yet it looks natural just like my own skin. And that’s the beauty of mineral makeup – it looks like your skin but better.

Here is a before-after photo of the loose mineral foundation applied with a kabuki.

.. And full face using the liner on my eyes, brows and lips. Illuminizer on the cheeks & lids. (+Mascara & lashes).

Here is a swatch of the Illuminizer mixed with lipbalm and water. Then there’s the foundation mixed with water and a lotion.

In this photo I’m wearing the loose mineral foundation mixed with water.

pandhysreview12

DIY-lipgloss (Radiant + lipbalm) and an easy soft smokey eye (Liner 2684+Radiant on top).

I use the loose mineral foundation dry. It’s the quickest and the easiest way to do it. I take some product on the lid, swirl my kabuki in it and then (and this is important!) I tap the bottom of my kabuki with the brush head facing upwards so that the minerals settle into the brush evenly. You only need very little product for your whole face so you want to be careful when first applying it.

The same goes to the Illuminizer – a little goes a long way!  You want to do the brush-tap with this too.
I love to mix the illuminizer with my lipbalm to give my lips a DIY lipgloss. My shade is Radiant 403 which is perfect for giving my cheeks some healthy color and glow but I also love it as an eyeshadow.

The organic liner shade is 2684 and it’s really a multipurpose liner. It’s good for brows and eyes and even lips. For brows I applied it with a brush to get a soft definition. It’s great for a suble smokey eye too – just apply it all over the lid and smoke it out. On the photo I also applied some Illuminizer on top of it to get a bit dimension on my eyes.

Are there any other mineral makeup fans out there? What do you think of these three-product looks that I created?

Pandhy’s

Scroll to top