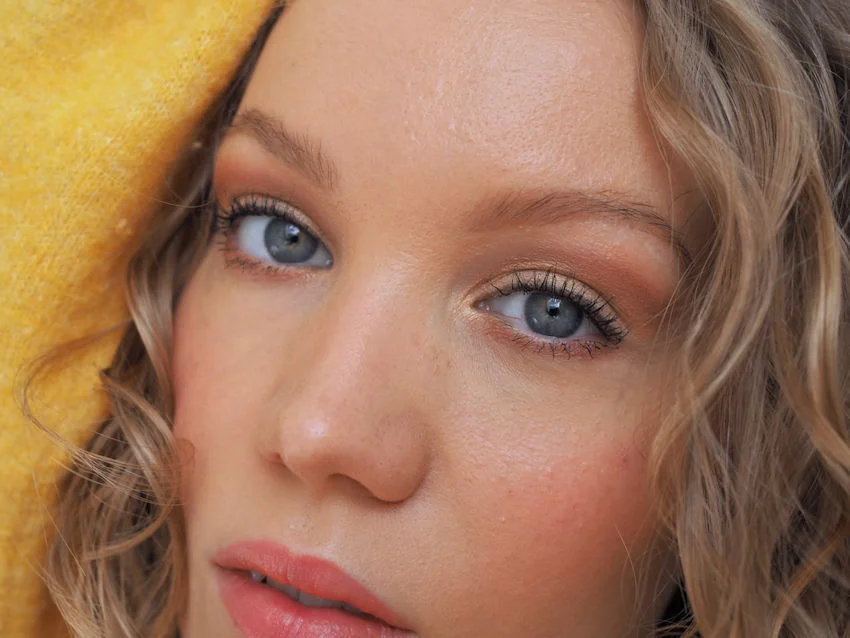
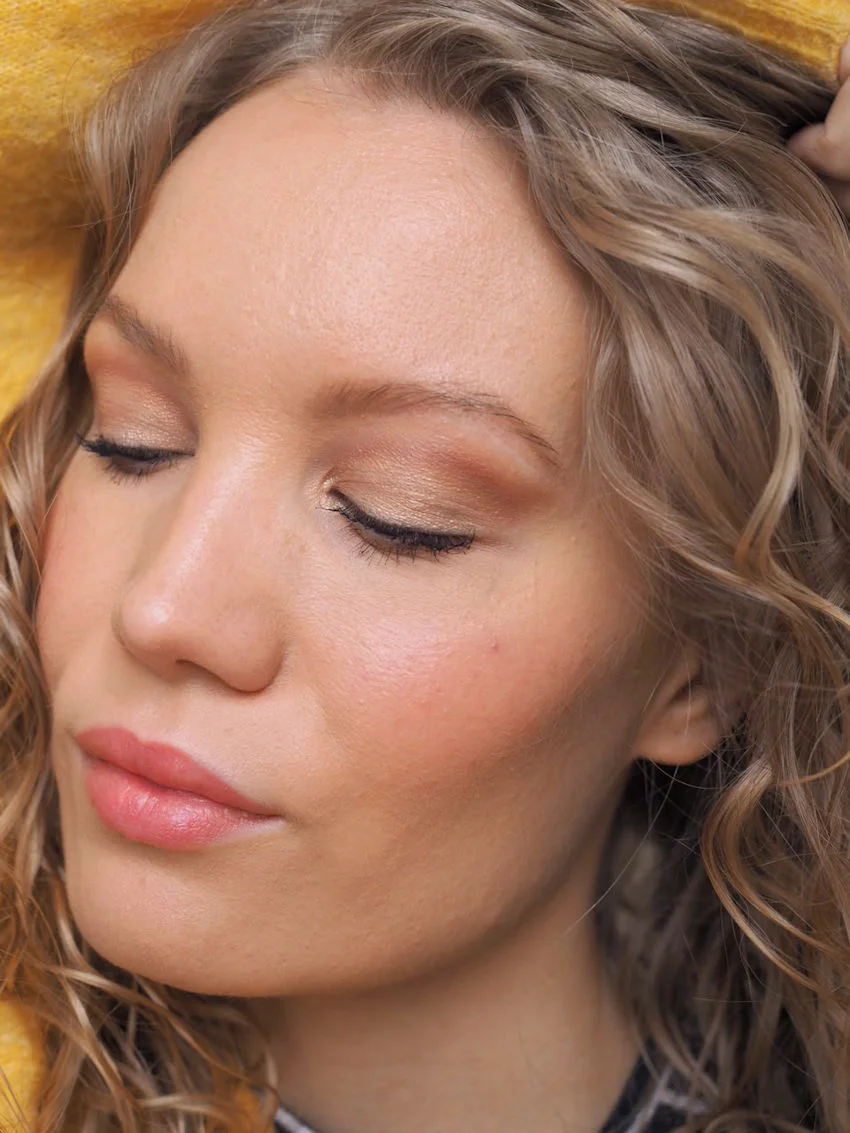
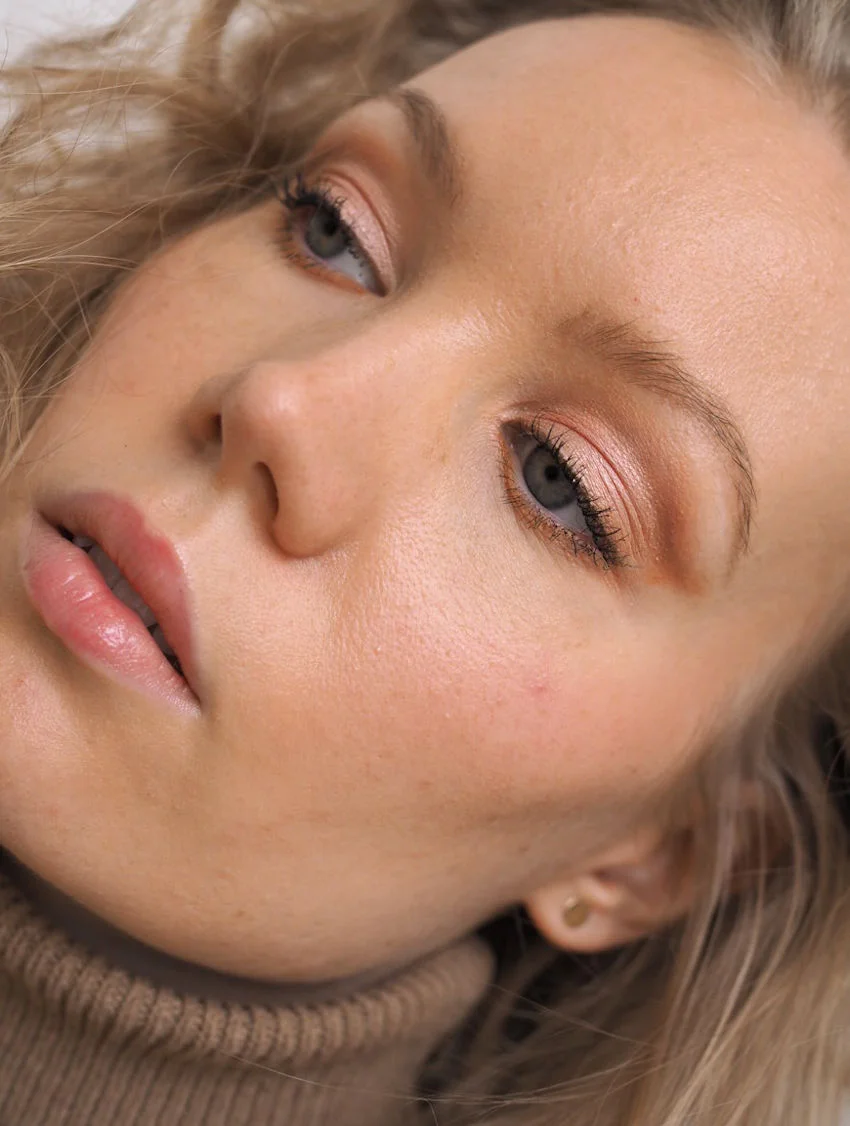
To me, having deep set eyes means I can get creative and bold in my eye makeup. I love dark and sparkly looks. As the year comes to a close, I find myself gravitating towards rich green hues with a hint (or a bucketful) of sparkle. If you also enjoy a bit of color in your eye makeup, try this bold look!
The pictorial is for deep set eyes, but if you change where you apply the eyeshadow, you can create the look on any eye shape. I’ve listed some products at the end, but I can already reveal you that that sparkle comes from YSL Sequin Crush in the shade Bold Blue.
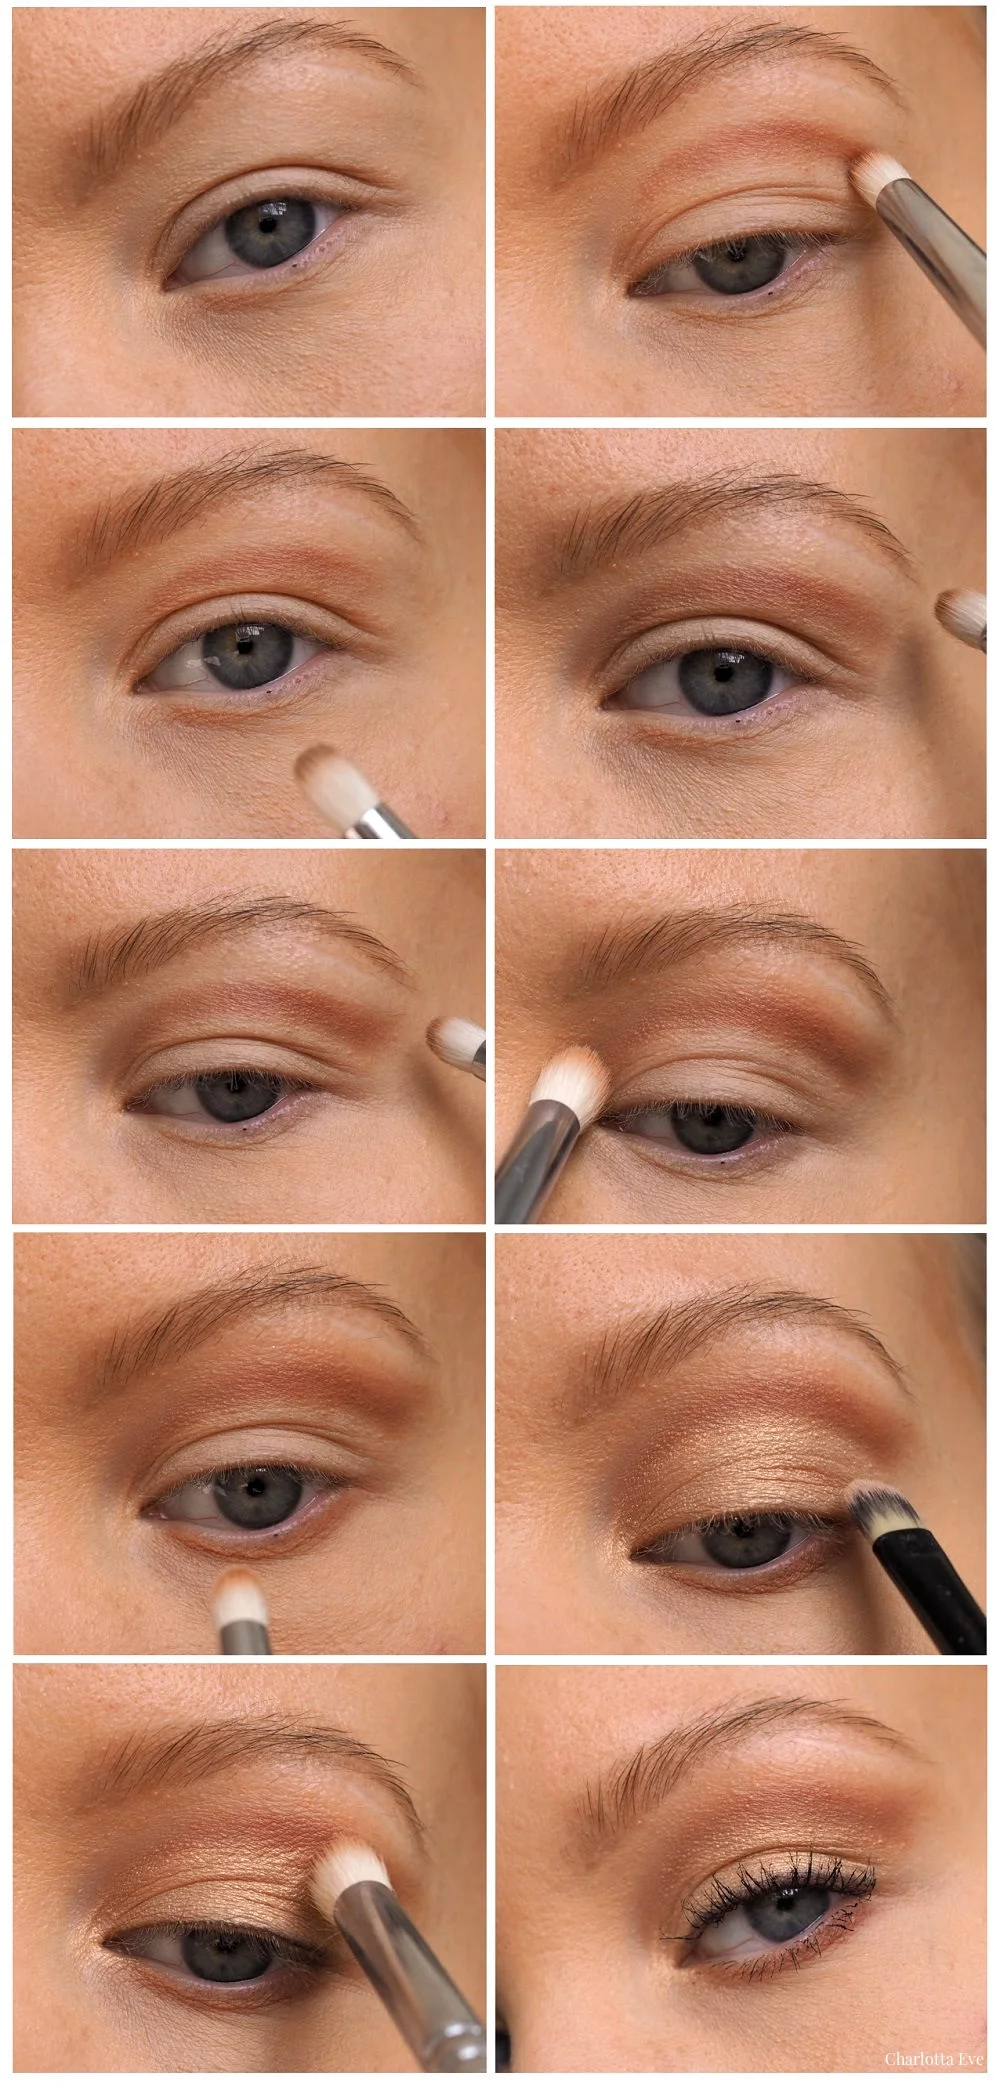
Start by sketching out the shape for your eyeshadow with a light brown color. Blend well. Build up the color as you go.
Add a darker brown in the outer corner and blend well.
Don’t forget the bottom lid. I left the center lighter (halo eye style) and added green there as well.
Fill in the lid area with a fun color – I used green. I topped it off with a sparkly green.
Line your eyes, add mascara and you’re done.
I first paired the eyes with orange glossy lips before switching to a nude color. For more eye makeup looks and quick tutorial notes, follow me on Instagram @charlottaeve.
Recreate the makeup
Naked Wild West Palette
Naked Wild West Eyeshadow palette has all the colors you need for this look. Perfect every day palette with pops of colors to switch into glam mode as well.
Valentino Dream Dust Glitter Eyeshadow Emerald Queen These glitter eyeshadows look very similar to the YSL ones I use. Gorgeous packaging and colors.
Quick summary: A floating contour means placing matte shadow above the natural crease, where the brow bone creates a hollow, so deep set or downturned eyes look lifted while the lid stays lighter. Check the placement with your eyes open. If you are still figuring out your eye shape, start with my makeup for eye shapes guide; for the broader route, see makeup for downturned eyes and my deep set eyes makeup do’s and don’ts.
If you want to try something new for your deep set or downturned eyes, why not try a floating contour? I like to do this when I feel like doing something different and want to keep my eyes (lids) more bare.
This technique works for downturned and deep set eyes, as the idea is to pull away the attention from the hood and the (downturned) crease with a matte eyeshadow. You see, typically I would add a darker eyeshadow to hide the so called problem area. But in this look I totally just ignore it, applying eyeshadow elsewhere to trick the eye. I call it the floating contour or an open contour, because it floats on the lid and is not connected in the outer corner, like the usual style. It’s all about contouring and shaping the eye with a darker eyeshadow, mimicking shadow.
Floating contour for deep set or downturned eyes
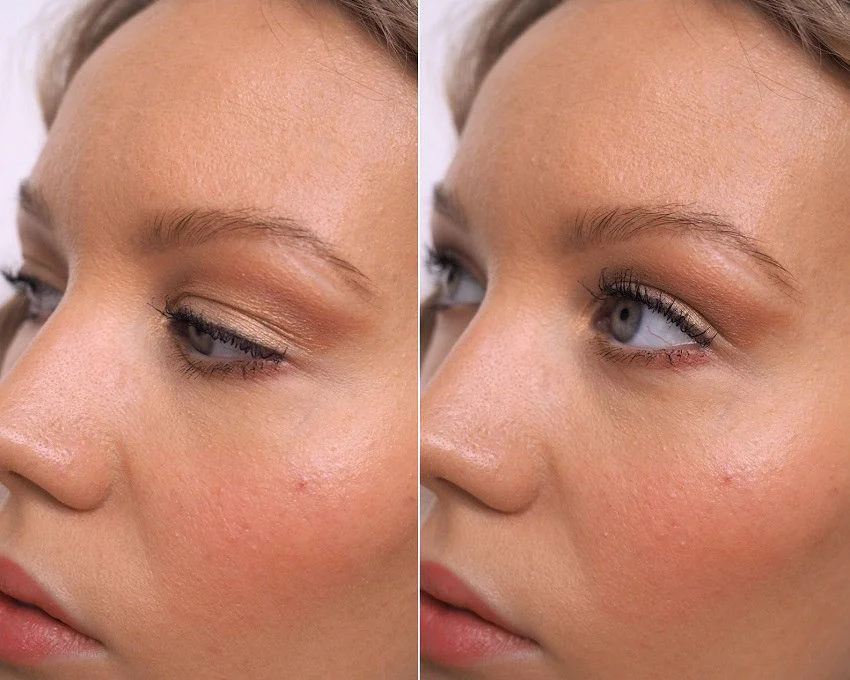
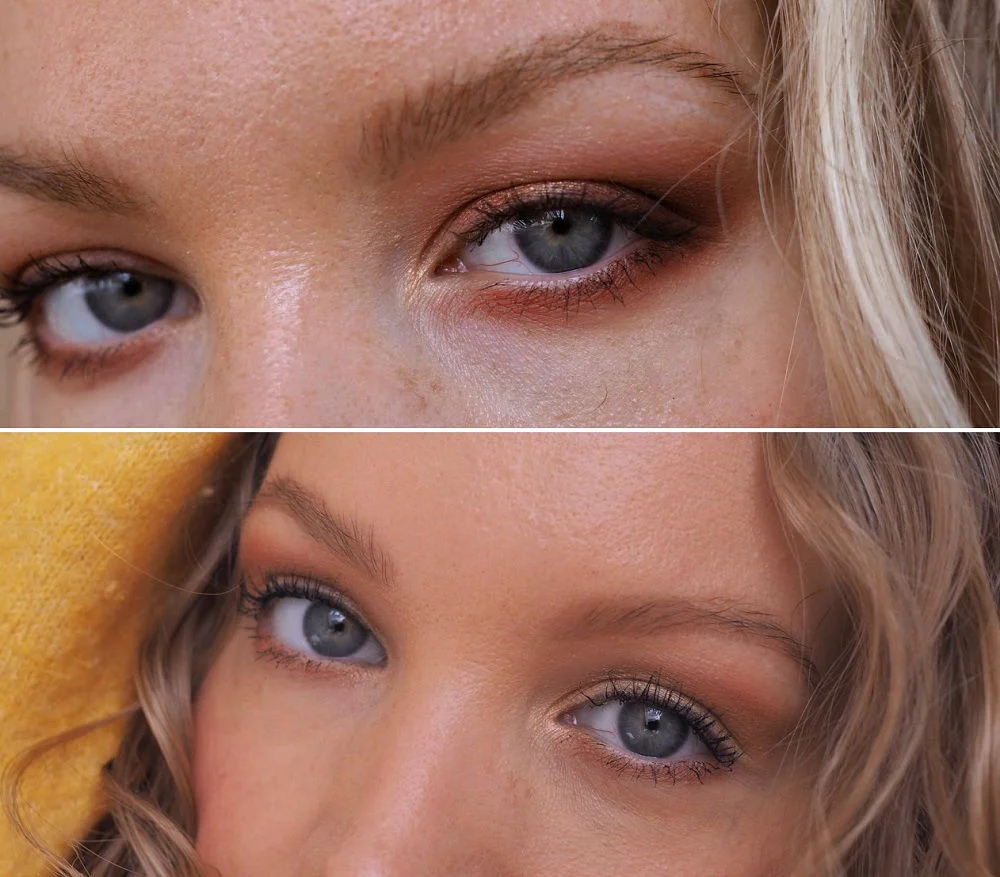
As most eye makeup tips, it’s easiest to explain and do when your eye is relaxed and open. See that outer corner in my eye? It’s where my eye creates a tiny little hood and my crease tilts downwards. This is the area that I typically hide with matte colors. But in this look I apply matte eyeshadow on top of that area to lift up the eye. And then I highlight my lid with a lighter shimmer color, making my eye look more open.
How this floating contour looks from the side.
Now – how to find the right spot for the contour?
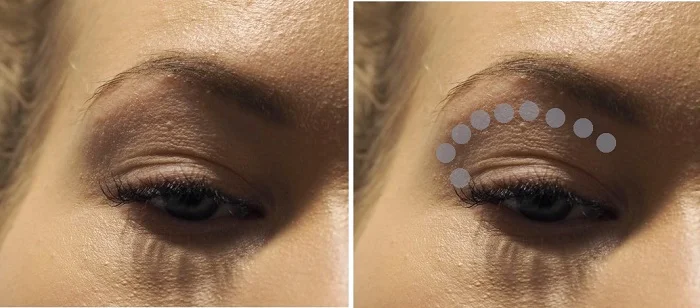
I’ve shared this tip before, but it’s all about working with the natural shape of your eye. The right spot is where a natural shadow occurs on the eye, where the brow bone ends. When you put a brush in that spot, you can kind of feel that brush sink in there: that’s about where your contour should go. Though in my eye I apply it there, but tilt it slightly upwards.
I also shared a video tutorial of the technique on my Instagram (@charlottaeve).
You can feel the ‘hollow’ in your eye, where the brush sinks in. That’s a good guideline for the contour!
Another way to look at it is to keep your eye open and draw the contour where you can see it. Obviously it’s way higher than the natural crease. How high you want to bring it is up to you though. Just make sure to leave a gap right under your brow.
This technique doesn’t hide the so called problem area (the crease/hood), but it shifts your focus to someplace else. Makeup is all about having fun and trying different things. So you know, why not try a different look every once in a while? There are no rules. Personally I enjoy wearing my eyeshadow a bit differently sometimes.
1st photo: how I usually do my makeup, adding dark matte eyeshadow in the outer corner. 2nd photo: An open/floating contour.
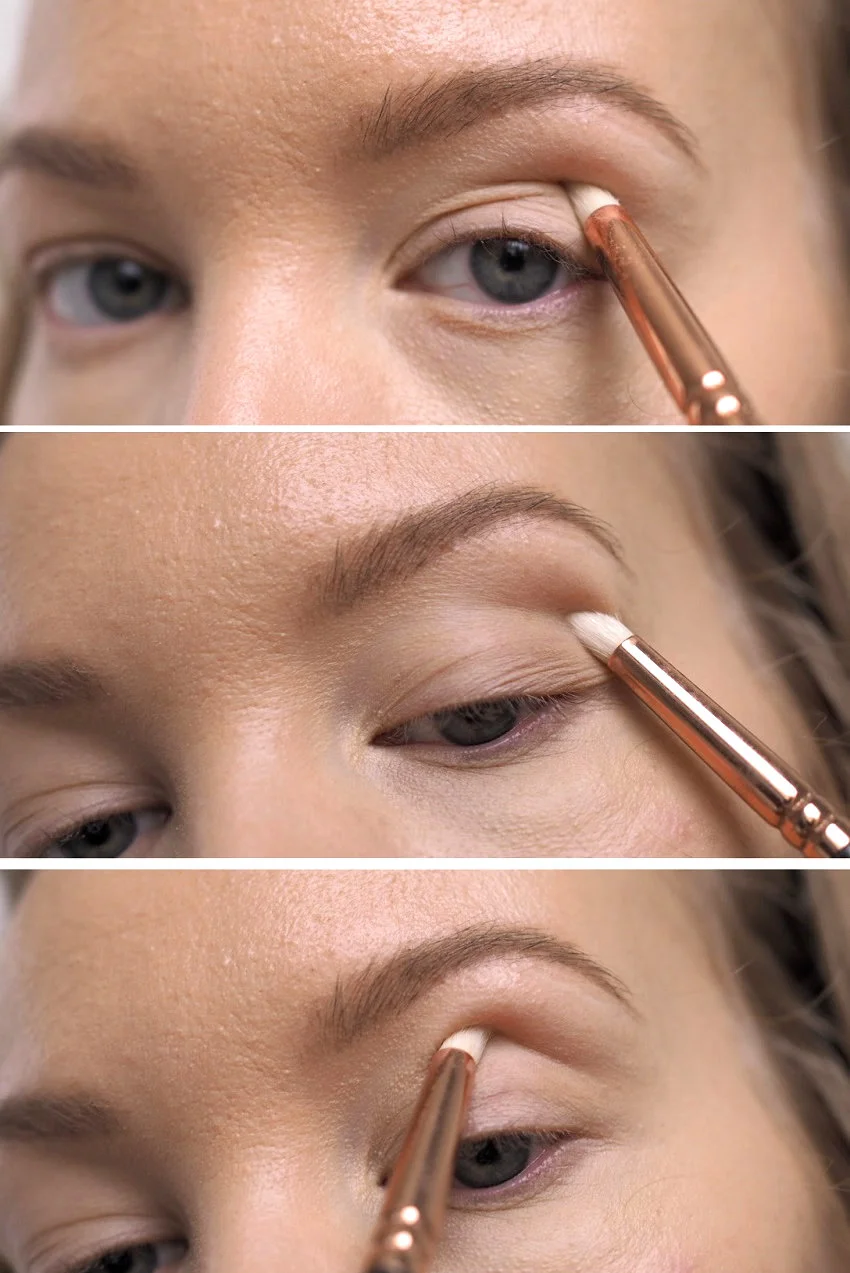
Draw the floating contour on the eye with a pencil brush. (I used Zoeva 230.) You can tilt it upwards in the outer corner to create a bit of a winged look.
Blend that out using a slightly bigger and rounder brush. (I used Zoeva 225.) You can also take a color that is slightly lighter than the one you just used and blend it out using that. Blend slightly on top of the line or towards your brow, so that the lightest color is closer to your brow, blending nicely to your skin tone.
Add the same colors to your lower lid as well.
Then you can add your lid color. I added it all the way to the inner corner, because it was so light. Blend it slightly (still Zoeva 225), so that the contour line is not that harsh. Or you could also leave it more visible, faking a crease type of thing. (I used a flat brush from Coastal Scents brush set.)
Line your eyes and add mascara. Done!
Products used in this makeup
Updated 2026: I kept links only where I could verify a current exact destination. Some original 2021 products are discontinued or not reliably available, so those are listed as product names only.
Illamasqua Unveiled Nude Artistry Palette (original palette, currently not linked) NYX Perfect Filter Palettes (discontinued) Too Faced Gingerbread Extra Spicy Palette (discontinued) Coastal Scents Brush Set (original brush set, currently not linked) Zoeva Rose Golden brush set (currently not linked)
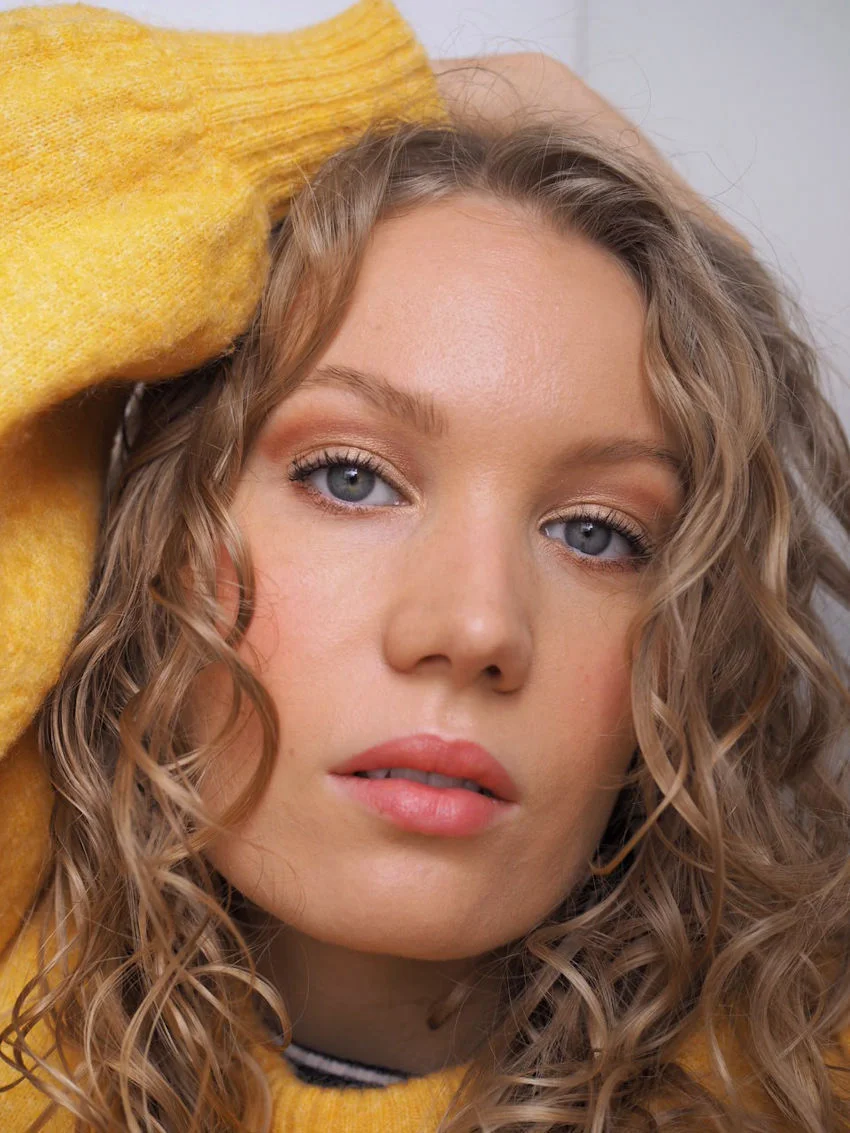
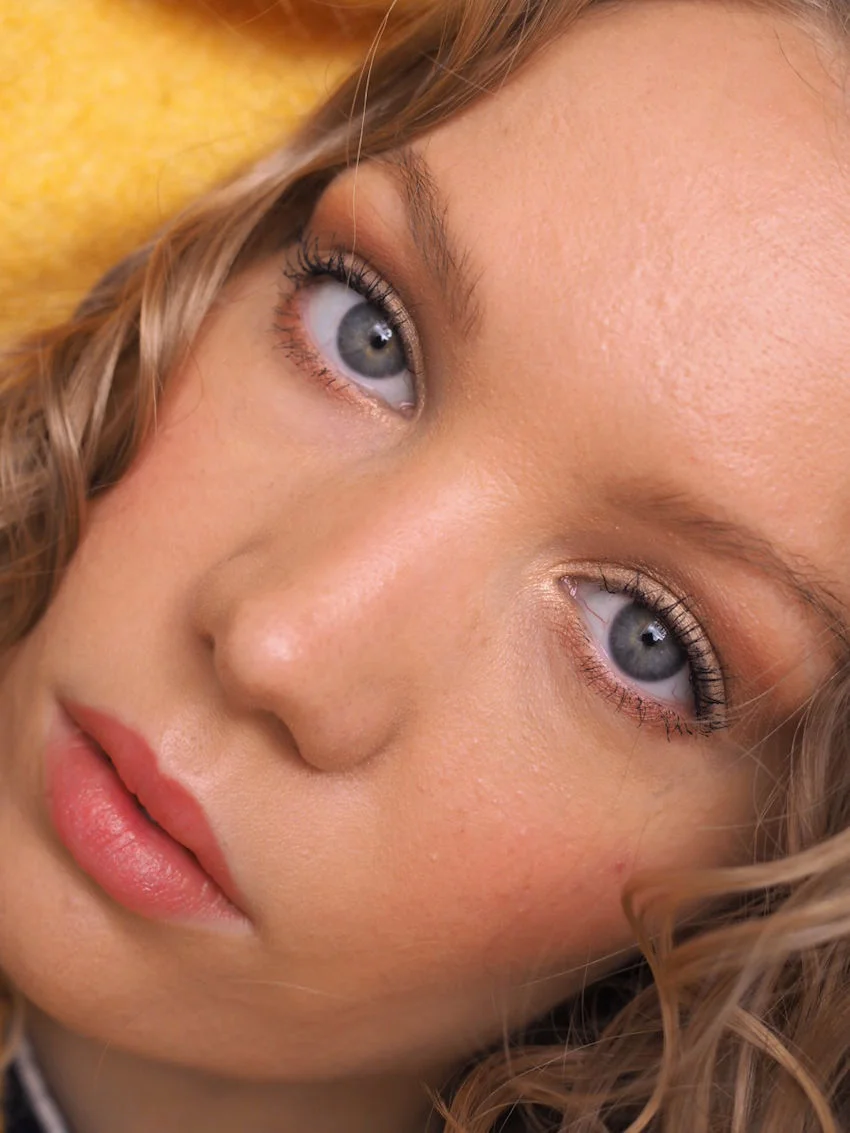
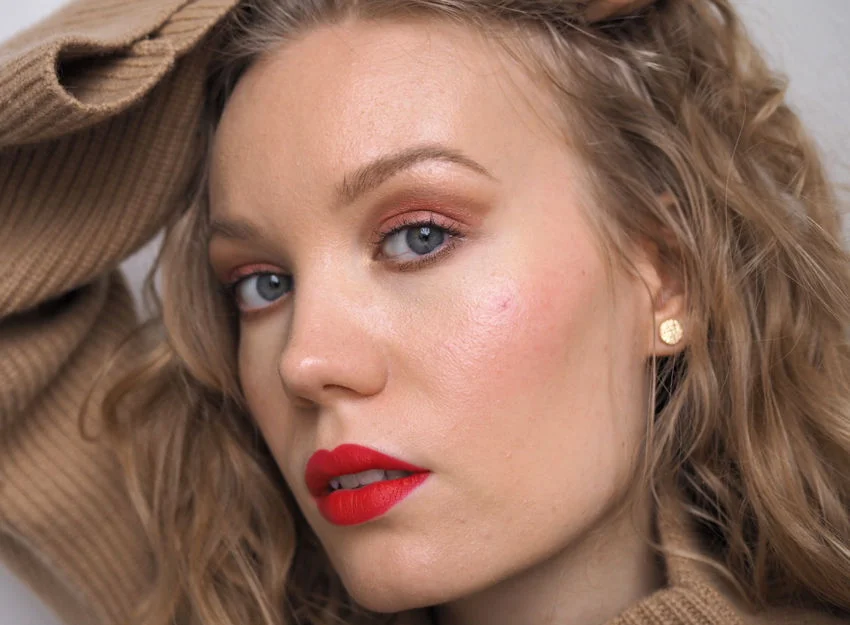
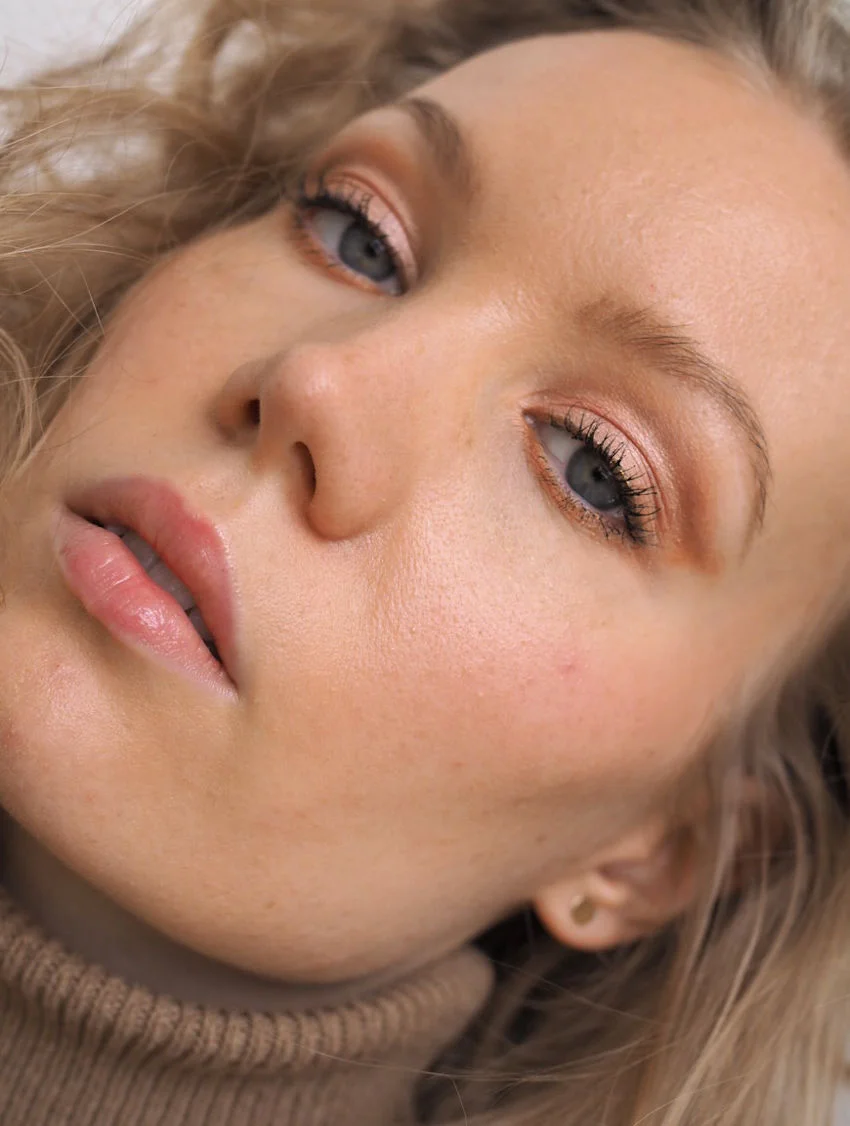
Here’s also two other looks with a floating contour.There’s also a video tutorial of the look below & the technique on my Instagram (@charlottaeve).
By the way: That red dot on my cheek is not a pimple, but spider veins. So annoying, but I’m waiting for it to just disappear. I’ve had one before on my nose and that went away on its own. Don’t ask how I got it, I live in Finland okay? (Sensitive thin skin on the cheeks + harsh weather is not the best combo.)