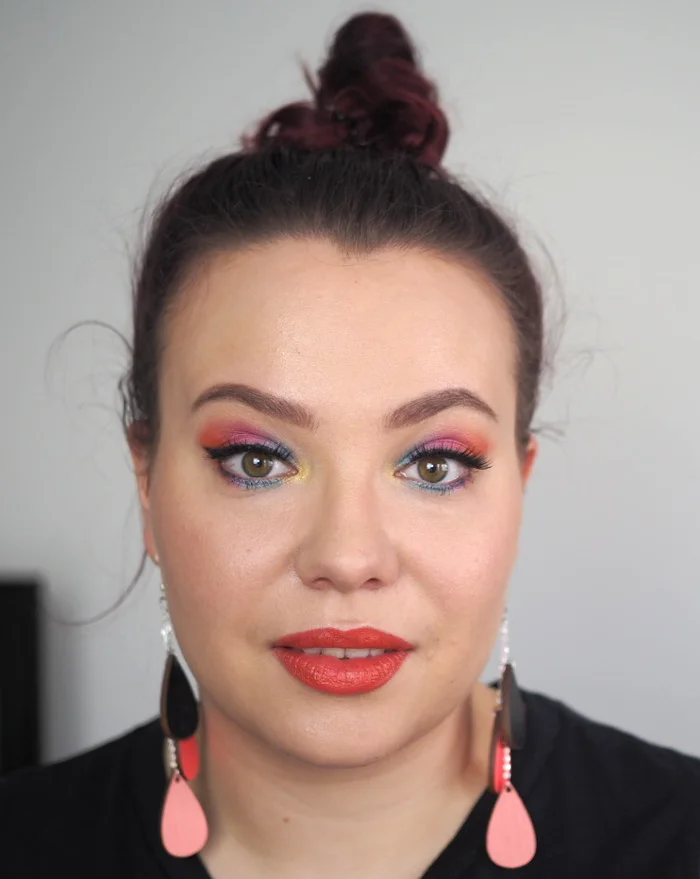

Face glitter makeup ideas with three easy tutorials, cosmetic glitter safety tips, and instructions on how to remove glitter from your skin.
Quick answer for face glitter makeup
- Use only cosmetic-grade glitter on your face, never craft glitter.
- Use glitter primer or glitter glue on eyelids so glitter stays put and does not fall into your eyes.
- Use a soft balm or Vaseline-style base for cheekbones, under-eyes, shoulders, and hairline details.
- Remove most of the glitter with tape or a lint roller before cleansing, so it does not go straight into the sink.
Glitter makeup is as fun as it gets. It is especially popular during festival season, and those dazzling looks can seem more complicated than they are. In reality, a face glitter look can be one of the easiest party looks to do.
I love playing with glitter, and it is uplifting to do on other people too: you get such positive and joyous feedback instantly. Most of us are drawn to shiny things, and having your face literally lit up does work wonders for your mood as well. If you are planning a festival look, you might also like my colorful festival makeup tutorial.
Safety: use cosmetic glitter only
Always use cosmetic-grade glitter, never craft glitter. There is a big difference, and you do not want craft glitter anywhere near your eyes. Check the product label before using glitter near the eye area, and avoid chunky glitter on the waterline or inside the lash line. In this post I used cosmetic-grade glitter and linked a few current product options below.

3 face glitter makeup ideas
You can apply glitter almost anywhere on your body and hair, but you cannot go wrong with a glitter highlight, sparkly under-eyes, or dazzling eyelids. You can also make different geometrical shapes easily by using tape as your guideline.
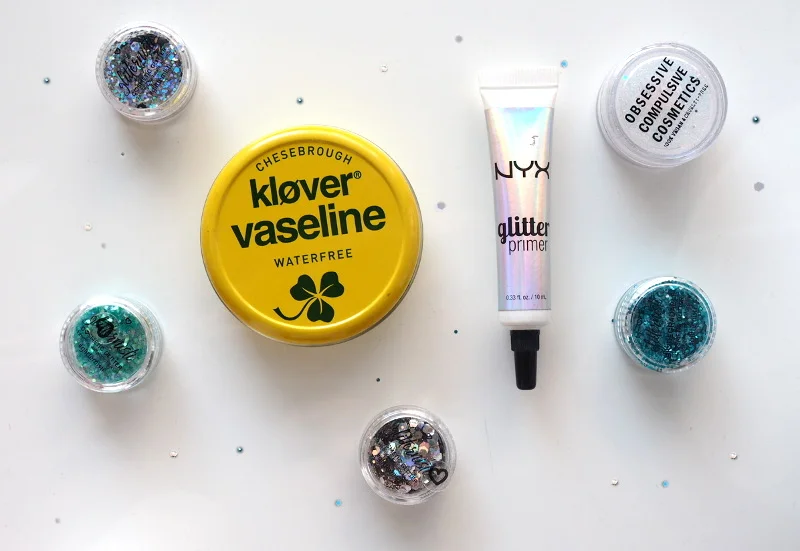
The easiest way to apply glitter is Vaseline, but you could try another balm, cream, or wax as well. Glitter glues and glitter primers are perfect for this job, but not everyone has one ready in the drawer. I have to say that NYX Glitter Primer is a must-have for me. I do not only use it for glitter, but for sparkly eyeshadows as well. It gives the perfect base for anything sparkly.
Links to current glitter products can be found near the end of this post.

Glitter eyelids
You need: glitter glue, flat brushes, and cosmetic glitter.
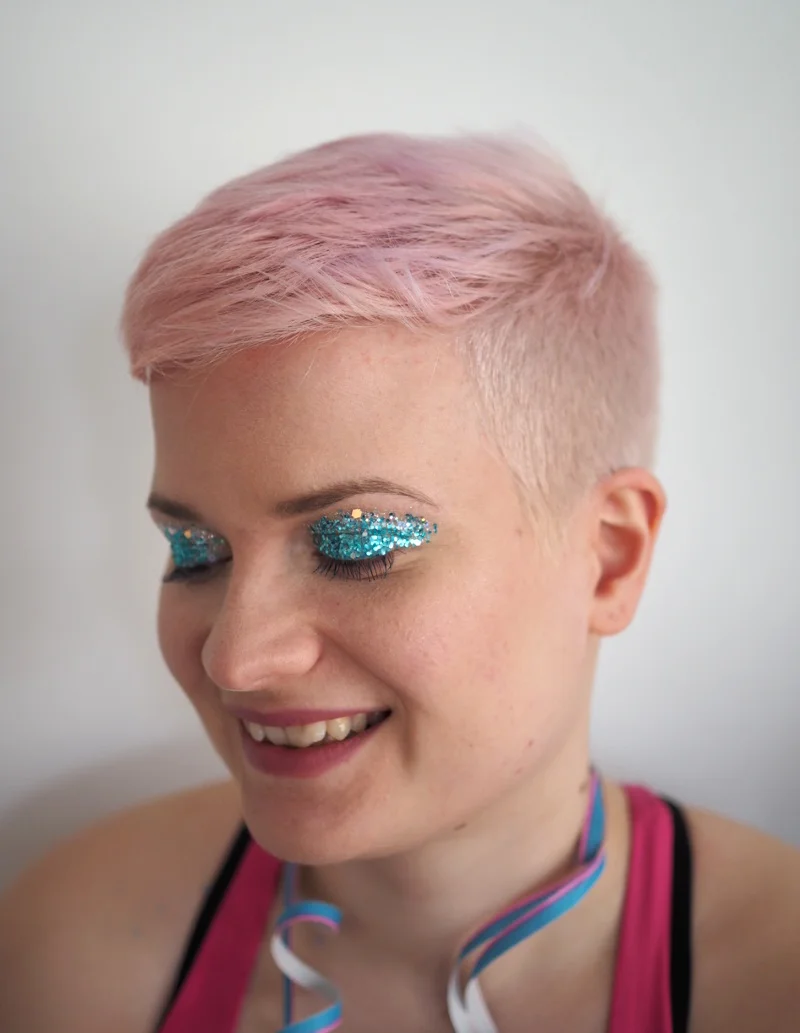
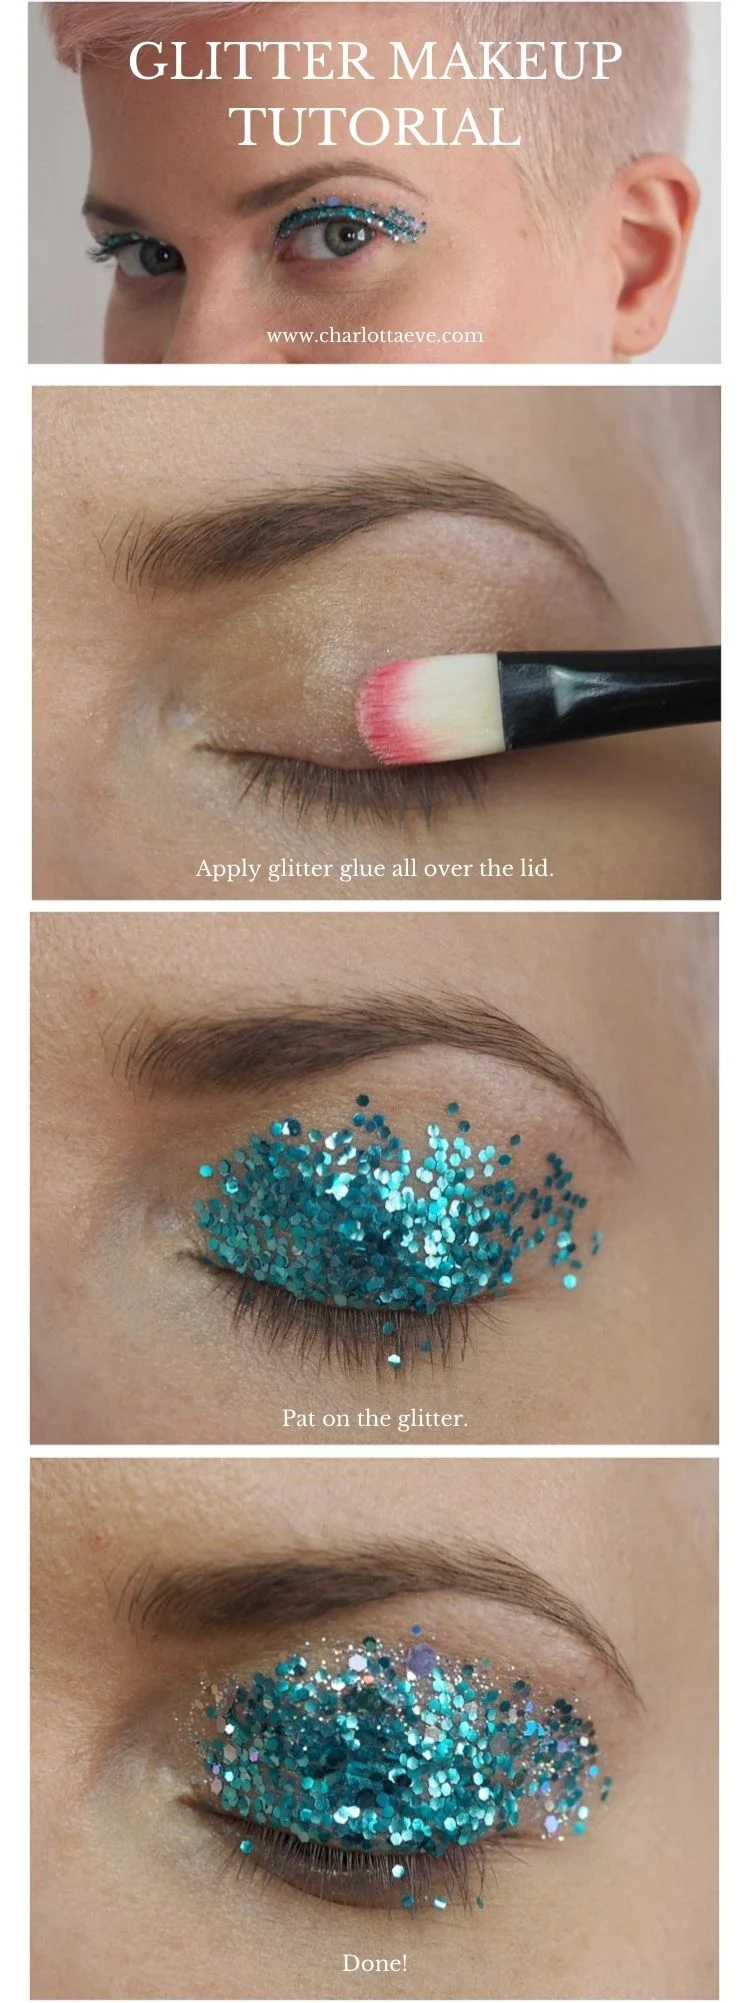
How to: First apply some glitter glue on your lids. Get an even layer and blend it towards the brow bone. Then apply the glitter of your choice. I used a flat brush for this as well. I used turquoise glitter first and then silver glitter on the edges, so it looks like a gradient. If you prefer a more perfected look, apply a matching eyeshadow under the glitter so that no skin shows through.
Note: Vaseline is not enough for eyelids. Use a proper glitter glue or glitter primer for this look. The base needs to be sticky and long-lasting so the glitter does not fall into your eyes.
Glitter under-eyes
You need: Vaseline, brushes or fingers, and cosmetic glitter.

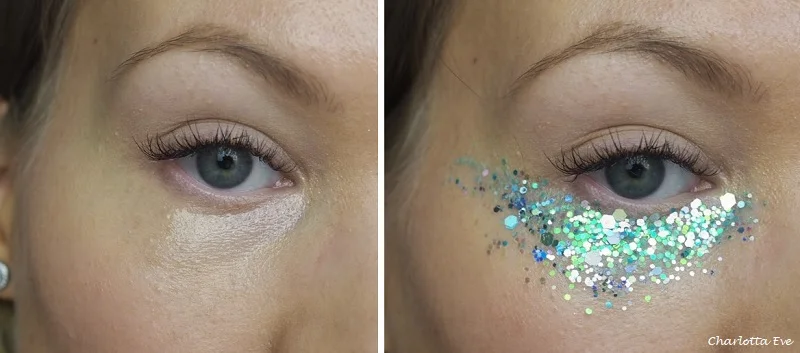
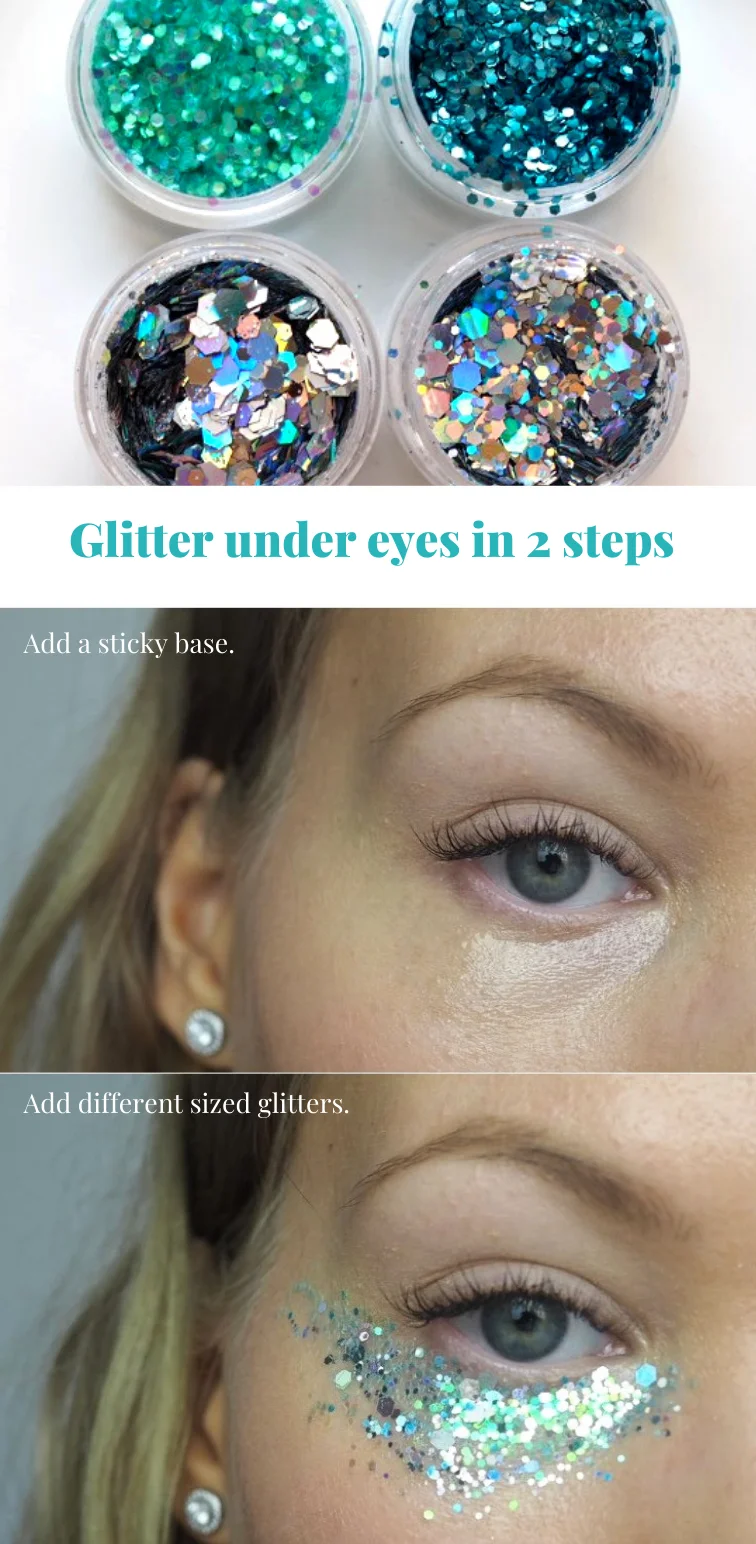
How to: Apply Vaseline under your eyes where you want the glitter to stick. Try to blend the edges by tapping. Then apply the glitter of your choice. I have found that mixing two colors and different sizes works best. I applied bigger glitter in the center and finer glitter on the edges to get a gradient look.
You could use glitter glue for this, but since the skin around the eyes is thin and sensitive, I prefer Vaseline. It is easier to remove and it does not feel as dry as glitter glue might.
Glitter highlight
You need: Vaseline and cosmetic glitter.
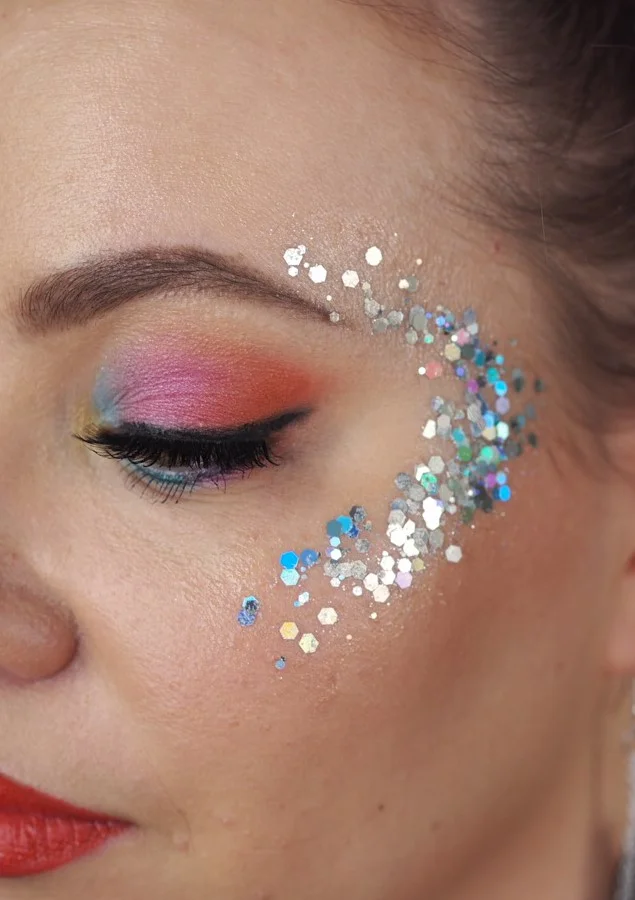

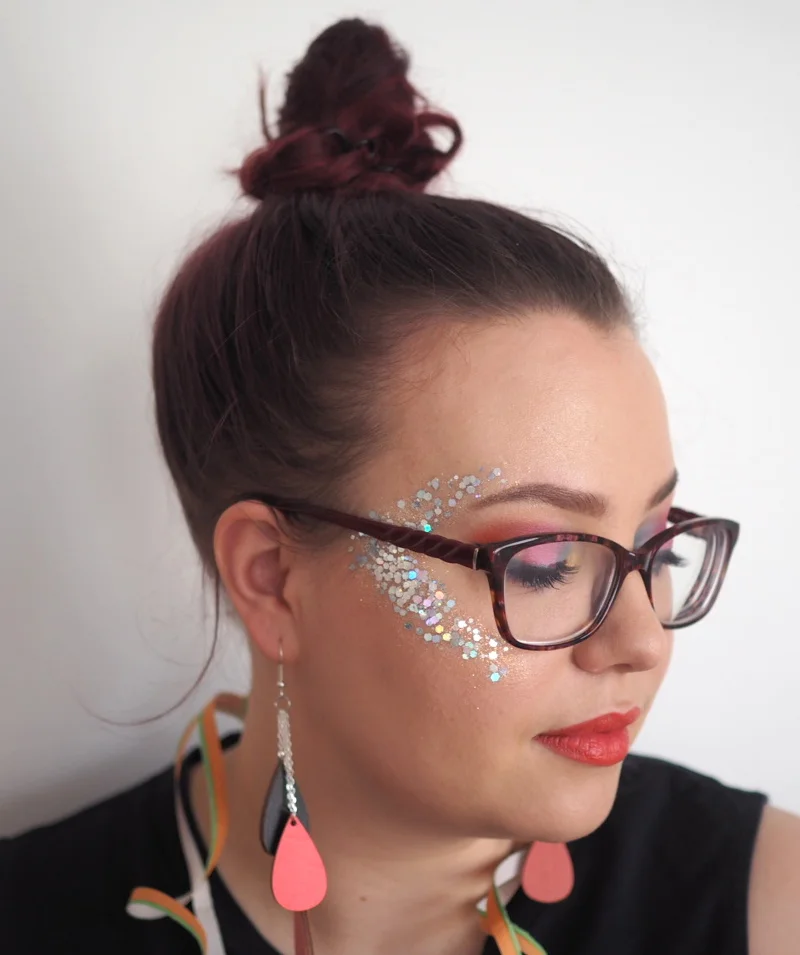
How to: Apply Vaseline as your highlight and blend the edges. Then apply your glitter. You can use your fingers and tap it on, or use brushes. You can do this look with just one glitter or mix a few different glitters. I used silver glitter, which reflects light and looks colorful, and a very fine white iridescent glitter on the bottom. For regular glow placement, see my guide on how to highlight your face.
Where to buy cosmetic glitter
*Affiliate links are marked with an asterisk. Product links were checked on 25 May 2026, but availability can change.
Here are a few options for cosmetic glitter and glitter primer. I mostly use and buy glitters from the Finnish makeup artist behind Glitternisti, and I prefer biodegradable glitter when possible.
- *NYX Glitter Primer
- NYX Vegan Loose Face and Body Glitter in Gold
- Glitternisti ECO UNIVERSE cosmetic biodegradable glitter
How to remove glitter makeup from your skin
Removing glitter from your skin takes patience. Especially if you are not using biodegradable glitter, this is the one time you need to focus. Glitter is messy, so you need to be careful with both application and removal so it does not end up in the ecosystem. These tips might not be the gentlest for your skin, but I think a little inconvenience is better than washing glitter straight down the sink.
My glitter removal tools:
- Lint roller
- Tape
- Cotton pads and makeup remover, micellar water, or toner
- Makeup wipes
I have found that using just cotton pads or makeup wipes is a waste of time. I want to lift off most of the glitter first. Lint rollers and tape grab glitter better than cotton pads, and then you can throw the used tape in the trash. Always finish with makeup remover and skincare so your skin does not get irritated.
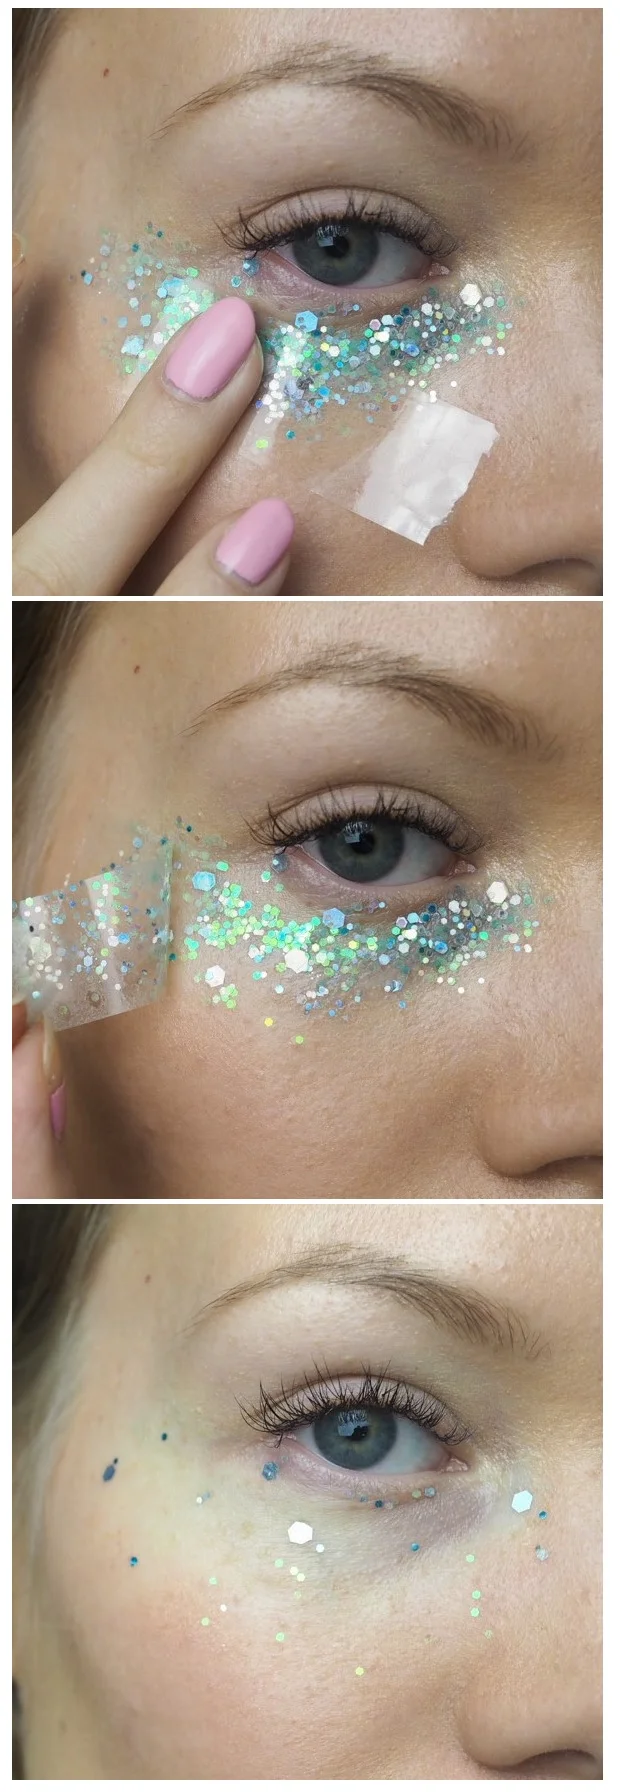
Here I first removed most of the glitter with tape. When there were only a few sparkles left, I used a cotton pad and makeup remover.

More party makeup ideas
- Gold glitter Christmas makeup
- Sparkly makeup for the festive season
- Easy blue makeup look tutorial
- More beauty reviews and product ideas
So, are you ready to sparkle? Any glitter events coming up?